[Updates : 2020/01/15] My Defold Game Dev Cycle : Drawing, Animating, Coding, and Marketing

Updates

2020/01/06 - My Defold Game Dev Cycle: Drawing, Animating, Coding, and Marketing
2020/01/07 - :fire::camping: Game Assets Creation - Campfire
2020/01/09 - Cutting Trees and Digging Flint
2020/01/13 - Cutting Trees and Mining Flint to Start a Campfire
2020/01/15 - Feeling Tired? Just Start a Campfire and Take a Break
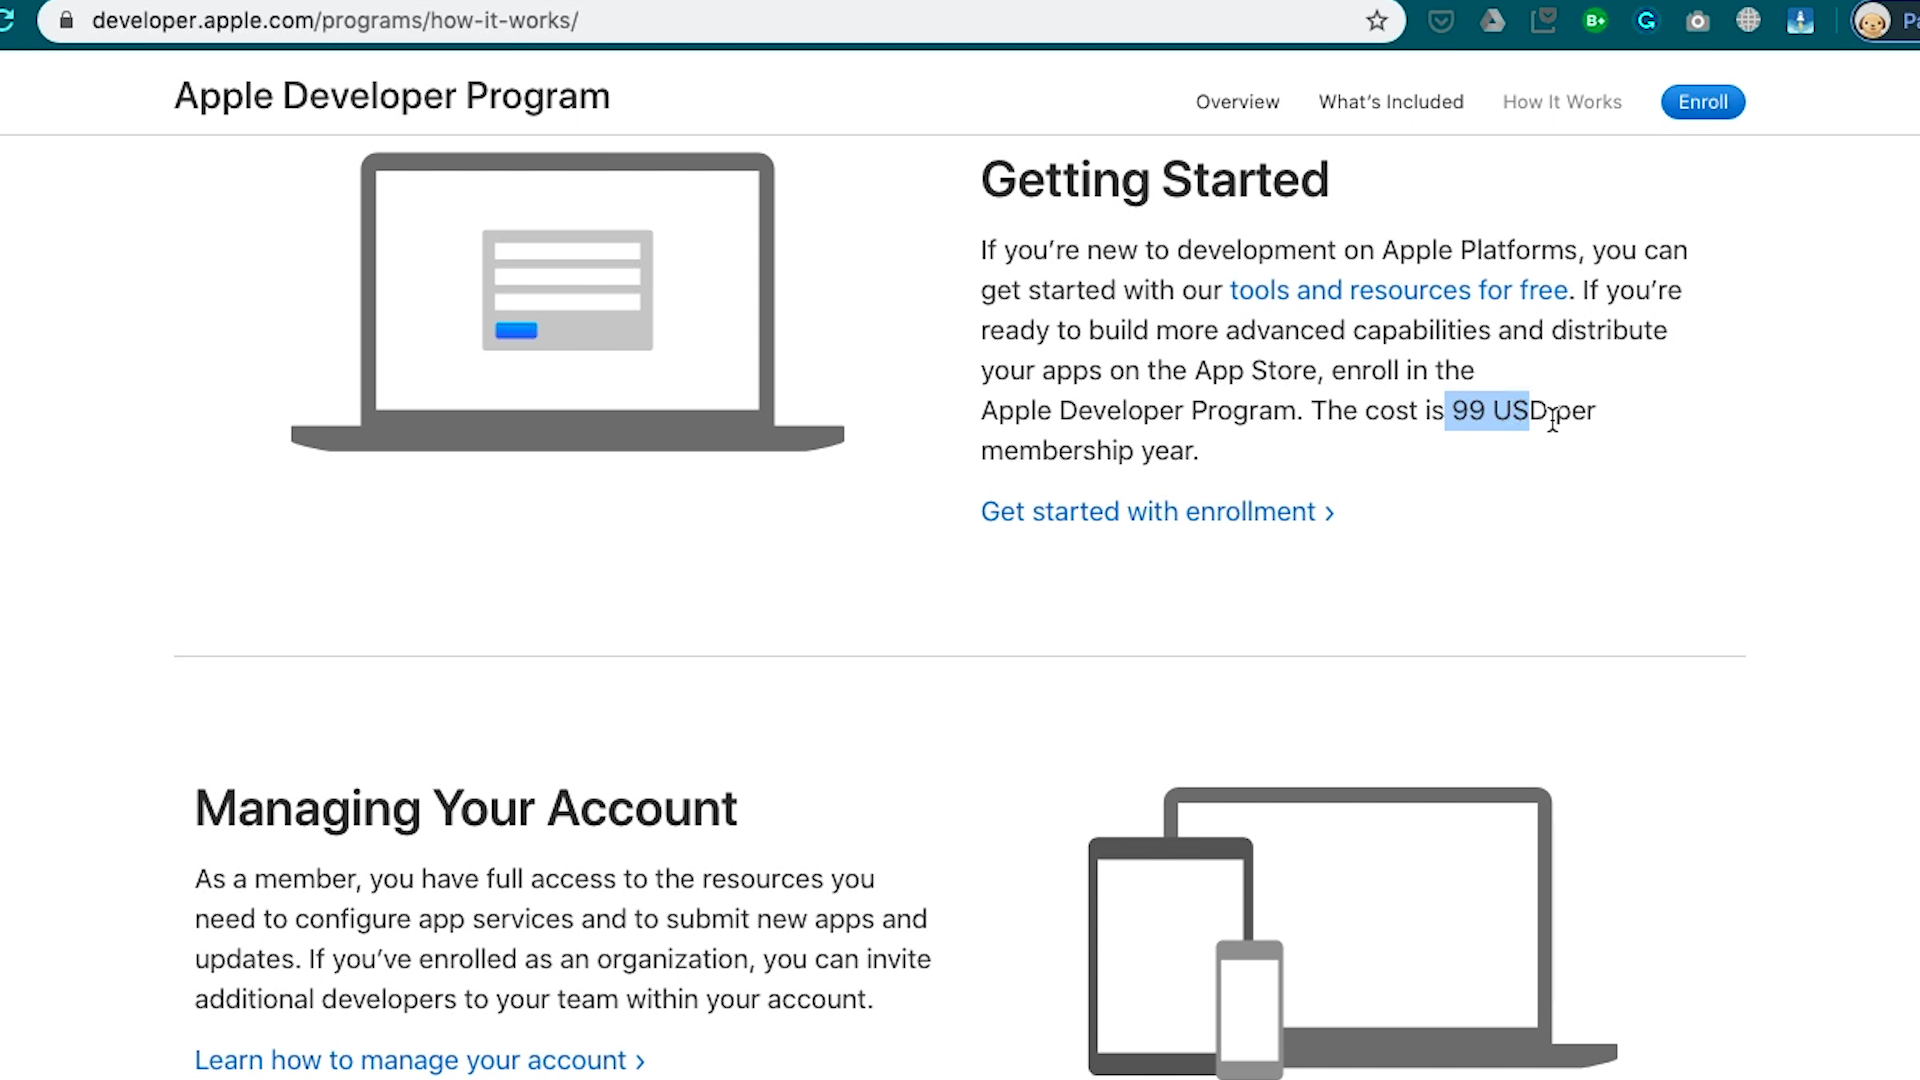
2020/01/20 - Publish a Game on IOS, Android and HTML5 (AWS + Itch.IO)
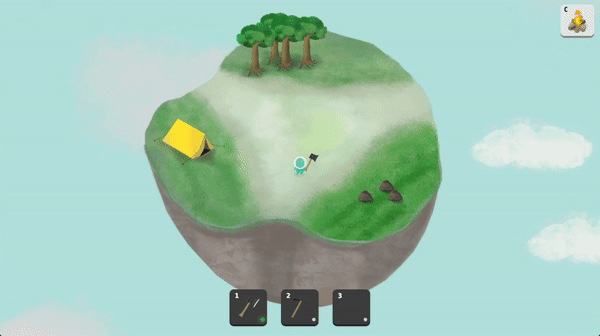
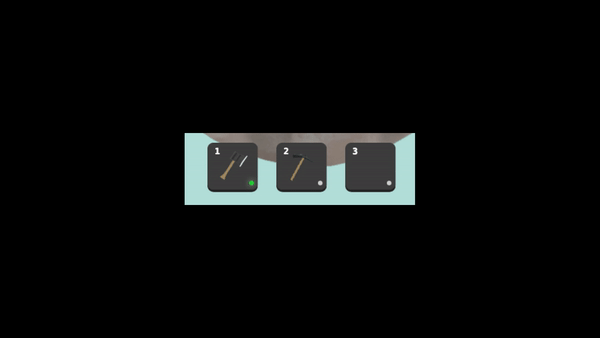
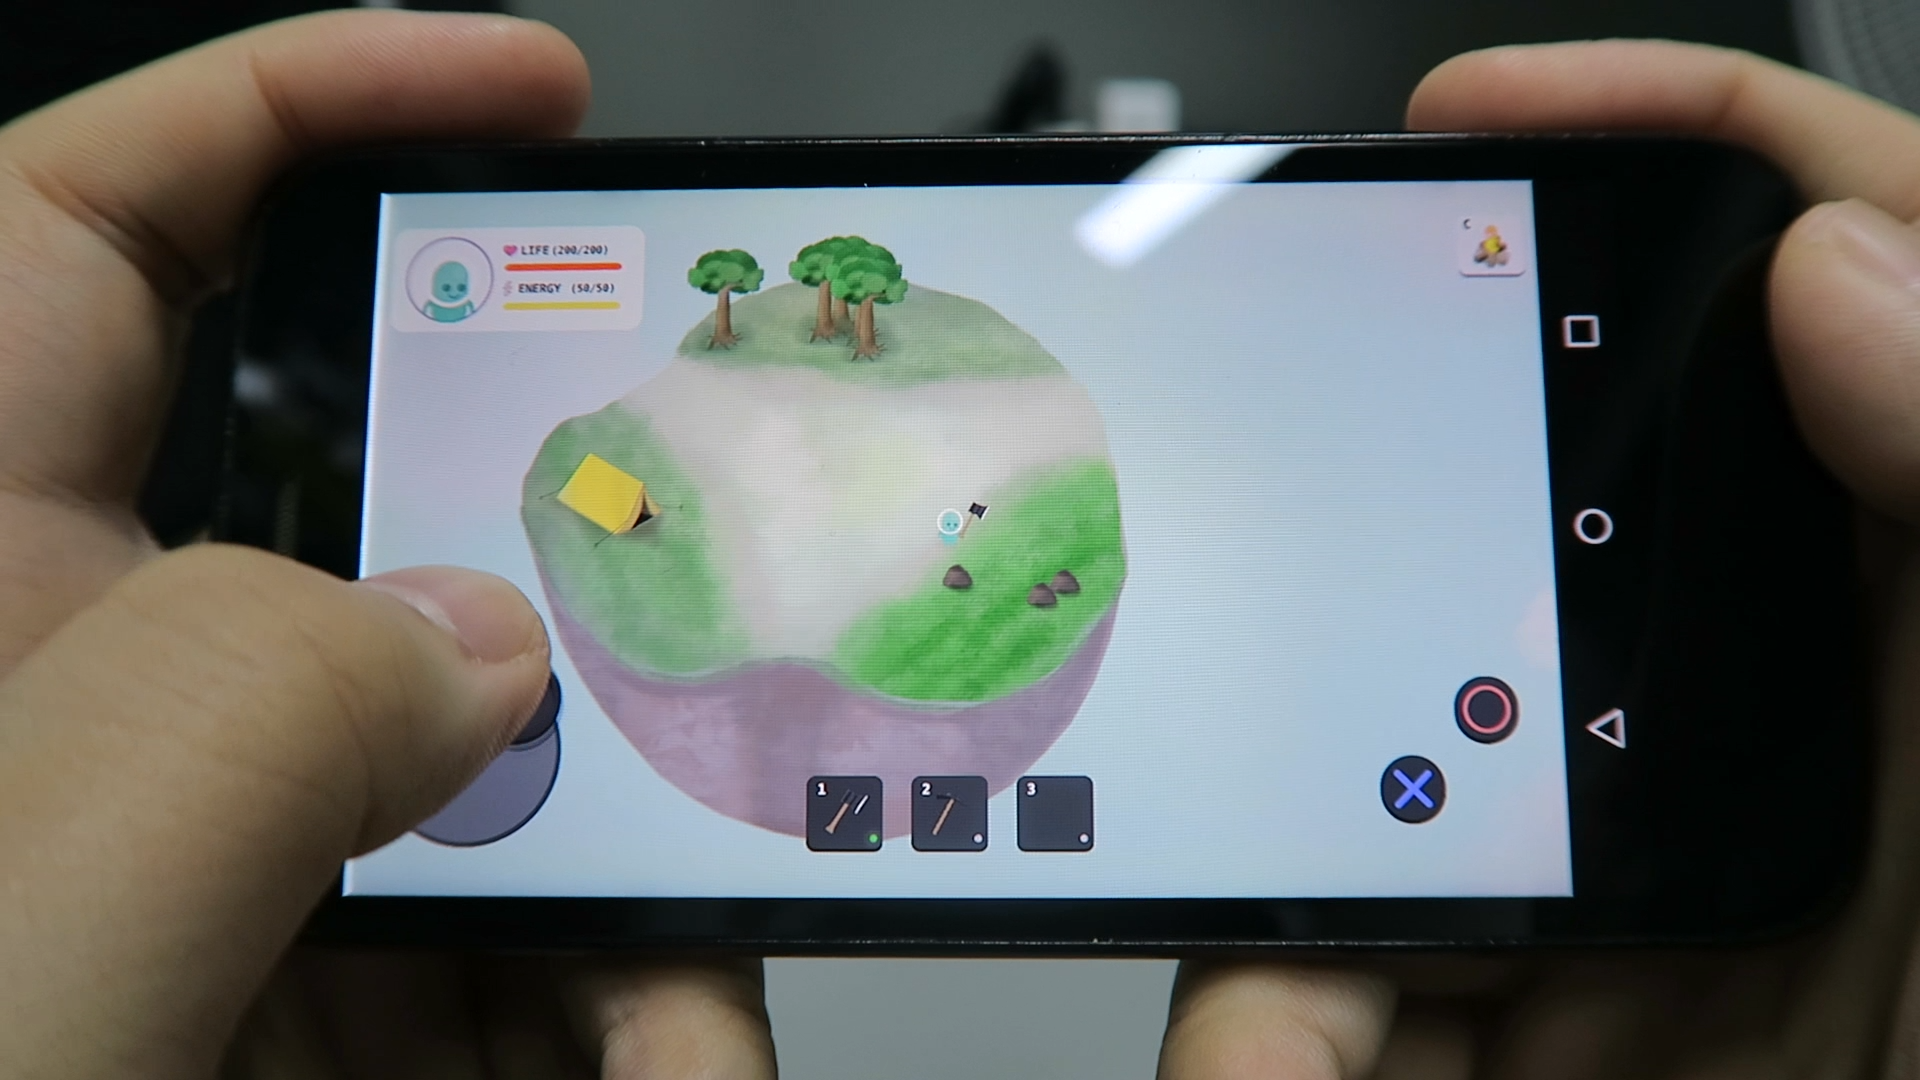
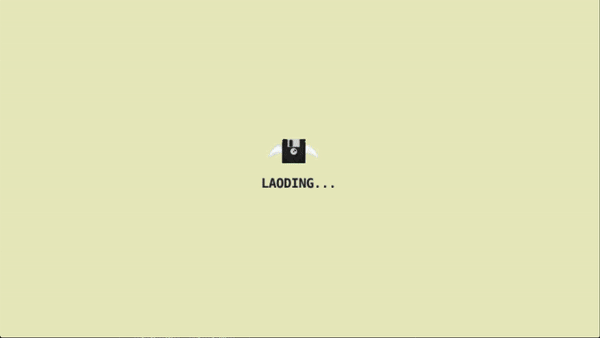
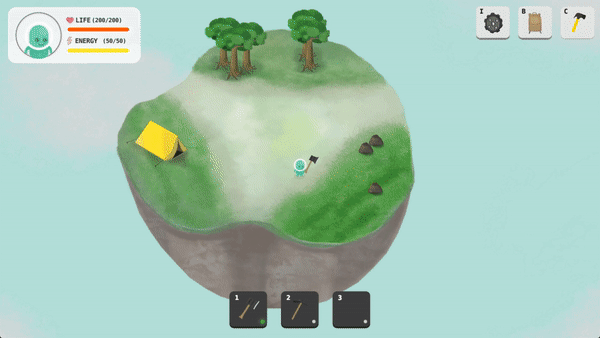
2020/01/23 - Loading Screen and Craft Menu

Hi Defold Community,

It is always helpful to get an answer from the Defold community when I face a game dev problem.
However, to give is better than to receive, so it’s time to share my little game development journey.

article_demo

TL;DR, Please watch this YouTube Video: https://youtu.be/DtypilUR7Fc

Hey, this is Ben and I code your venture free. I wanna make a game but I don’t have money. After a week of trial and error, here’s how the poor game dev works.

Instead of a game development tutorial, this is more like a casual development diary(vlog) of my new title — The Random World (Temporary Title).

Game Concept

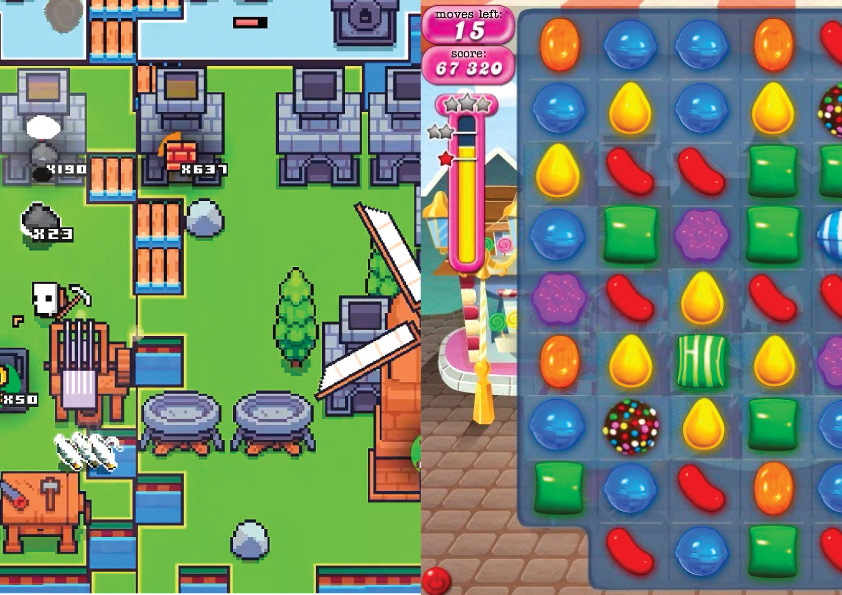
Frankly, a game usually has its genre. However, with the idea of the lean startup, I don’t know which genre has the best product-market fit. Therefore, I am going to create a 2D open-world role-playing game (RPG) with multiple genres . For instance, you can have an open world clicker game that works like Forager. But at the same time, you can have some match 3 mini-game inside that open-world under certain scenarios, e.g a game within a game.

Rather than a complicated and fancy game concept and story, I would prefer to build the game together with the internet. Adjust the game from time to time according to the users’ feedback.

Apart from the game genre, I would also like to build a multi-player game . Speaking in terms of business strategy, a multi-player game used to have a longer lifetime value because the gameplay experience will be more dynamic when you can interact with other players. Hence, with longer lifetime value (LTV), the higher the chance that the game can sustain in the long run.

Besides, I would like the game to procedurally generated by itself. Inspired by the video of the Game Maker’s Toolkit about Spelunky, the gameplay experience can be enriched by procedural level generation as the players will have a different experience each time when they play the game. Just like the mentality behind a multi-player game — a longer lifetime value(LTV).

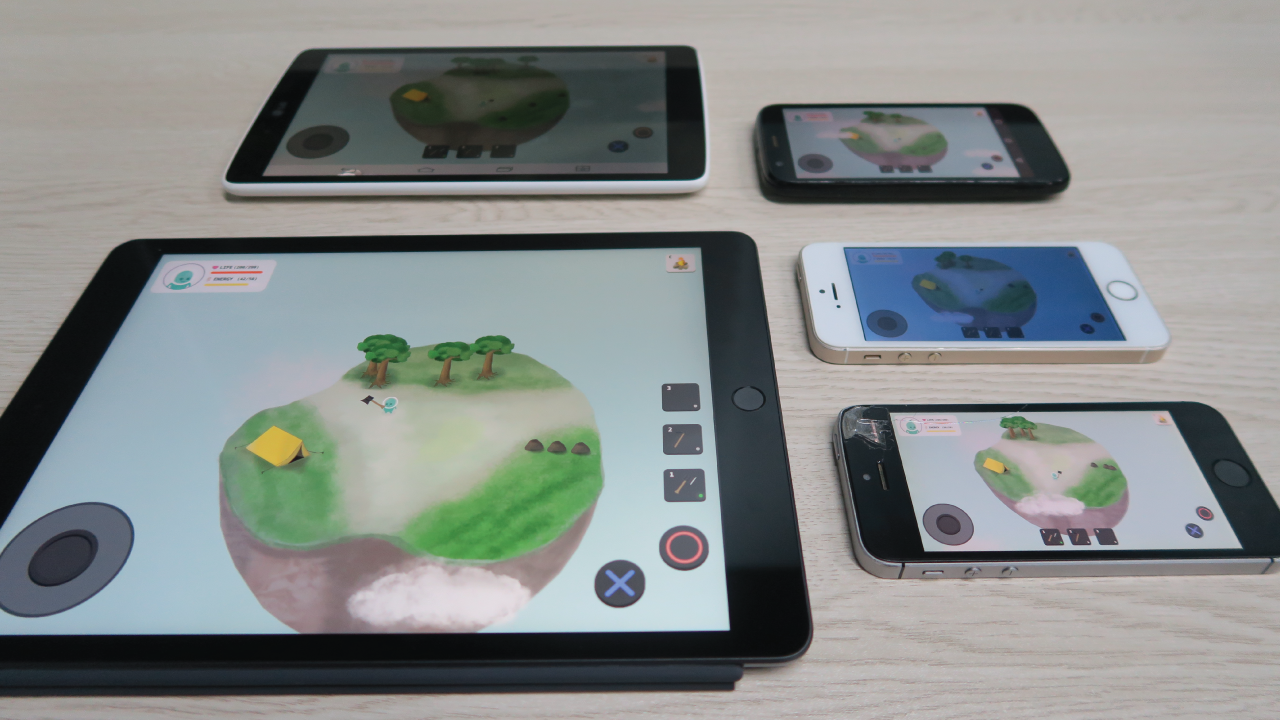
Finally, the game should have high accessibility. As a result, instead of a specific game console, I would like to deploy the game on normal computers and mobile devices.

So, here’s the summary of my game dev goal :

  1. A 2D Open World
  2. Multiple Genres to test the product-market fit
  3. Multiplayer
  4. Procedural Generation
  5. Target Platform: IOS / Android / Mac and Window

Drawing

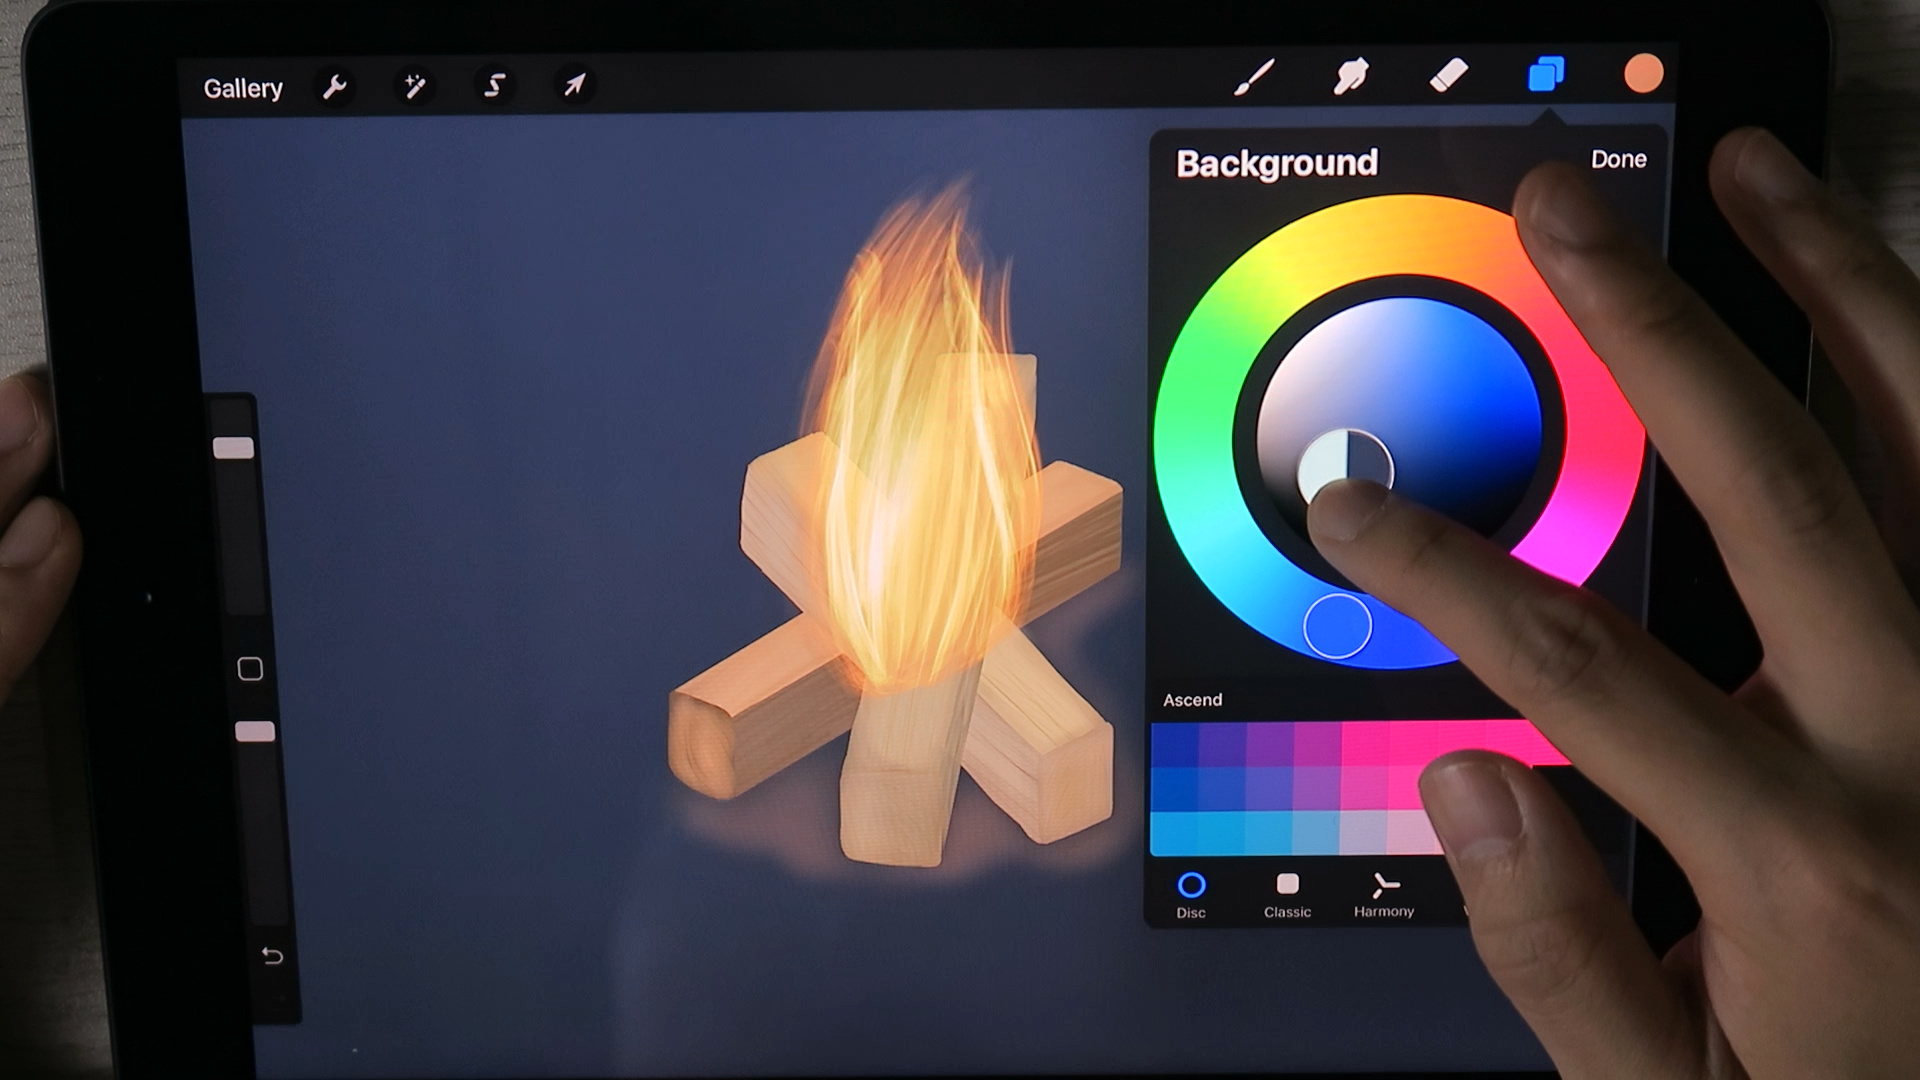
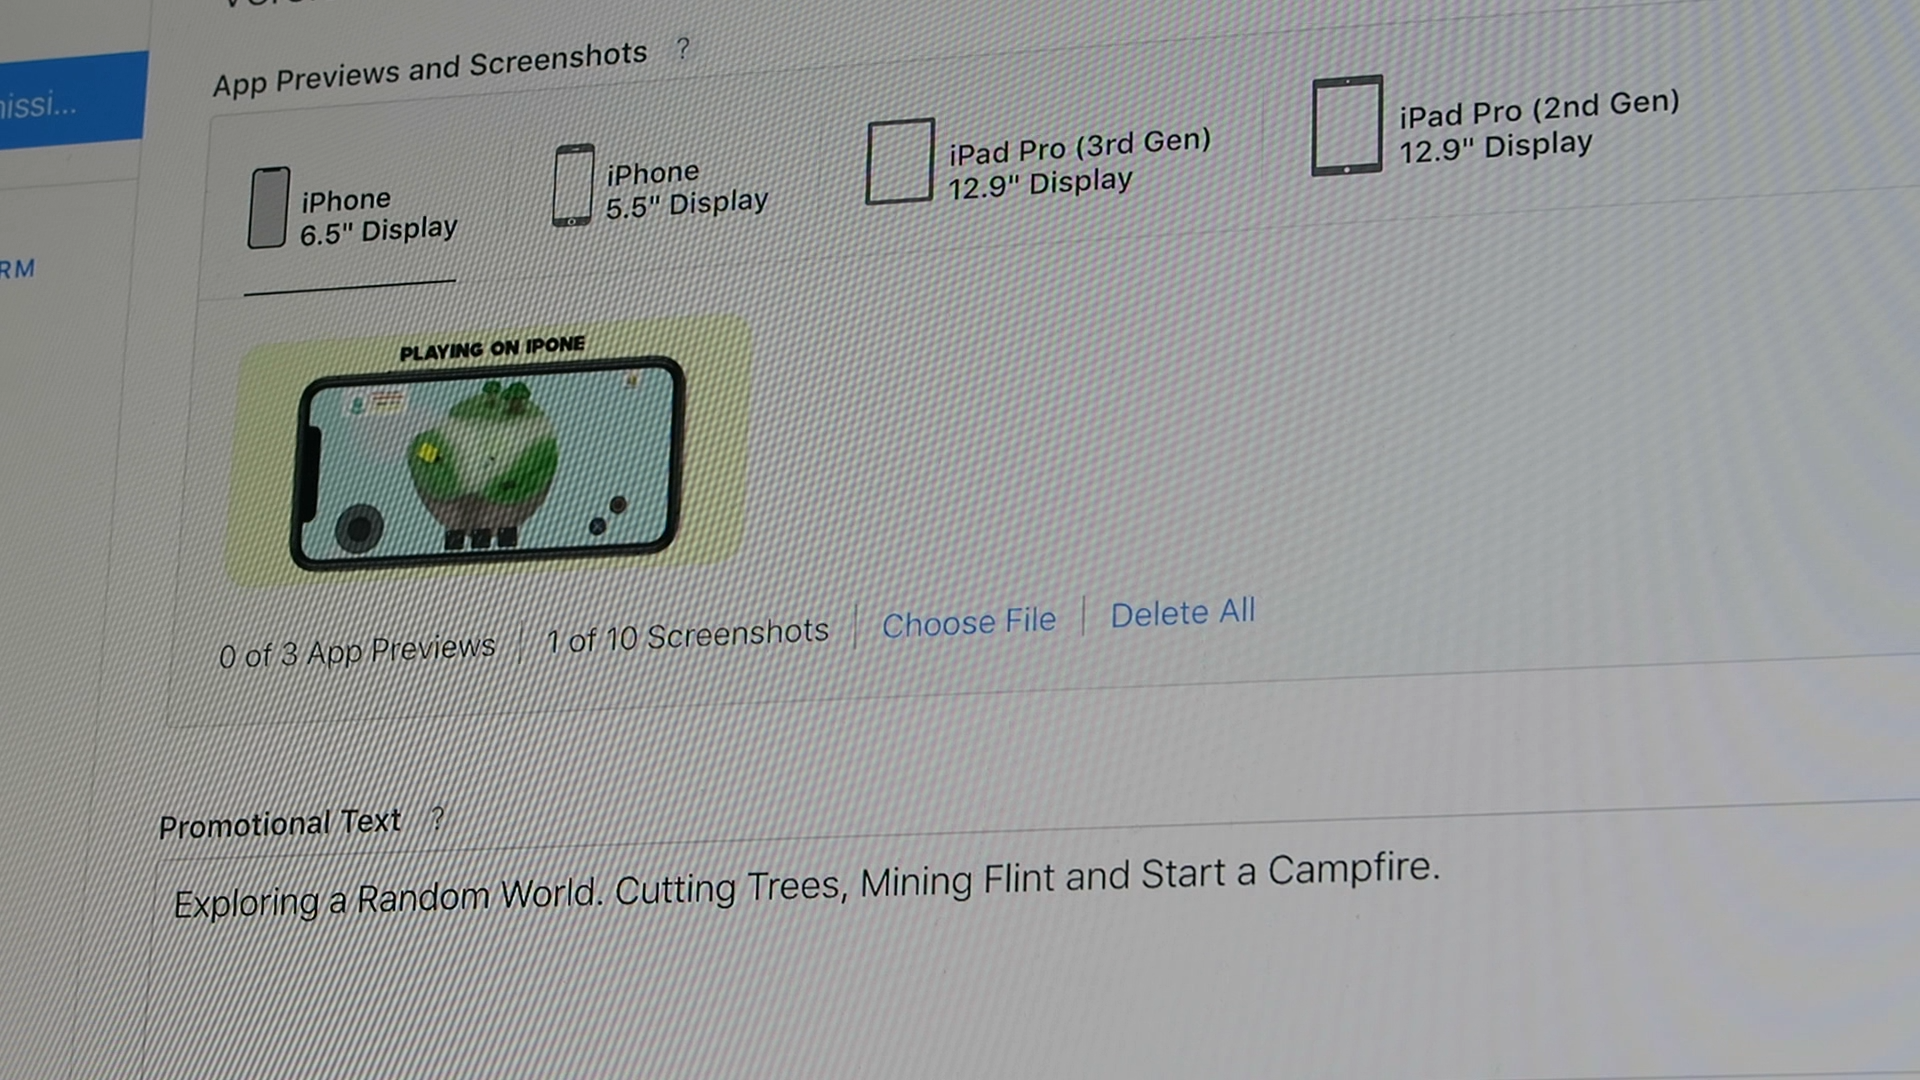
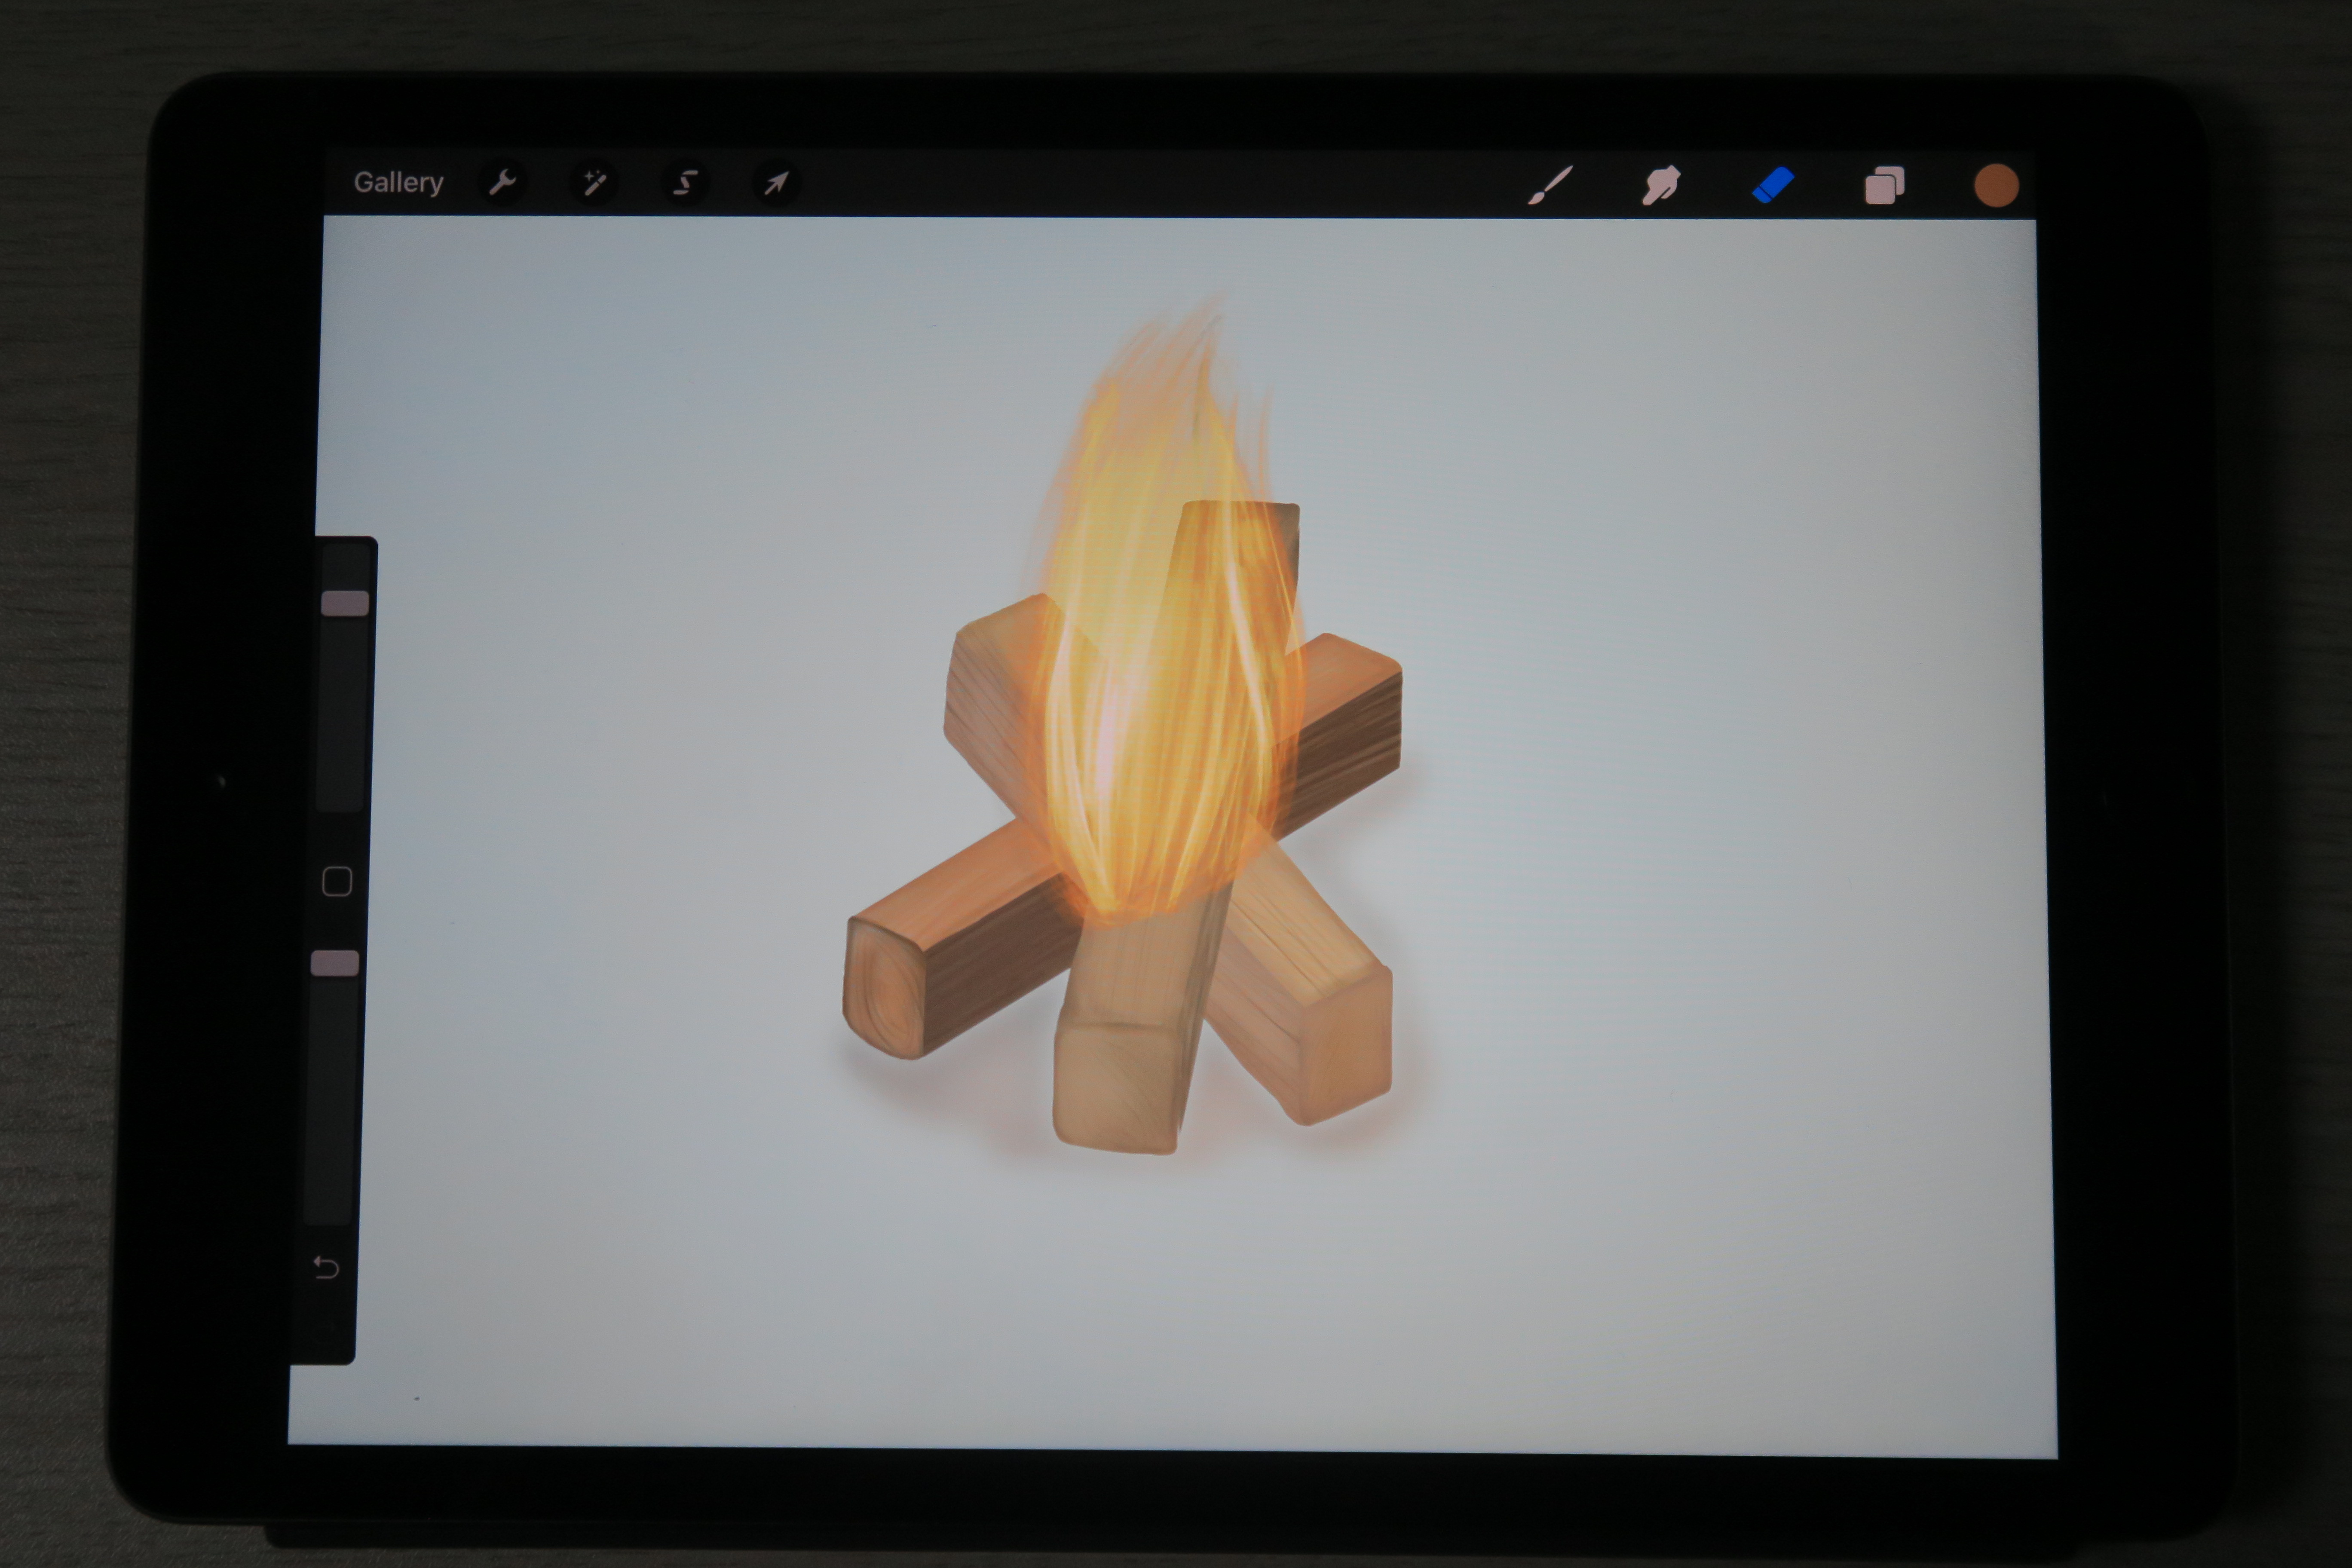
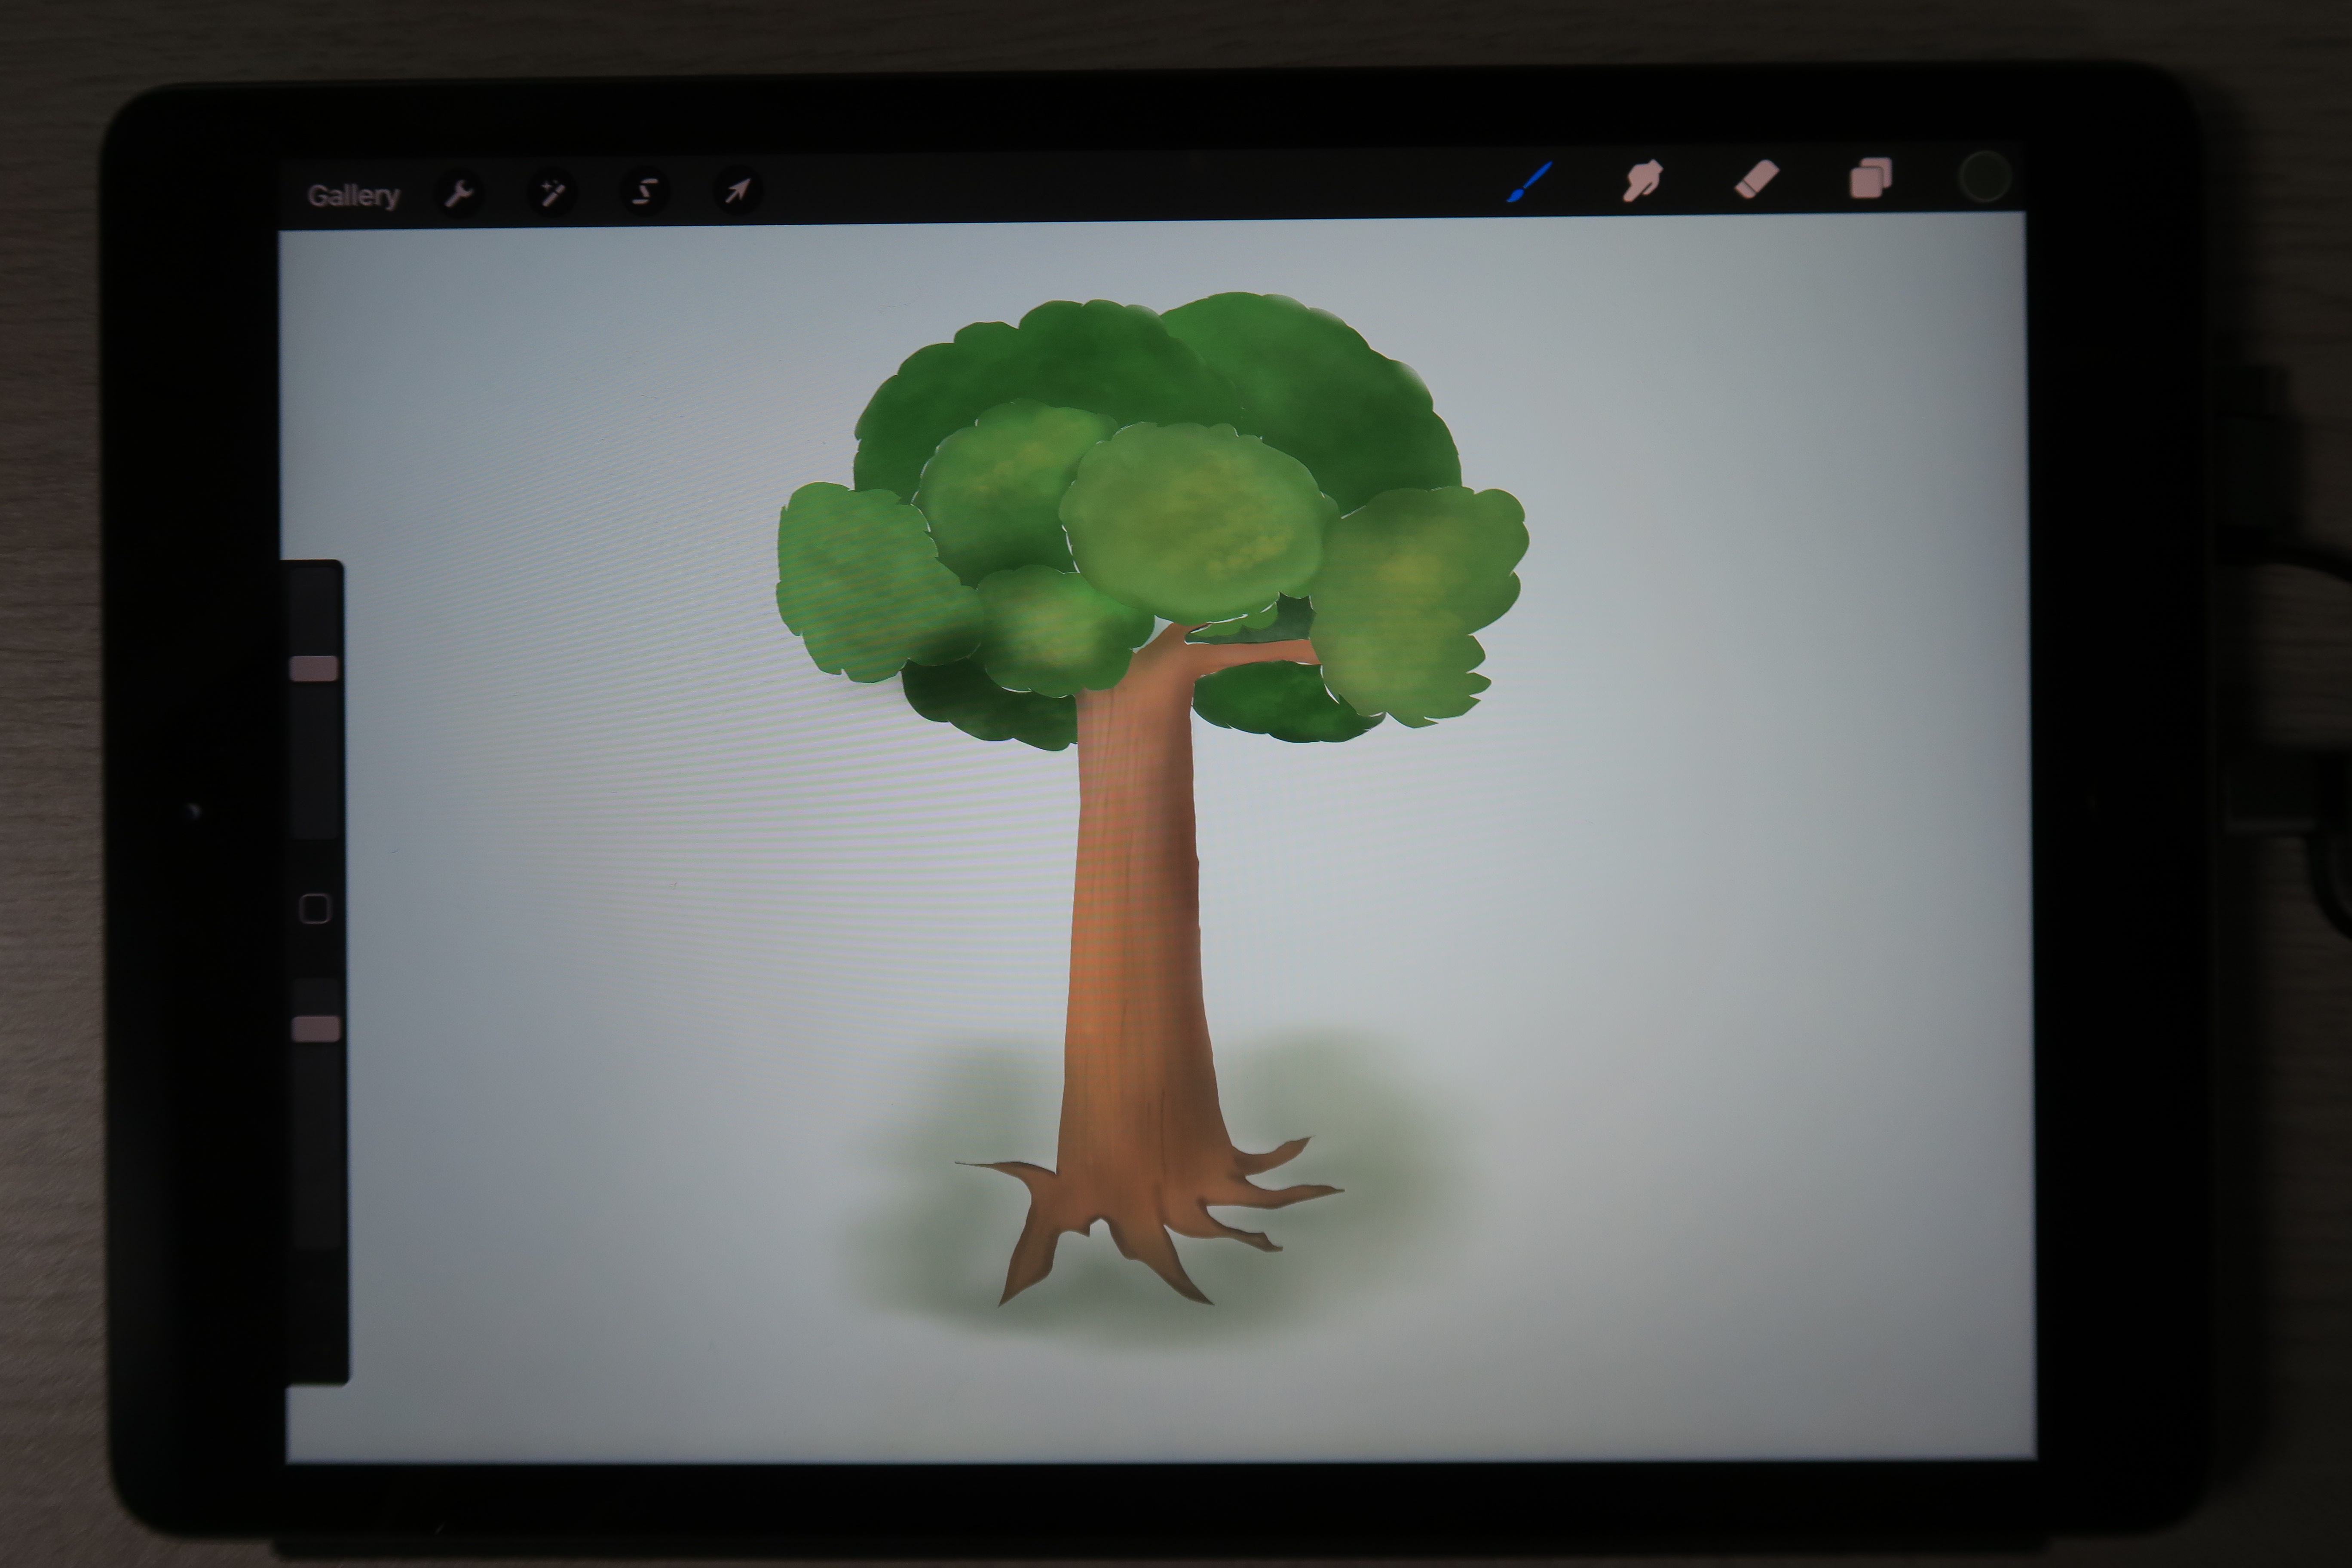
Game assets creation is always the hardest part. Of course, you can purchase the game assets from itch.io or even download free images from freepik.com (I try this method with a side project — Mega Store in 2019), but it is always more flexible if you can create the game assets by yourself.

Therefore, by the end of 2019, I trade my iPad Air 2 for the latest version of the iPad with an Apple Pencil. And I spend some extra money to purchase an app called Procreate which is one of the best digital drawing applications on the market right now.

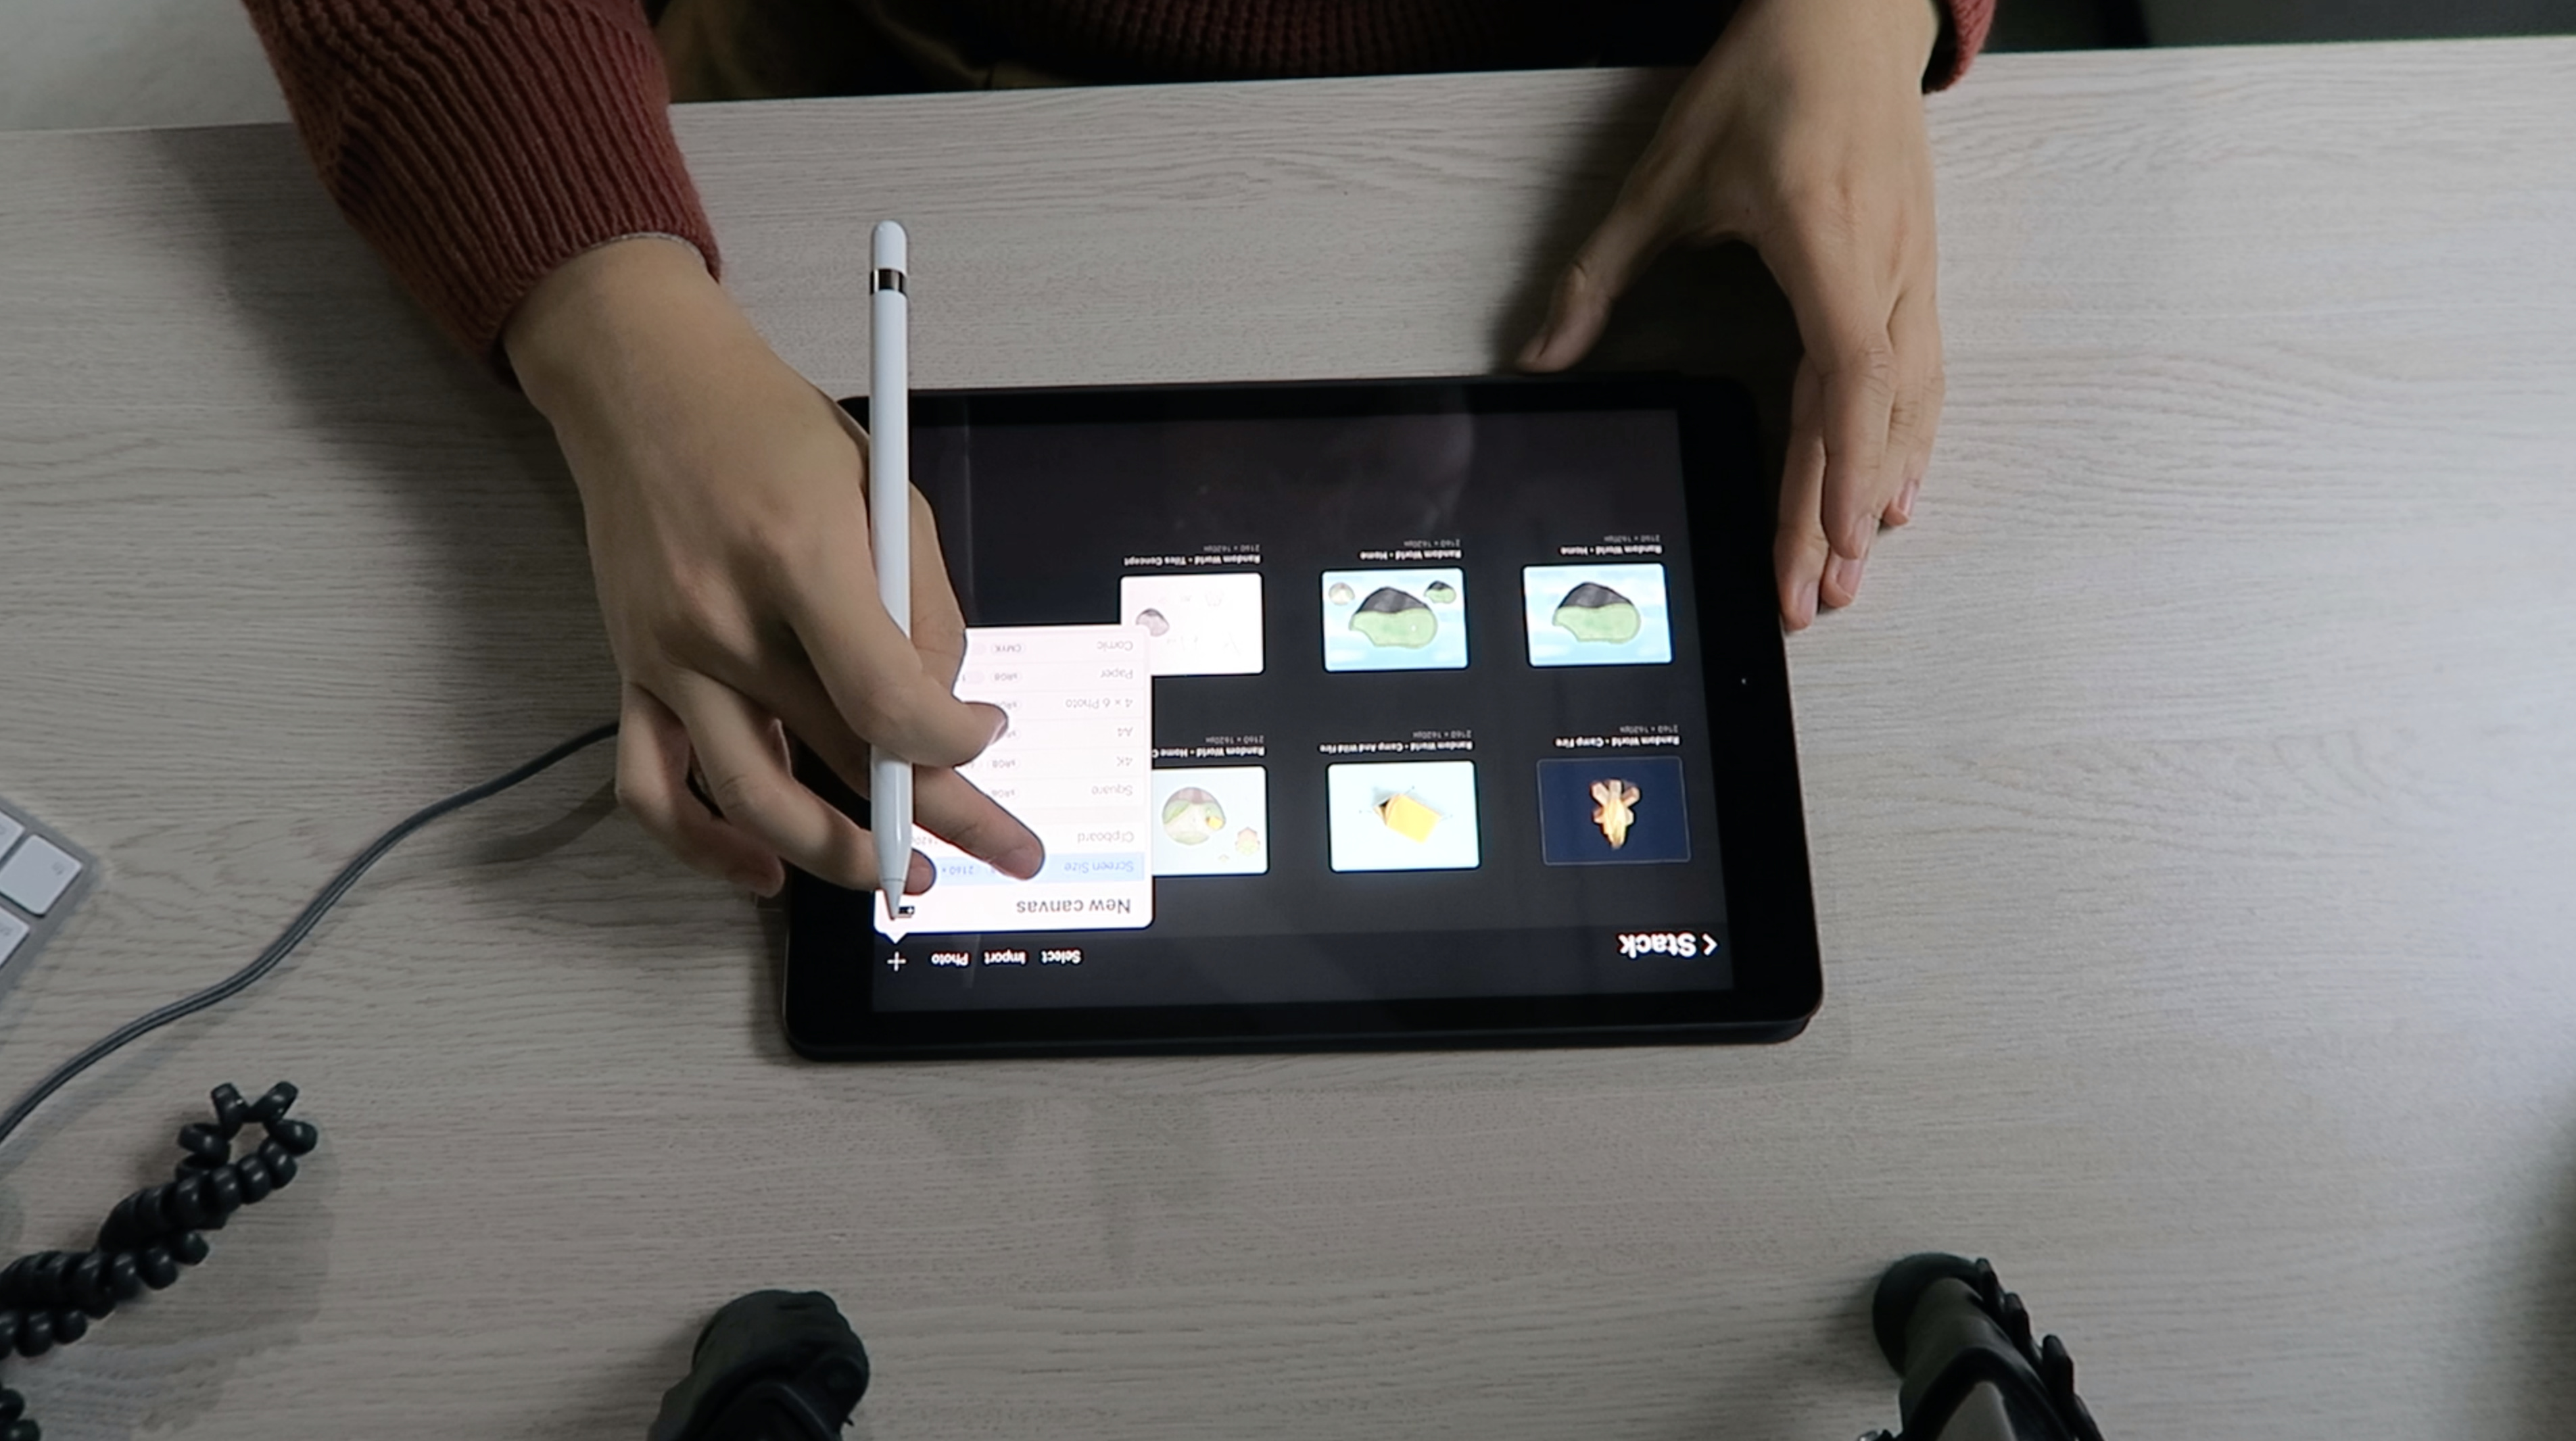
After around 40–50 hours of learning from YouTube and Skillshare, here’s the result from a guy without any art talent :
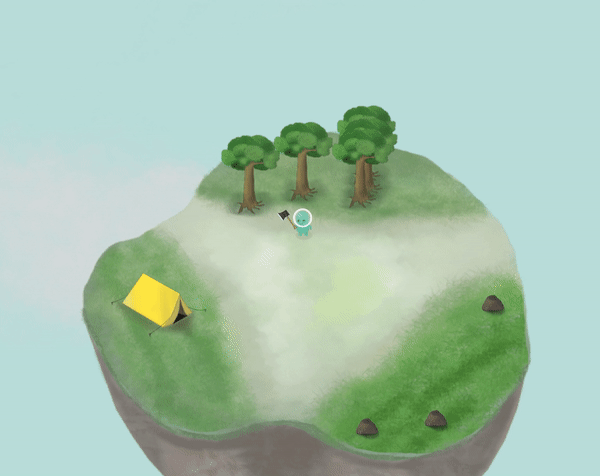
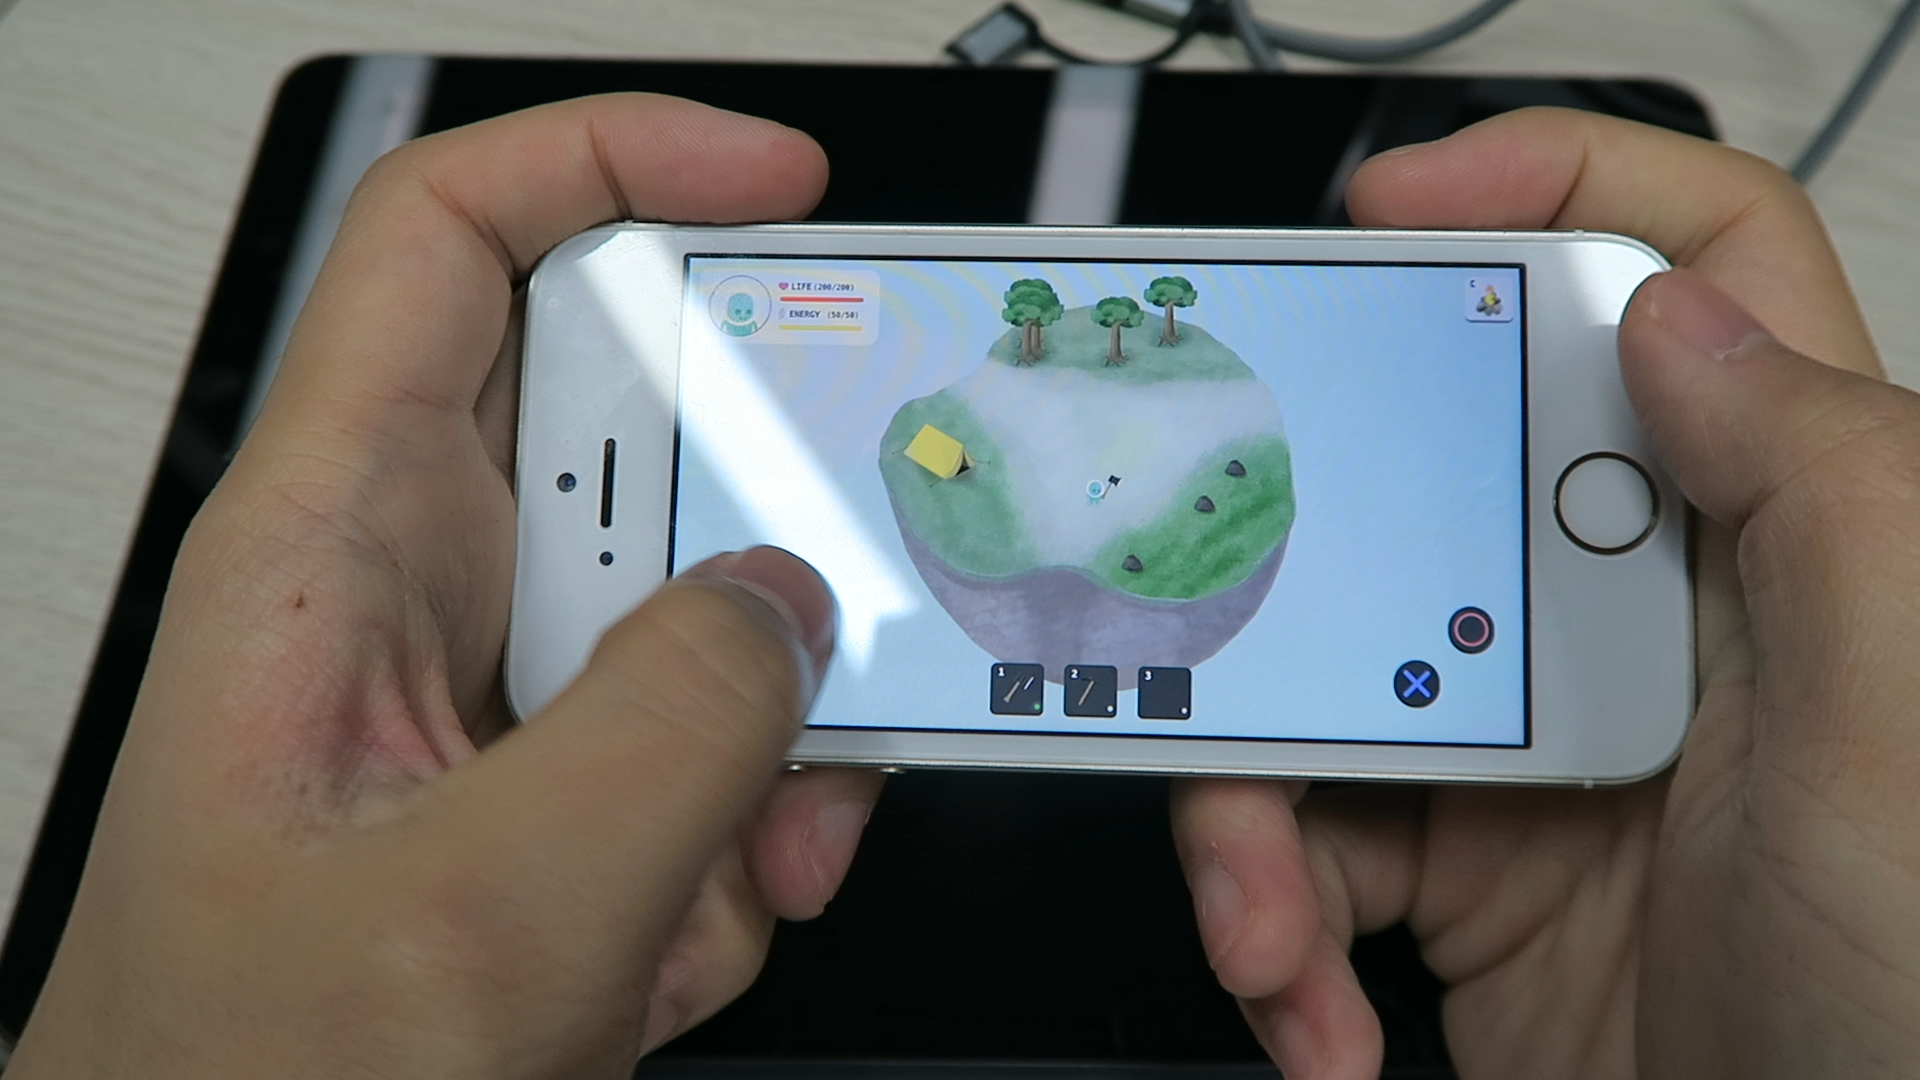


Animating

There are two major ways to animate a 2D sprite in a game. The hard way is to draw the animation frame by frame. Of course, I would prefer to do it in a simple way which is animated by software.

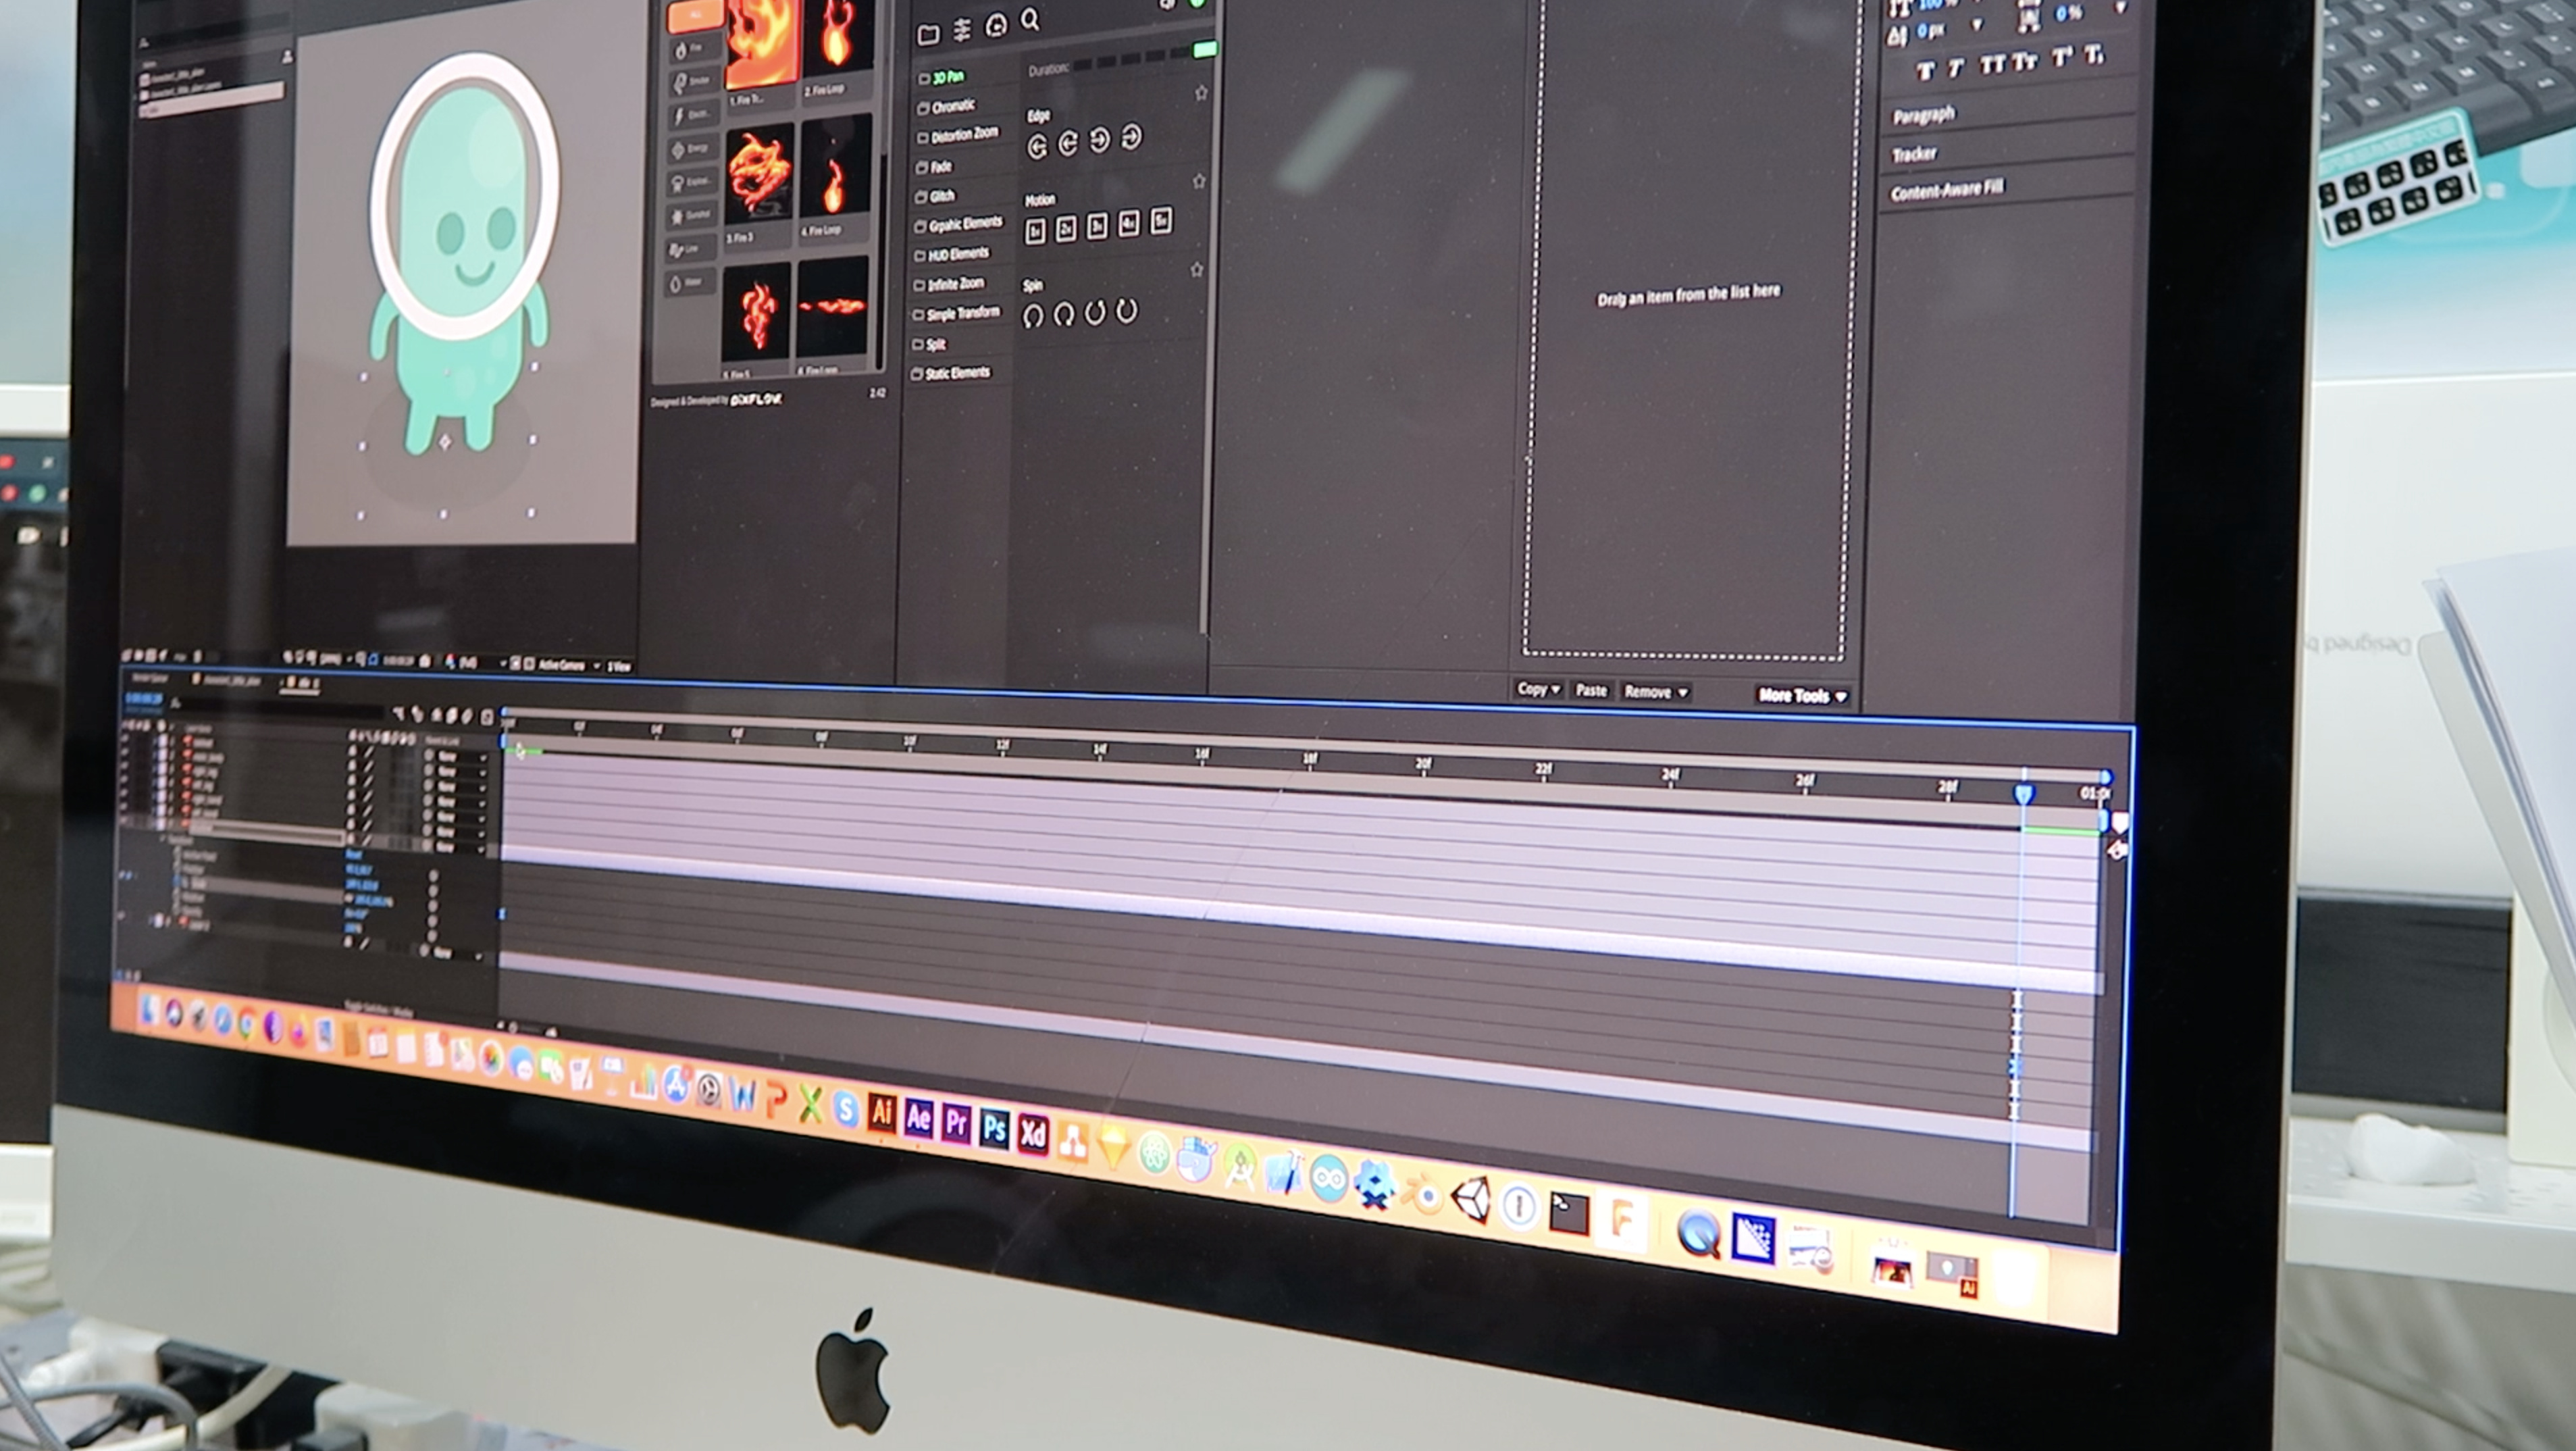
To build some simple animations, After Effect(AE) is good enough for the job. With the plugin — Duik Bassel , it is also possible to do simple character rigging in AE. However, if the sprite animations become more and more complicated, I may switch to a more professional tool for 2D rigging like Spine later on.

Here’s how it look after a few hours of work :slight_smile:
https://forum.defold.com/uploads/default/original/3X/d/5/d58931b3948b7203981f99681e545699acdf19aa.MOV https://forum.defold.com/uploads/default/original/3X/d/f/dfe34cfbab4aa12c6185a742568ed2726cd022af.MP4
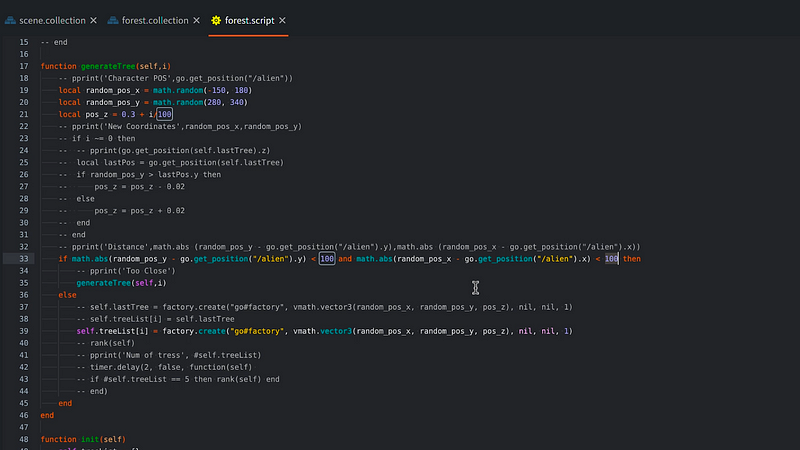
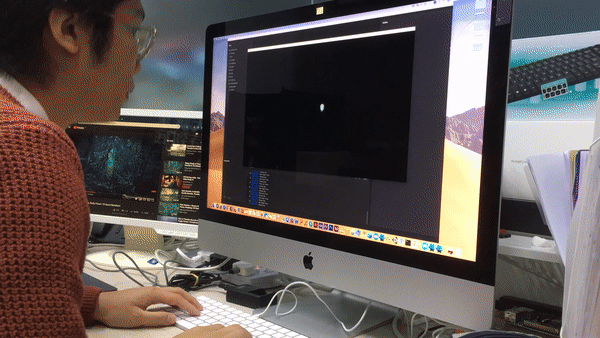
Coding

I once shared an article on Hacker News about a guy who spends (wastes) 3 years to develop his own game engine. Therefore, I won’t make the same mistake again.

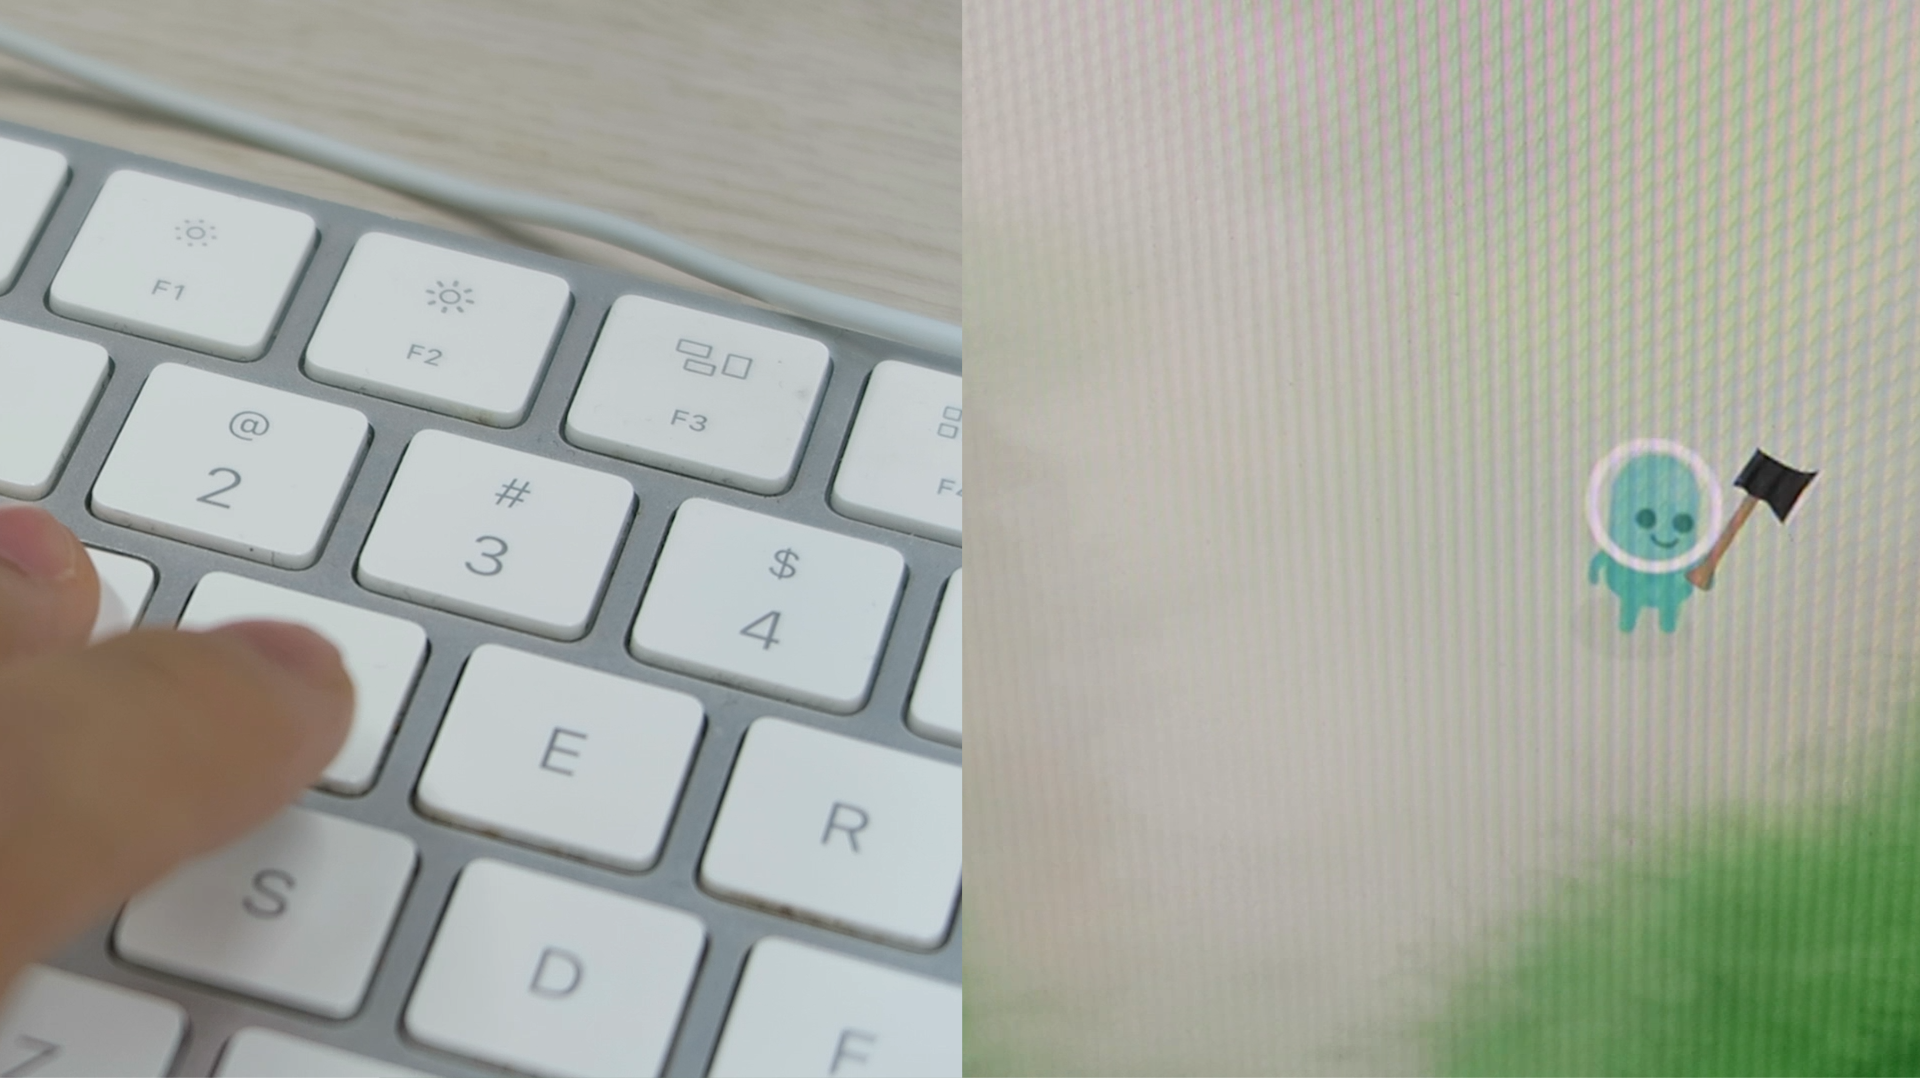
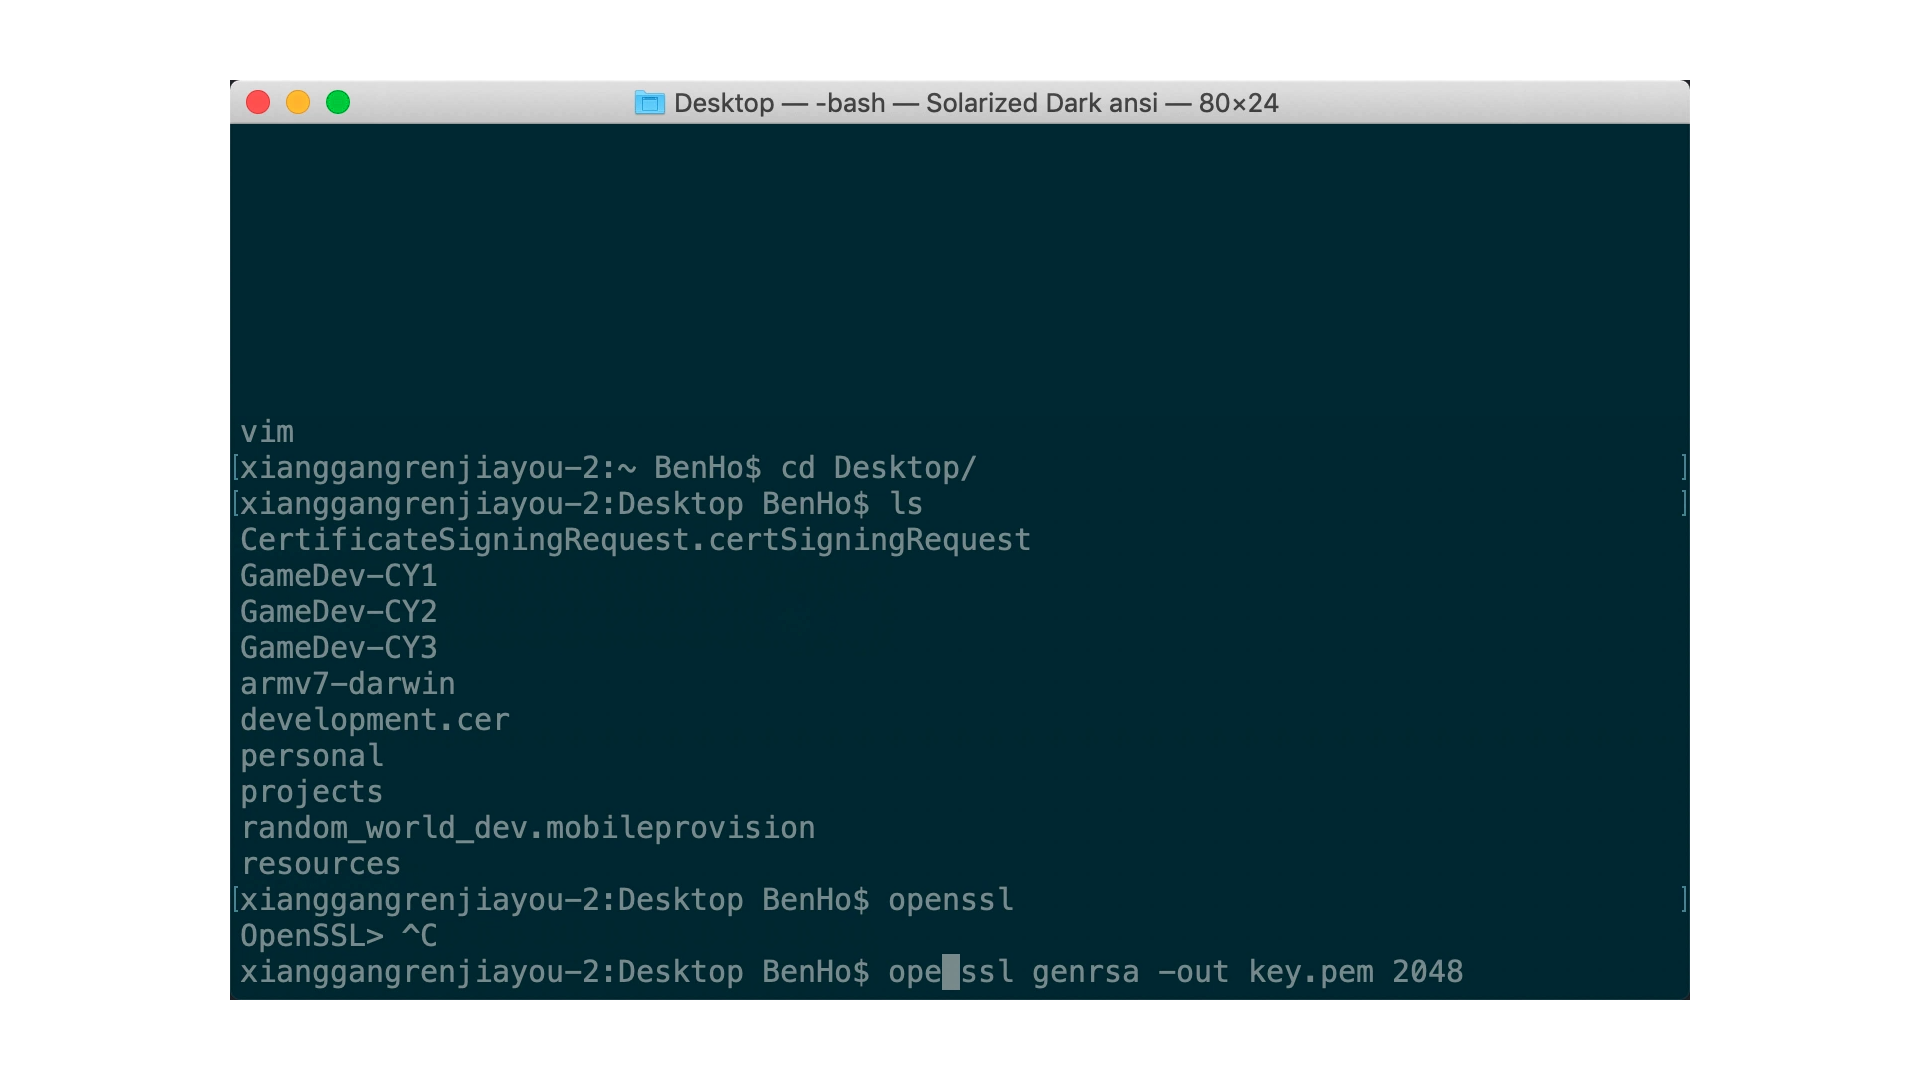
Base on my game concept, I finally select the game engine — Defold. I pick this game engine because of several reasons. First and foremost, although it is not an opensource engine, it does support by King, the company that developed Candy Crush Saga.

Secondly, I would like something more simple. Unity is a little bit overwhelming for my use case as long as I don’t need anything related to 3D.

Lastly, I do know Lua which is the major programming language of Defold and I have developed two side game projects with this engine before. As a result, to minimize the learning curve, Defold is still my best option under my circumstances.

com-video-to-gif

Meanwhile, here are some of the technical tips about Defold game development that I found.

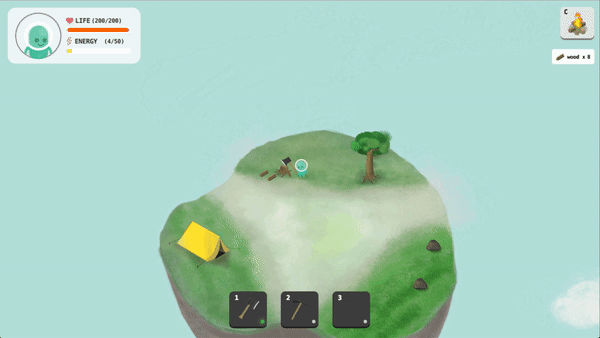
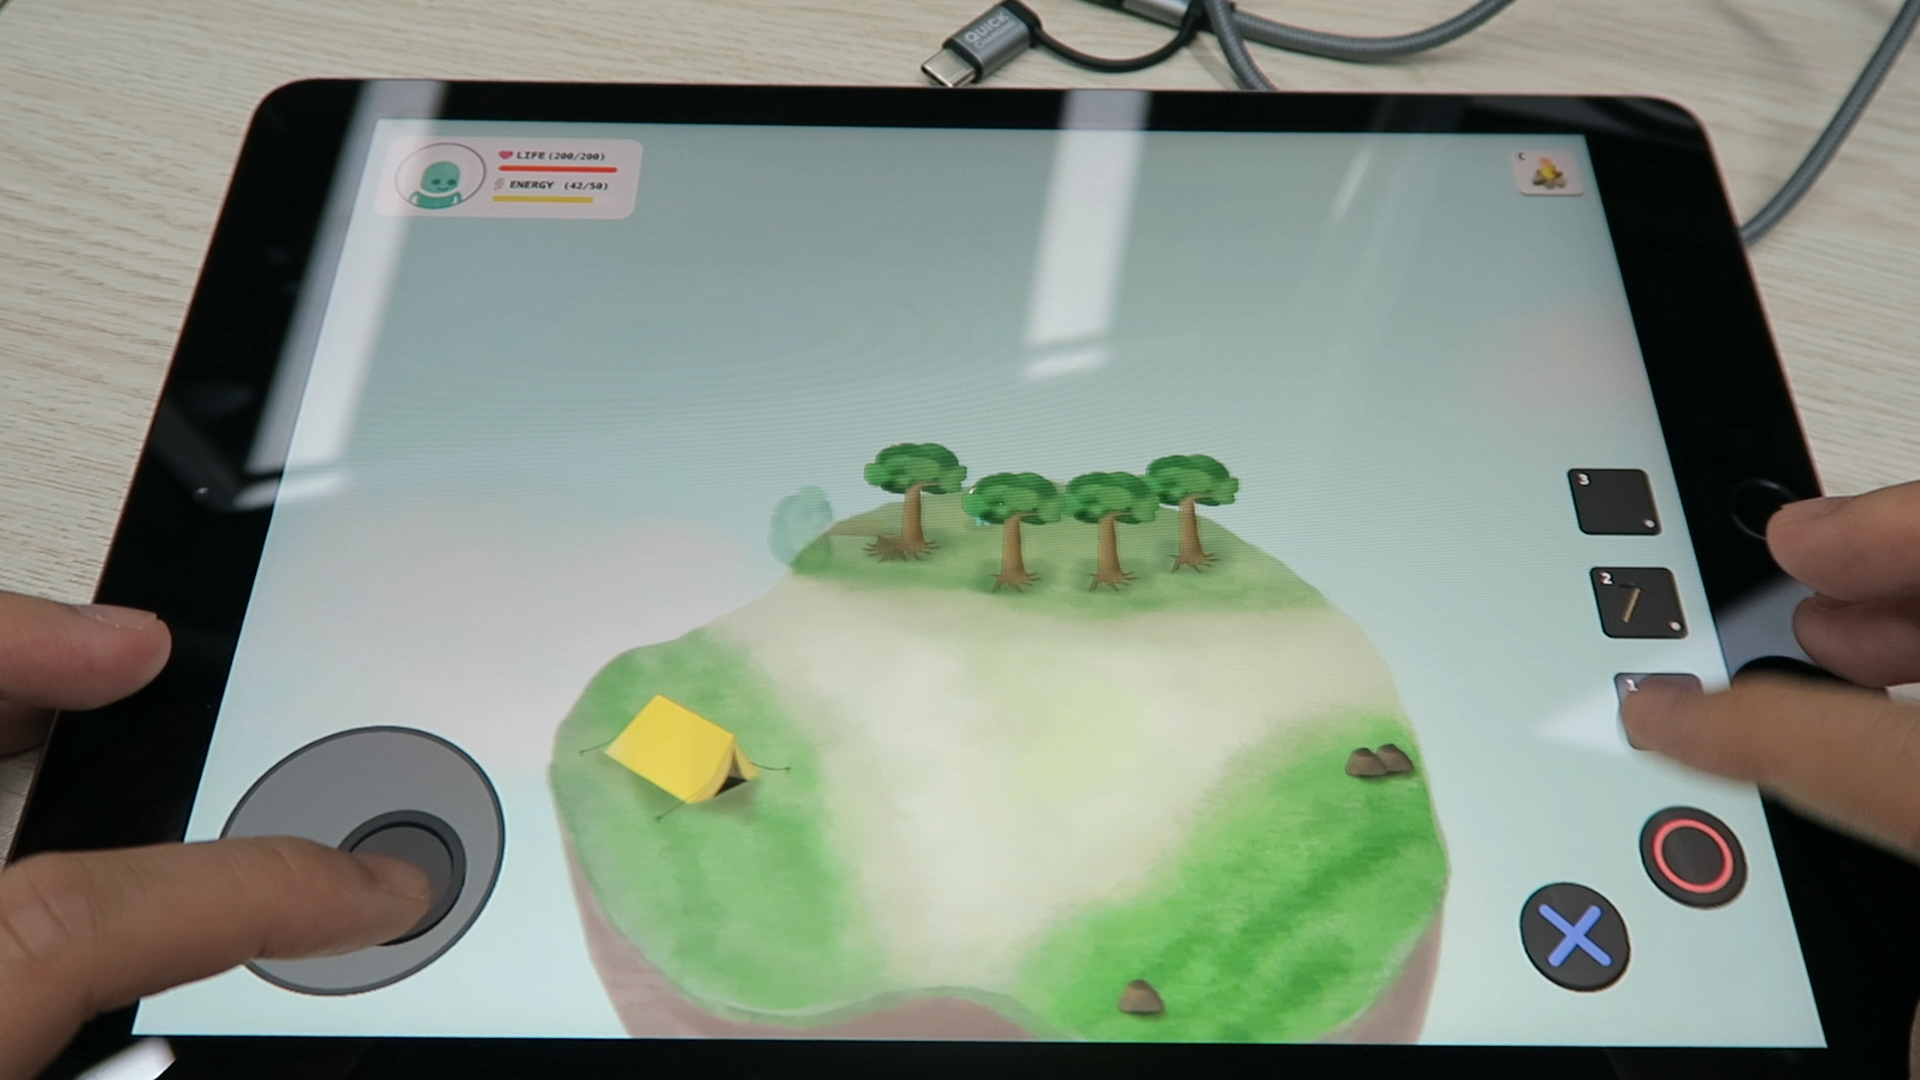
Physic and Collision

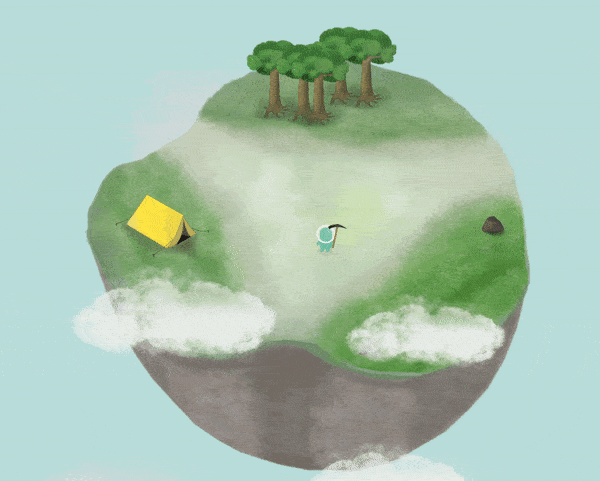
Defold is a great engine to build a 2D game. Basically, it includes a modified version of the Box2D physics engine for 2D physics simulations. It allows you to simulate Newtonian physics interactions between different types of collision objects.

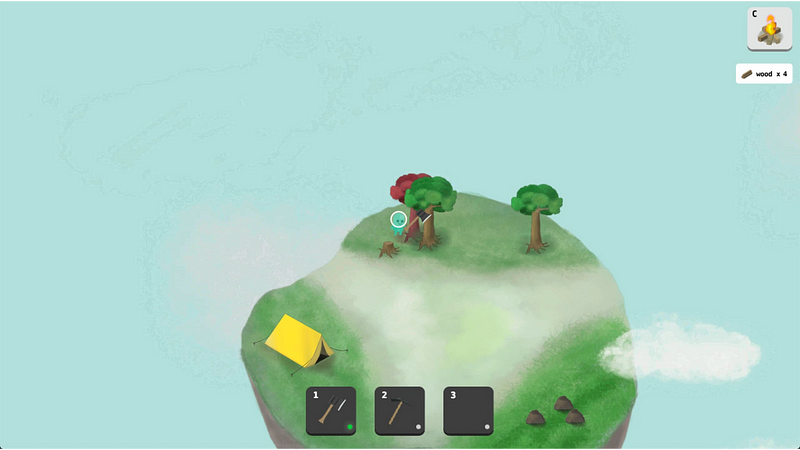
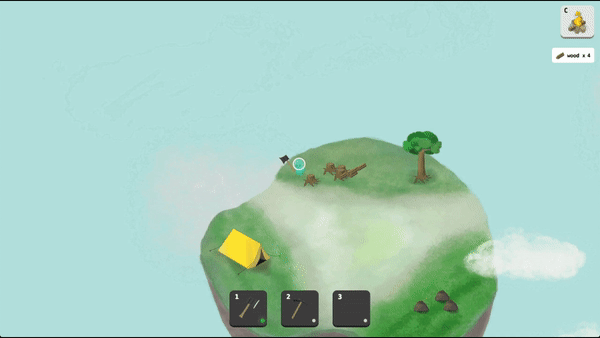
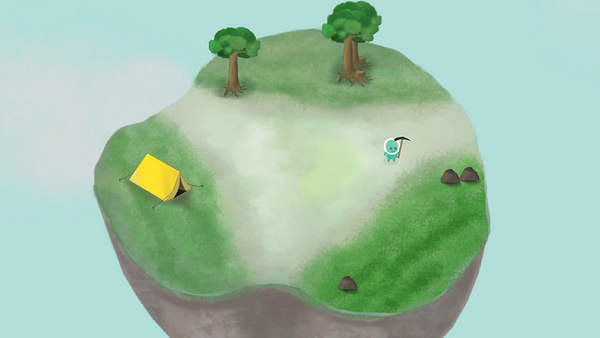
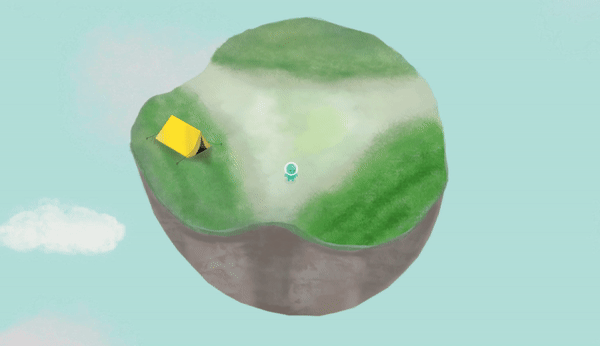
As a result, it becomes very handy for me to build an invisible barrier on the edge of the floating island to avoid my character fall over.

Isometric and 2.5D View

Instead of a traditional platformer, I want the game to look more like an open world. Therefore, the isometric view angle is very good at faking a 3D world which is a 2.5D actually.

Again the collision mechanism helps a lot for handling the shadow and vision effect correctly when the game character interacts with another game object.

Immersive

Obviously, I am not an English native speaker. Immersive is a vocabulary that I learned when I get into the game dev.

I do want the user to feel more immersive when they play my game, so I will spend more time on the little details later on. But so far, I add a little bit friction on the grass terrain when the character walks on it.

Also, I do create a cloud generator in order to have a more dynamic weather system. Clouds are randomly generated and floating around the world. It will decrease the opacity and turns transparent when it collides with the game character to improve the gaming experience.

Marketing

Marketing is so important for game development nowadays. You should start building the brand for your game on Day 1. This is the reason why you are reading this article.

Making use of the social network system, including Facebook, Instagram, and Twitter are also necessary. The key is to build a community for your game. Discord channel and Game Dev subreddit are also a good way to collect user feedback.

Furthermore, I may contact different artists and try to put their artwork into the game later on. This can further increase the stakeholder of the game and build a community.

Conclusion for 1st Week Game Development

Develop a successful game is like winning a lottery ticket. It used to be high risk. So please make sure you can bear the consequences of developing a fail game, in terms of both mentally and monetarily.

After the first-week game dev, I think the 4 steps which are drawing, animating, coding and marketing work pretty smooth so far. I will keep iterating this game dev cycle for a while to see whether there is any positive outcome ultimately.

17 Likes

Cool! Thank you for the detailed write-up of your development journey so far and good luck with your game!

2 Likes

Some updates about the game assets creation.
:fire::camping: Drawing a Campfire with Procreate: https://youtu.be/IVwjdCaWuW8

8 Likes

@kios1 I think you should add Mega Store and Weather Change to the Showcase page! :slight_smile:

1 Like

Ya, sure. I may make it later on as they are my side projects for practicing Defold and Lua only. Gonna polish a little bit more before submit to the showcase page.

1 Like

Cutting Trees and Digging Flint, then what’s next? :laughing:

cut_tree

dig_flint

8 Likes

2020/01/13 New Dev Vlog :slight_smile:

Cutting Trees and Mining Flint to Start a Campfire [Poor Game Dev 2]

Hey, this is Ben and I code your venture free. Welcome back to the second week of my game dev journey. If you haven’t read my previous article, please feel free to check it out beforehand. Anyway, I am very excited to share all the updates this week. So let’s get started.

This week updates: Cutting Trees, Flint Mining and Start a Campfire

Resources Harvesting Mechanism

As I mentioned in the last article, I didn’t know which game genre has the best product-market fit. How about let’s start by building a very simple resource harvesting mechanic.

A Harvesting Cycle

Let’s take a TREE as an example. There are several states of harvesting in the gaming cycle :

  1. Idle — Waiting for the interactions with the player
  2. Harvest — Player harvesting the resources with a tool
  3. Successful — Harvest succeeded and resources available
  4. Collect — Player collect the harvested resources
  5. Regenerate — Resource generate on the game map again after harvesting, back to the state 1

For each of the states above, there will be different animations and interacting s respectively. But the key to this game mechanic is the resource allocation on the game map.

First and foremost, it’s all about the density of the resources — trees cannot be too packed or too close. It will be less fun if the player can harvest the resources without moving around. Therefore, I develop a simple function to ensure the regenerated tree will not get too close to the character (player) each time. By comparing the (x,y) coordinates of the character and the regenerated position on the map, the function guaranteed the new tree will not generate within 100 units range of the character. As a result, after successfully harvesting one tree, the player will have to go back and forth in order to harvest another one.

Secondly, the time of regeneration and randomness is also very important. Randomness is a very large topic of game design. If time is allowed, I will film another video to talk about this. For this time, I just simply use the operating system time as the seed to ensure the tree generation mechanism can achieve a truly random state. I also restrain the maximum total number of trees in the game to 5. Once a tree is being harvested, another one will pop up in 1 second on the game map base on the distance calculation that I mentioned above.

With these two key mechanics, I think it is good enough to build a foundation for a clicker game to keep the player fun and busy.

A Resources Magnetic Field

Inspired by the Dead Cells and Nuclear Throne, I also develop a resource magnetic feature. The player can carry a resource magnet (which can be upgraded later on) which can produce a magnetic field to pull and collect the harvested resources. The magnetic field will automatically initiate once it is close enough and collides with the resources.

Same as mining flint and many more

To start a campfire, you also need a flint. Therefore, with the two pillars above, the same game mechanics can be applied to the flint harvesting and many more.

However, it does not make any sense to mine flint with an ax. Therefore, I draw a pickaxe and build a simple tool switching mechanism.

Crafting Mechanism

With both wood and flint in hand, you are good enough to start a campfire. So, it’s time to build a crafting mechanism.

Firstly, I would like to solve the problem of overlapping. There are many game objects in the world, say the resources, it is always good to avoid the crafting object collides with each other in the game. I don’t allow the player to craft stuff on top of another game object.

Once a player wanna craft a campfire, the game will enter a crafting mode to check whether the crafting position will overlap with other game objects. If it does, the crafting position will turn red. At the same time, if the crafting position is a green light, then you are good to go and resources will be deducted.

Also, every crafting object has its life. I mean nothing is permanent in the game and things will be deteriorated from time to time. After 12 seconds, a basic campfire will burnout and you will have to start another one again.

You can maintain the campfire by consuming wood or flint. I will develop this game mechanic later on.

Graphic User Interface

Finally, I also developed a basic graphical user interface before the end of this week. One of the interesting design is to mimic the mac keyboard as I am an Apple fanboy.

More useful information and user menus will be developed later on, say showing the HP of the character and the crafting/bag menu.

Next Week Goal

So, that’s the wrap up of this week game dev. Thanks for reading the article. Next week, I am going to improve the graphical user interface, polish the game a little bit more and publish the very alpha version of this game to different platforms. Stay tuned.

6 Likes

Feeling Tired? Just Start a Campfire and Take a Break :grinning::laughing:

com-video-to-gif

A very early bird early access alpha version: randomworld.kios.studio
Just host it on AWS S3, more details in the Dev Vlog later on

10 Likes

Long Story Short

App Store: https://apps.apple.com/us/app/random-world/id1495134469?ls=1

Google Play Store: https://play.google.com/store/apps/details?id=randomworld.kios.studio

HTML5: https://randomworld.kios.studio/

Lastest Devlog : https://youtu.be/70adUCtVc-c

Please give me some feedback on Discord Channel: https://discord.gg/tazSKQ

Hey, this is Ben and I code your venture free. Welcome back to a new episode of my game dev journal. In the last episode, I build a simple clicker game mechanic to allow players to cut trees and mine flint. Also, a crafting mechanic is available for starting a campfire to recover the game character’s energy.

This week, I am going to launch the early-bird version of the game to the App Store, the Google Play Store, and a self-hosted website. But before that, I want to optimize the user interface for mobile devices to make sure it is mobile-friendly.

Developing a Virtual Gamepad UI

If a user plays the game in the web browser with his computer, he can use a mouse and keyboard as inputs to control the character in the virtual world. However, it is difficult for an iPad user to carry a Bluetooth keyboard or a Dualshock 4 anytime to play the game. As a result, a virtual gamepad is a decent solution to the problem.

Along with the development, one of the interesting mechanics is the virtual analog stick. I develop a simple function to map the movement of the analog stick to the character. By measuring the moving magnitude of the analog stick we can map the movement to the game character on ratio.

Multitouch is another tricky point on mobile devices. By default, the Defold game engine has an input function to handle multi-touch events. Therefore, players are able to wave an ax while moving around at the same time.

Lastly, I also optimize the GUI for both tablets and phones. By setting up two different profiles in the Defold project, we can adjust the GUI according to the resolution of the devices. For example, I move the tool switching hotkeys to the right-hand-side on the iPad while remaining them at the bottom for devices with a smaller screen. It was because it is harder for a player to move his thumb to the center of the screen when he is playing the game on a larger device. I will also customize another profile for portrait mode later on. Right now, the game UI is only available for landscape mode.

HTML5: Hosting on AWS S3 + Itch.IO

If you are a reader of my articles or a subscriber of my YouTube channel, you already know that I earn a lot of free cloud credits from the YC startup school program last year. So when it comes to a static site, I immediately think about the AWS S3 service.

S3 stands for S imple S torage S ervice, which is a service offered by Amazon Web Services that provides object storage through a web service interface. By creating a bucket and uploading all the HTML documents, a static hosting solution is a piece of cake. But bear in mind that the bucket policy is also very important. A wrong bucket policy may not authorize your players to access your game correctly. Here’s the snippet of my bucket policy :

Alright, the site is ready and everything works well. It’s time to set up a domain for the site. I used to manage all the DNS records on Cloudflare. Cloudflare DNS management service is secure, simple and stable. It also comes with an auto-renewal SSL certificates by default. I set up a subdomain with the CNAME record randomworld.kios.studio with the admin dashboard. Within a minute, the site is ready and can be accessed easily.

Speaking in terms of HTML5 Game hosting, Itch.IO is a platform that every game developers know. I also try to deploy my game on the platform and it is simple and easy. However, if you wish to host the game by yourself and have a custom domain, please dig deeper into the solution that I mentioned above.

IOS Devices: App Store

Comparing with hosting a static site, publishing an app on the App Store is always harsh and tedious.

First of all, you have to pay for an annual fee of $99 USD to join the developer program every year. After paying to be an eligible developer, you also need to make sure to configure all the certificates, provision files, and device identifiers correctly.

One thing worth to mention is that the development certificate and distribution certificate are two different certs to sign your app. Remember the former one is for testing purposes and limited the testing devices that you registered in the developer program. While the later one is for production usage. For the details, please follow the documentation on the Defold websites and the Apple developer site.

I have bundled a debug build and test it on the latest version of my iPad and the oldest version of the iPhone SE. Both of them work pretty well. Also, Apple has a very strict policy on app icons’ size and launch image s. Please make sure you set up everything with the correct resolution.

Lastly, I use the Mac application Transporter to upload the binary to the iTunes Connect. It is much more easily compared with using XCode or CLI. After filling all the information and uploading all the screenshots, by clicking the submit button, we are on the review queue and just need some luck.

Android Devices: Google Play Store

Although I am an Apple fanboy, I never forget the Android users. Compare with IPA, building an APK is easier.

First and foremost, you can sign your application with a self-generated certificate with OpenSSL. Here’s the snippet of the command :

Please make sure that you have back up your certificates. otherwise, you will not able to release an updated version of your app later on.

Again, I also tested my application on a very old Motorola Android Phone and an LG tablet before release the official build on the Google Play Store. Apart from the simple steps, the price of the Google Developer Program is also more friendly, which is a $25 USD one-off payment.

After configuring the store presence and filling the age rating questionnaire, we are good to go and click the launch button.

Next Week Goal

So my game is waiting for review. According to my experience, there should be some back and forth before launching the game successfully.

In the coming week, I am going to create more content for the game. Instead of the clicker base mechanic, I would like to polish the game a little bit more and make it like a sandbox game. For analytic and live-ops later on, I will also integrate the game with a backend (Microsoft PlayFab Service).

Anyway, thanks for reading the article. Stay tuned and see you guys in the next episode.

13 Likes

22/01/2020
Developing a Loading Screen and Integrate with PlayFab
com-video-to-gif

23/01/2020
Developing the Craft Menu
com-video-to-gif%20(1)

8 Likes