It is not that complex although you do need to mess with the render script, a shader and some new materials. The basic idea is this:
STEP 1 - DRAW NORMAL COMPONENTS TO RENDER TARGET
Draw your sprites, tilemaps and any other components you have in your game to a render target (a texture in memory) instead of directly to screen.
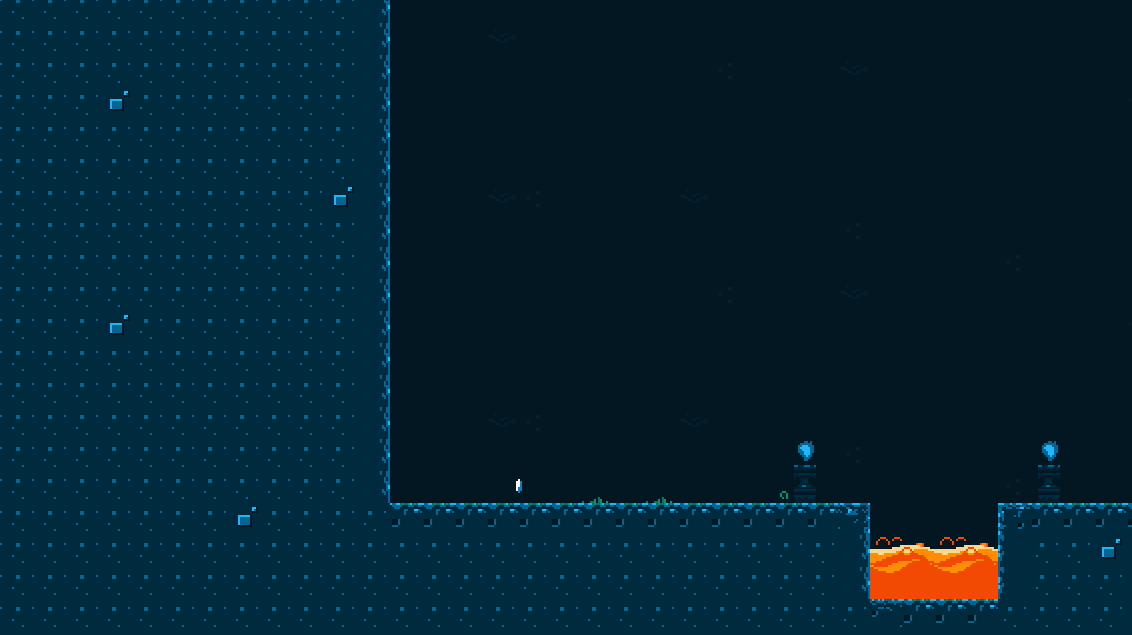
You create a render target using render.render_target(). You enable it in your render script, draw using the normal render calls, then disable it again. Done!
STEP 2 - DRAW LIGHTS TO RENDER TARGET
Draw your lights to another render target. Clear the render target with a semitransparent black color for some ambient light.
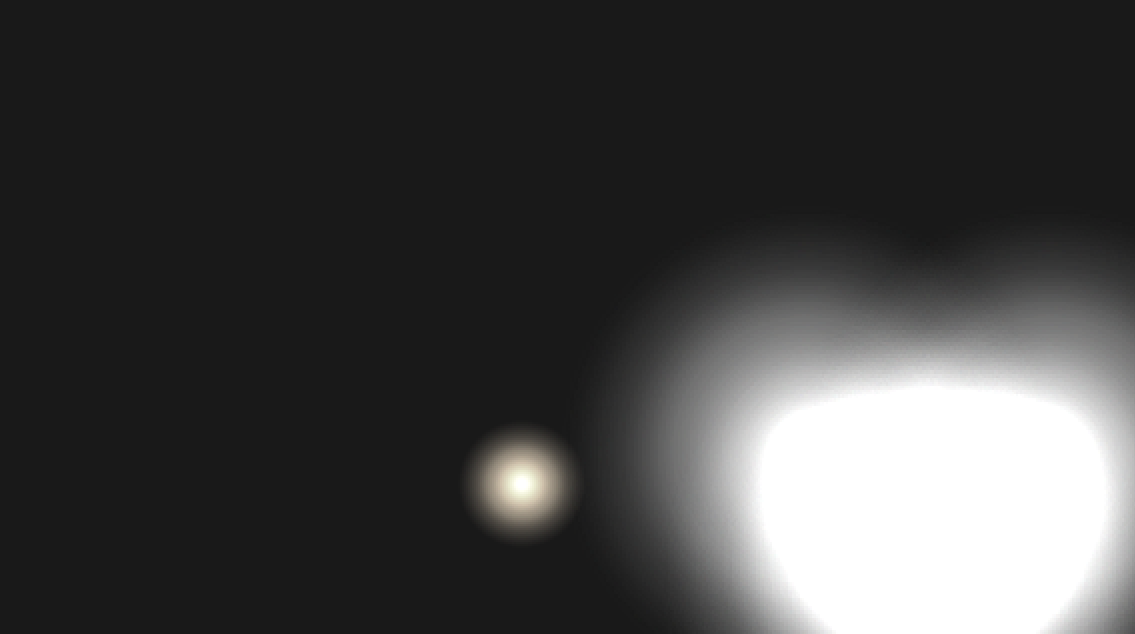
In this example the lights are circular sprites of various sizes and with increasing transparency.
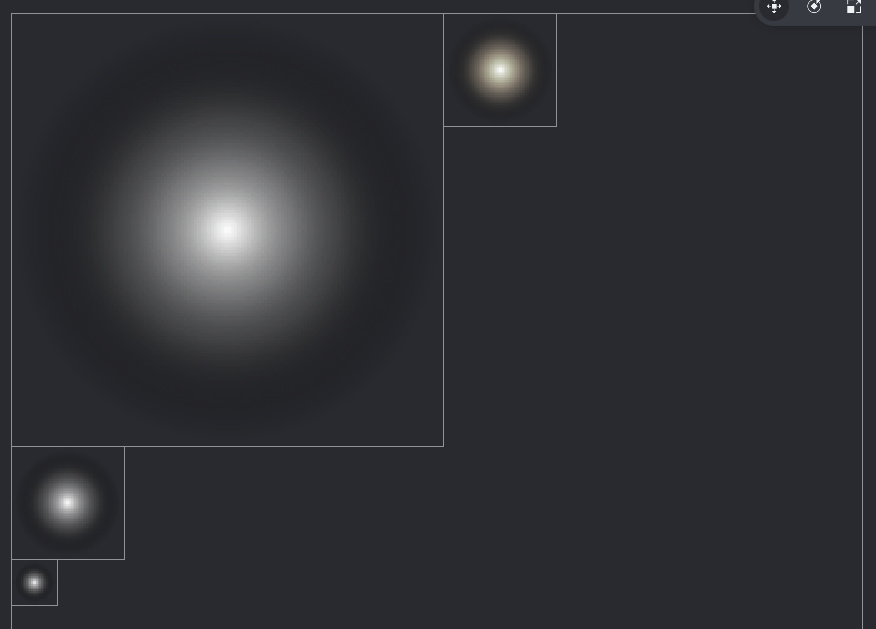
They are drawn with a Blend Mode set to Add instead of Alpha.
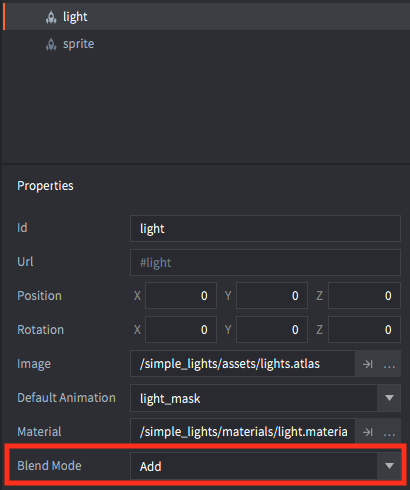
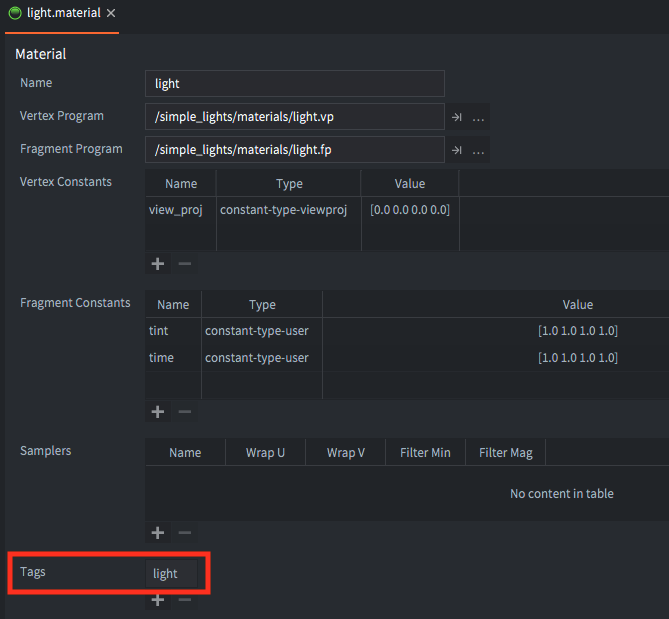
The sprites have a different material assigned than the normal sprite material. The material uses another tag/predicate so that it doesn’t get drawn with everything else in step 1.
STEP 3 - DRAW A MIX OF BOTH RENDER TARGETS TO A QUAD ON SCREEN
Draw a mix of the two render targets to a model component with a quad (a rectangle) and draw it so that it fills the entire screen.
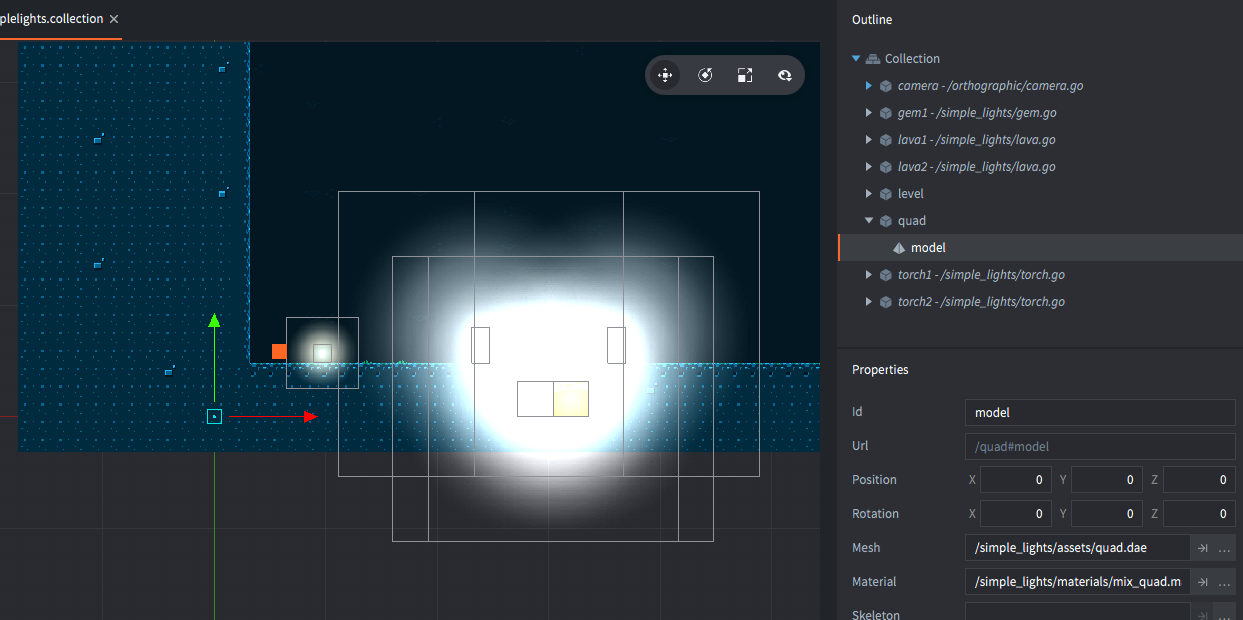
The quad has a separate material which takes two textures as input parameters and it uses a new tag/predicate so that we can draw it in a separate pass.
Each pixels is a multiplication of the pixel value from the normal graphics and the light. Final result:
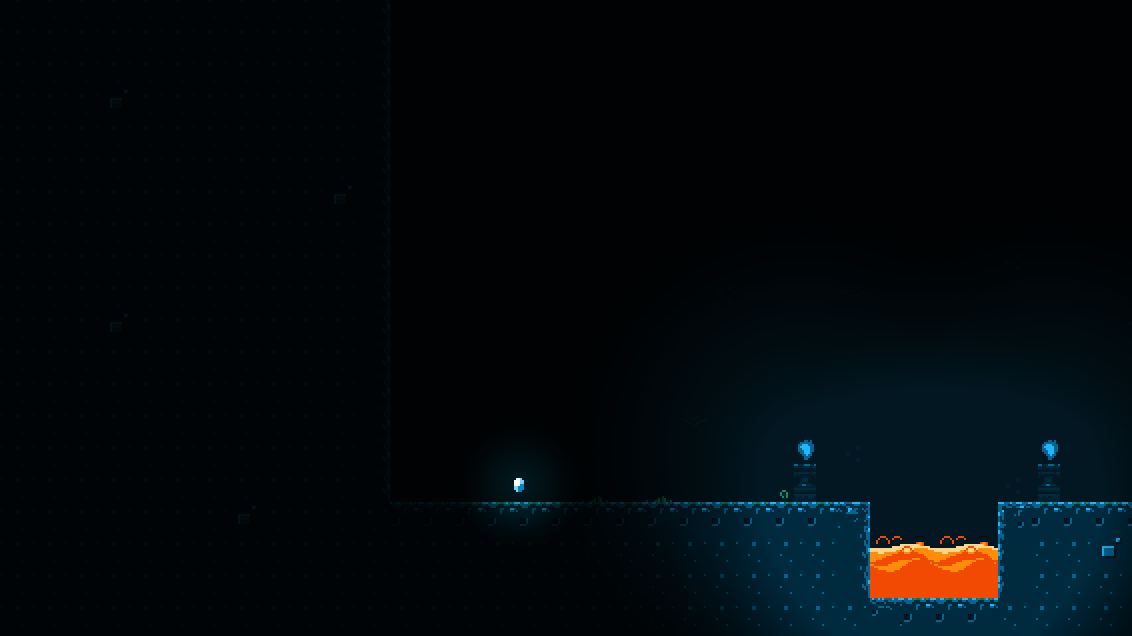
I’ve put it all together in an example here:
CODE: publicexamples/examples/simple_lights at master · britzl/publicexamples · GitHub
DEMO: Simple Lights 0.0