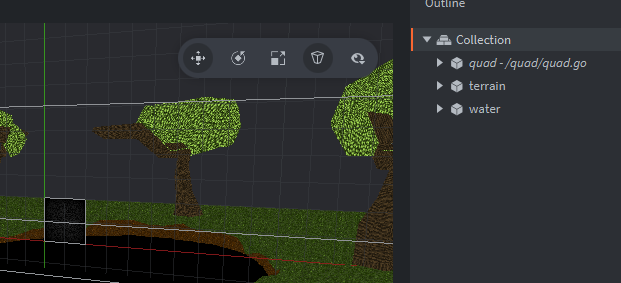
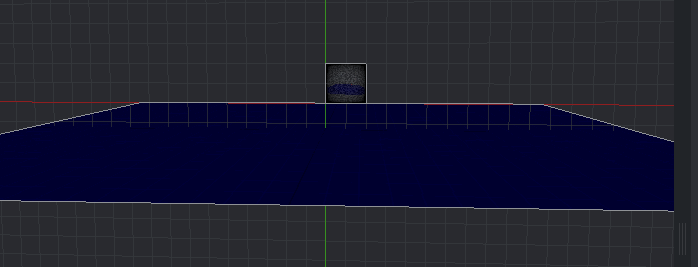
I’m on a quest to learn more about render targets. My goal is to make stuff like refractive and reflective water and mainly apply shaders to simulate old CRT TVs and alike. Problem is, IDK much about render targets in defold and documentation is scarse. I mean, there’s documentation, but it is not that good for beginners. If one knows where i can learn more about it id be greatly thankfull. But my question here is: how can i render a scene as a texture? If i can do this, it would be half way done. In plain opengl i found these tutorial series on how to do that, but i couldnt quite translate it to defold. If i can learn more about how to use the functions render.enable_texture, render.render_target and alike, id be good to go. Any help is appreciated.
This is my current render script, i got it from rendercam extension and manipulated a bit to some extent, but not too much. This script got my screen to blink once with all the objects in the scene and then goes pure black:
local rendercam = require "libs.rendercam.rendercam"
local vp = rendercam.viewport

local IDENTITY_MATRIX = vmath.matrix4()
local CLEAR_COLOR = hash("clear_color")
local WINDOW_RESIZED = hash("window_resized")
local UPDATE_WINDOW = hash("update window")


local function update_window(self)
	rendercam.update_window(render.get_window_width(), render.get_window_height())
	self.gui_proj = vmath.matrix4_orthographic(0, rendercam.window.x, 0, rendercam.window.y, -1, 1)
end

function init(self)
  local color_params = { format = render.FORMAT_RGBA,
                         width = render.get_window_width(),
                         height = render.get_window_height(),
                         min_filter = render.FILTER_NEAREST,
                         mag_filter = render.FILTER_NEAREST,
                         u_wrap = render.WRAP_CLAMP_TO_EDGE,
                         v_wrap = render.WRAP_CLAMP_TO_EDGE }

  local depth_params = { format = render.FORMAT_DEPTH,
                         width = render.get_window_width(),
                         height = render.get_window_height(),
                         u_wrap = render.WRAP_REPEAT,
                         v_wrap = render.WRAP_REPEAT }

  self.my_render_target = render.render_target({[render.BUFFER_COLOR_BIT] = color_params, [render.BUFFER_DEPTH_BIT] = depth_params })
  render.set_render_target(self.my_render_target)

	self.tilemap_pred = render.predicate({"tilemap"})
	self.gui_pred = render.predicate({"gui"})
	self.shadows_pred = render.predicate({"shadows"})
	self.text_pred = render.predicate({"text"})
	self.model_pred = render.predicate({"model"})
	self.particle_pred = render.predicate({"particle"})
	self.sprite_pred = render.predicate({"sprite"})

	self.clear_color = vmath.vector4(0)
	self.clear_color.x = sys.get_config("render.clear_color_red", 0)
	self.clear_color.y = sys.get_config("render.clear_color_green", 0)
	self.clear_color.z = sys.get_config("render.clear_color_blue", 0)
	self.clear_color.w = sys.get_config("render.clear_color_alpha", 0)

	rendercam.configWin.x = render.get_width();  rendercam.configWin.y = render.get_height()
	rendercam.update_window_size(render.get_window_width(), render.get_window_height())
	update_window(self)
end

function update(self)
	render.set_depth_mask(true)
	render.set_stencil_mask(0xff)
	render.clear({[render.BUFFER_COLOR_BIT] = self.clear_color, [render.BUFFER_DEPTH_BIT] = 1, [render.BUFFER_STENCIL_BIT] = 0})

	render.set_viewport(vp.x, vp.y, vp.width, vp.height)

	render.set_view(rendercam.calculate_view())
	render.set_projection(rendercam.calculate_proj())

	-- Sprite and particle rendering
	render.set_depth_mask(false)
  render.enable_state(render.STATE_DEPTH_TEST)
	-- render.disable_state(render.STATE_DEPTH_TEST)
	render.disable_state(render.STATE_STENCIL_TEST)
	render.enable_state(render.STATE_BLEND)
	render.set_blend_func(render.BLEND_SRC_ALPHA, render.BLEND_ONE_MINUS_SRC_ALPHA)
	render.disable_state(render.STATE_CULL_FACE)

	render.draw(self.tilemap_pred)
	render.draw(self.shadows_pred)
	render.draw(self.particle_pred)

	-- Model rendering
	render.set_blend_func(render.BLEND_SRC_ALPHA, render.BLEND_ONE_MINUS_SRC_ALPHA)
	render.enable_state(render.STATE_CULL_FACE)
	render.enable_state(render.STATE_DEPTH_TEST)
	render.set_depth_mask(true)
	render.draw(self.model_pred)

	-- Debug rendering - physics debug, draw_line
	render.disable_state(render.STATE_DEPTH_TEST)
	render.disable_state(render.STATE_CULL_FACE)
	render.draw_debug3d()

	-- GUI Rendering
	render.set_viewport(0, 0, rendercam.window.x, rendercam.window.y)
	render.set_view(IDENTITY_MATRIX)
	render.set_projection(self.gui_proj) -- gui_proj only calculated on update_window

	render.enable_state(render.STATE_STENCIL_TEST)
	render.draw(self.gui_pred)
	render.draw(self.text_pred) -- Includes debug text from "draw_text" messages.
	render.disable_state(render.STATE_STENCIL_TEST)

  render.set_render_target(render.RENDER_TARGET_DEFAULT)
  render.enable_texture(0, self.my_render_target, render.BUFFER_COLOR_BIT)
end

function on_message(self, message_id, message)
	if message_id == CLEAR_COLOR then
		self.clear_color = message.color
	elseif message_id == WINDOW_RESIZED then -- sent by engine
		update_window(self)
	elseif message_id == UPDATE_WINDOW then -- sent by rendercam when a camera is activated ("window_resized" engine message requires data)
		update_window(self)
	end
end

 Drawing to the render target, and drawing the render target to the screen are two separate things, you want to use different view and project matrices to draw the render target to the screen (an orthographic projection, presumably). Usually you set the view matrix to “nothing” (an identity matrix), and the project to an orthographic one that makes your quad with the render target on it fill the whole window. This is discussed in the thread I linked as well.

