Camera and rendering, how to? (SOLVED)

Hi,

I’m using a camera on my platformer game but I would like to put the camera closer to the player (so zoom in a bit) but I don’t understand how to use Cameras and renders :frowning:

Someone can explain a bit more than the defold doc please ?
Which files needed ? And how to set them ?

So desperate…:frowning: thanks in advance

Prawn

I haven’t actually tried this myself, but after reading the camera documentation it seems as the only thing you have to do is to add the camera component to a game object and let it acquire camera focus. Once the camera is added and has focus it will post it’s current view projection to the render script.

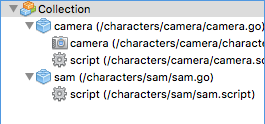
This should be described clearly in the camera documentation but if any part of the documentation is unclear then please let us know where you get stuck and maybe share your script file where you acquire camera focus and post a screenshot of your collection with the camera game object.

Zooming in and out should be as easy as modifying the z position of the game object the camera is attached to.

Actually, the default render script does orthogonal rendering so the Z position has no effect. The camera and rendering documentation explains how this is set up.

2 Likes

I tried but it doesn’t work :frowning: I have a script error on set_projection function
and lerp function.

I’ve copied the default.render et default.render_script to another place and renamed them as custom.*
Then I’ve changed the render in my game.project to custom.render.

Here is my collection:

My project contains 3 screens : 1 Main menu, 1 Levels menu and 1 Game screen (where the player plays :slight_smile: )
My camera is only present on my Game screen and follows the player

Here’s my camera.script:

screen_width = tonumber(sys.get_config("display.width"))
screen_height = tonumber(sys.get_config("display.height"))
    
function init()
    msg.post("#camera", "acquire_camera_focus")
end

function on_message(self, message_id, message, sender)
    if message_id == hash("follow") then
        local pos_x = message.position.x - (screen_width/ 2)
        if pos_x <= 0 then
            pos_x = 0
        elseif pos_x >= screen_width then 
            pos_x = screen_width
        end
        
        local pos_y = message.position.y - (screen_height / 2)
        if pos_y <= 0 then
            pos_y = 0
        elseif pos_y >= screen_height then 
            pos_y = screen_height
        end
                
        go.set_position(vmath.vector3(pos_x, pos_y, 0))
    end
end

My player.script just send a message “follow” to the camera.script to make it follow.

Here’s my custom.render_script:

function init(self)
    self.tile_pred = render.predicate({"tile"})
    self.gui_pred = render.predicate({"gui"})
    self.text_pred = render.predicate({"text"})
    self.particle_pred = render.predicate({"particle"})

    self.clear_color = vmath.vector4(0, 0, 0, 0)
    self.clear_color.x = sys.get_config("render.clear_color_red", 0)
    self.clear_color.y = sys.get_config("render.clear_color_green", 0)
    self.clear_color.z = sys.get_config("render.clear_color_blue", 0)
    self.clear_color.w = sys.get_config("render.clear_color_alpha", 0)

    self.view = vmath.matrix4()
end

function update(self)
    render.set_depth_mask(true)
    render.clear({[render.BUFFER_COLOR_BIT] = self.clear_color, [render.BUFFER_DEPTH_BIT] = 1, [render.BUFFER_STENCIL_BIT] = 0})

    render.set_viewport(0, 0, render.get_window_width(), render.get_window_height())
    render.set_view(self.view)

    render.set_depth_mask(false)
    render.disable_state(render.STATE_DEPTH_TEST)
    render.disable_state(render.STATE_STENCIL_TEST)
    render.enable_state(render.STATE_BLEND)
    render.set_blend_func(render.BLEND_SRC_ALPHA, render.BLEND_ONE_MINUS_SRC_ALPHA)
    render.disable_state(render.STATE_CULL_FACE)

    render.set_projection(self.projection)

    render.draw(self.tile_pred)
    render.draw(self.particle_pred)
    render.draw_debug3d()

    render.set_view(vmath.matrix4())
    render.set_projection(self.projection)

    render.enable_state(render.STATE_STENCIL_TEST)
    render.draw(self.gui_pred)
    render.draw(self.text_pred)
    render.disable_state(render.STATE_STENCIL_TEST)

    render.set_depth_mask(false)
    render.draw_debug2d()
end

function on_message(self, message_id, message)
    if message_id == hash("clear_color") then
        self.clear_color = message.color
    elseif message_id == hash("set_view_projection") then
        self.view = message.view
        self.projection = message.projection
    end
end

Up, nobody to help me… :frowning:
I just want to make my camera closer, that’s all, please :frowning:

Studying this version of the render script may help you - it’s from a 3d project example

main.render_script.lua (1.3 KB)

1 Like

To “zoom” an orthogonal camera you need to change the left, right, top and bottom values instead of the actual Z-position. Try playing around with the projection matrix like this:

local zoom_value = 0.5
local proj_mtx = vmath.matrix4_orthographic(-render.get_width() / 2.0 * zoom_value, render.get_width() / 2.0 * zoom_value, -render.get_height() / 2.0 * zoom_value, render.get_height() / 2.0 * zoom_value, -1, 1)
render.set_projection(proj_mtx)

(I haven’t had time to test this myself, so please excuse any errors in the code. :slight_smile: )

2 Likes

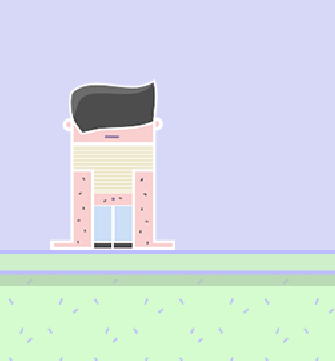
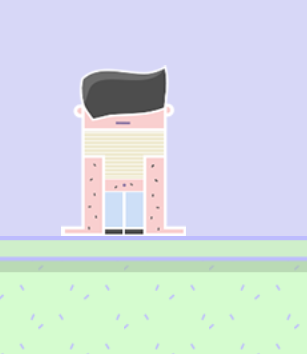
Thanks a lot Sven it works. I changed some of your value of course and now it’s fine :slight_smile: but one more thing, now my graphics are a bit “blurred” :confused: it’s a 2D game I make, with 128x128px tilemap, is there a way to avoid this blur thing ?

2 Likes

Awesome! :smiley:

I think what you encounter with blurred graphics is due to texture filtering, linear vs nearest, have a look at this post: Low resolution pixel art game

1 Like

Thanks I will take a look on it, and now I have to manage my render only to render when the player is playing ^^ and not on the main menu

1 Like

Can I have multiple render ? :slight_smile:

Depends on what you mean. You can have one render script, but that can include other files.

The render script can do arbitrary passes. You can do post processing, light/shadow passes, split screen or whatever you like.

1 Like

Oh ok I will you msg.post("@render",…) to change my rendering right ?

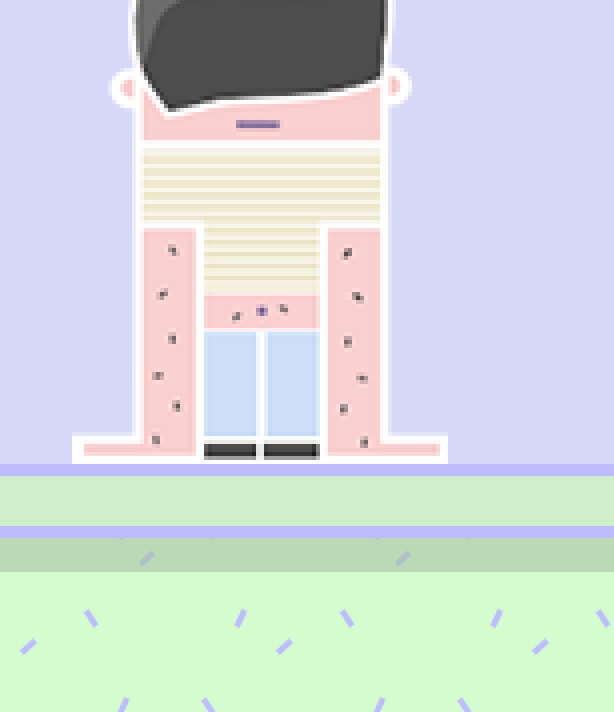
Now it’s not blurred anymore but it’s “too sharp” I mean it’s like there’s no antialiasing, even if I change the “samples” settings in my game.project it doesn’t change anything

All messages you send to @render: will arrive in the on_message() function in your render script and you can react to it as you see fit.

2 Likes

Yes I’ve done that and it works fine :slight_smile: thanks

I’m working on the “too sharp” thing now :confused:

Can you give us an screenshot that highlights this sharpness? :slight_smile:

Here is it:

it looks like every strokes who are not straight aren’t clean.

FYI: if I don’t zoom with my camera all strokes looks normal, neither too blurred neither too sharp

I think it’s something that happens if you zoom on something that uses nearest as filtering… :frowning: How did it look with linear? Does it look better if you have nearest and zoom at exactly x2 (0.5 in my example)?

Are the sprites scaled btw?

With linear, it’s a bit blurred (I’m at 1.5 in my case):

With zoom x2 (0.5):

And my sprite is not scaled, the character is at 1,1,1 and for the ground I use tilemaps.