
I tried that a few times but only got black screen
1 Like
Did you tell your render script to use the projection from the camera?
msg.post("@render:", "use_camera_projection")
Check the position of the camera?
Yeah, I just copy and paste the code.
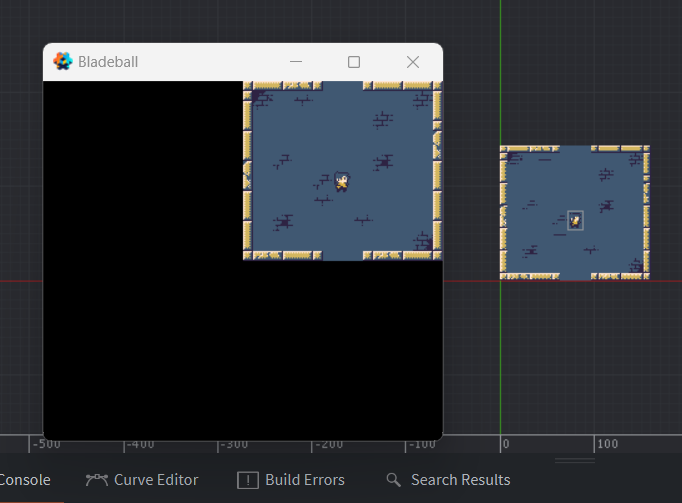
Could it be that I didn’t build the map in the center when I made it?
Is there a way to move the tile map without re-drawing it?
Did you check the Orthographic checkbox of the camera component?
That doesn’t matter. Just move the camera game object to center it on the map.
1 Like
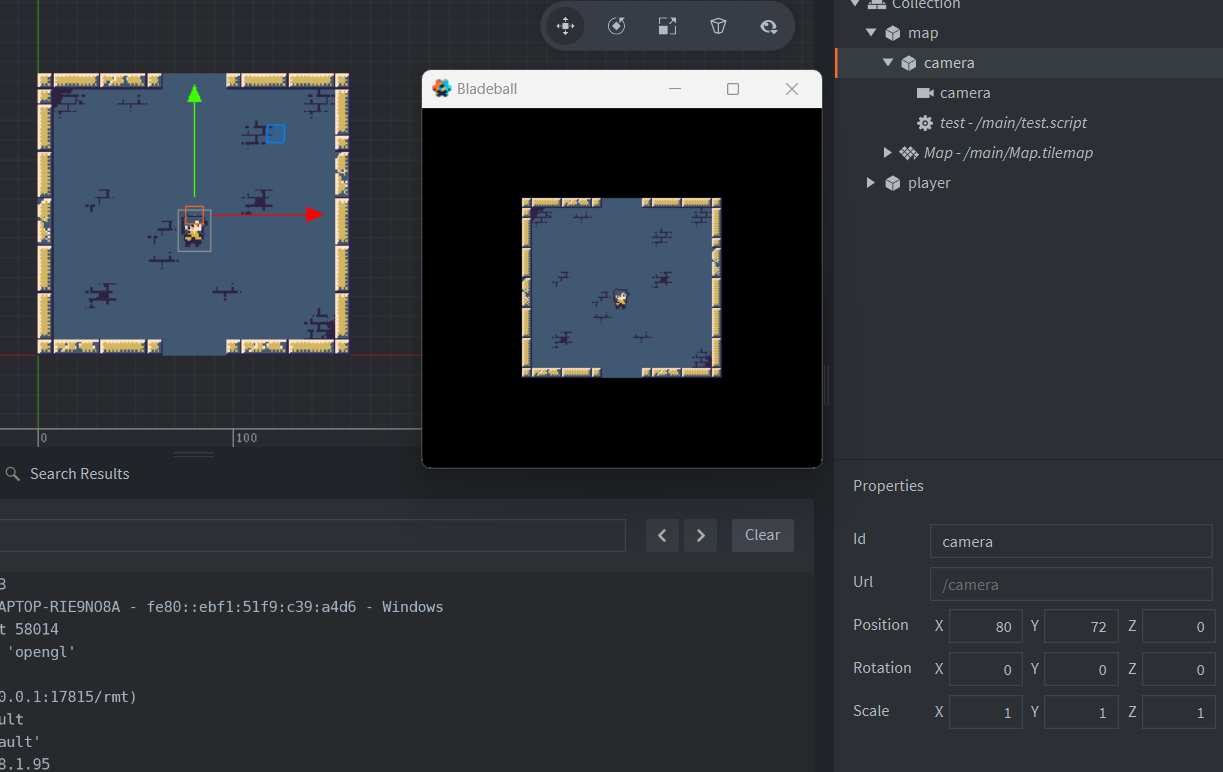
Yep, that is why I suggested it! And you can modify the camera zoom as well to get that 2x zoom you had before.
1 Like
Thank you ![]()
I’m glad I made this series, it turns out I am the one who got the most help. ![]()
1 Like
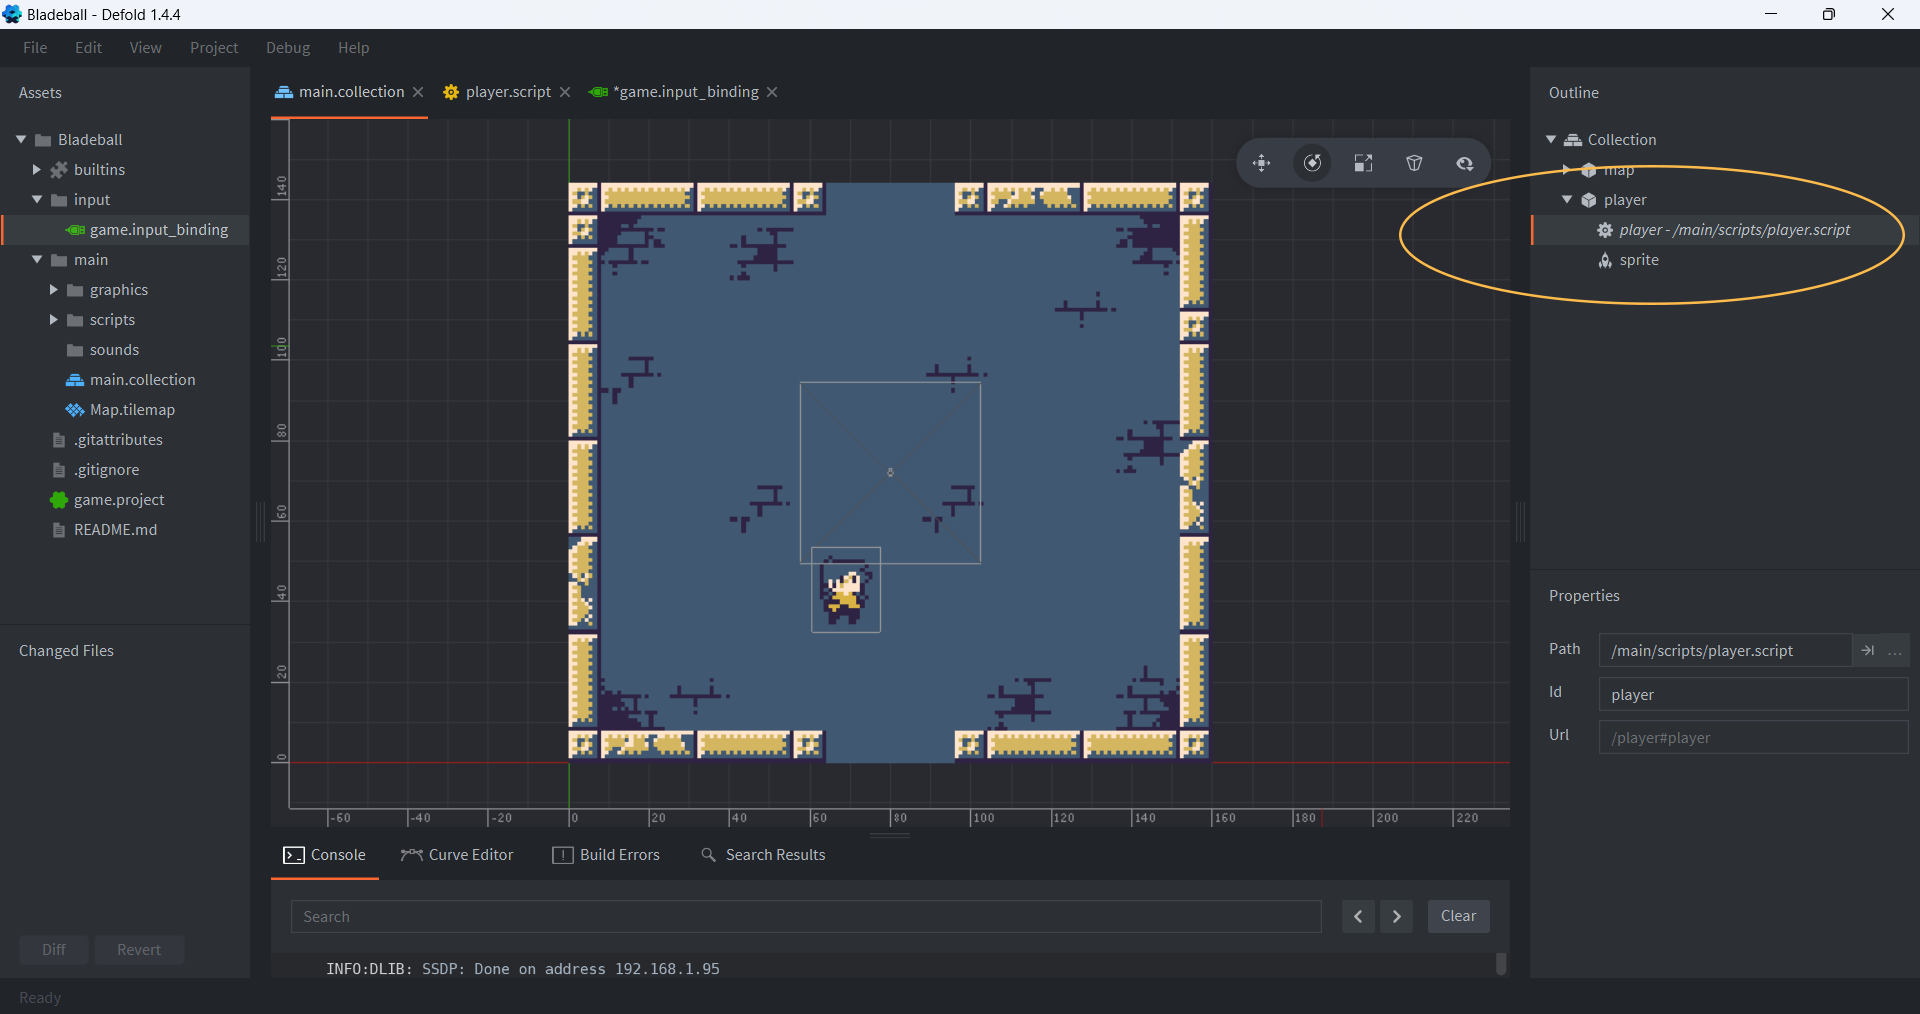
To make the player move, we will also need another script. I will just name it “player” for simplicity.
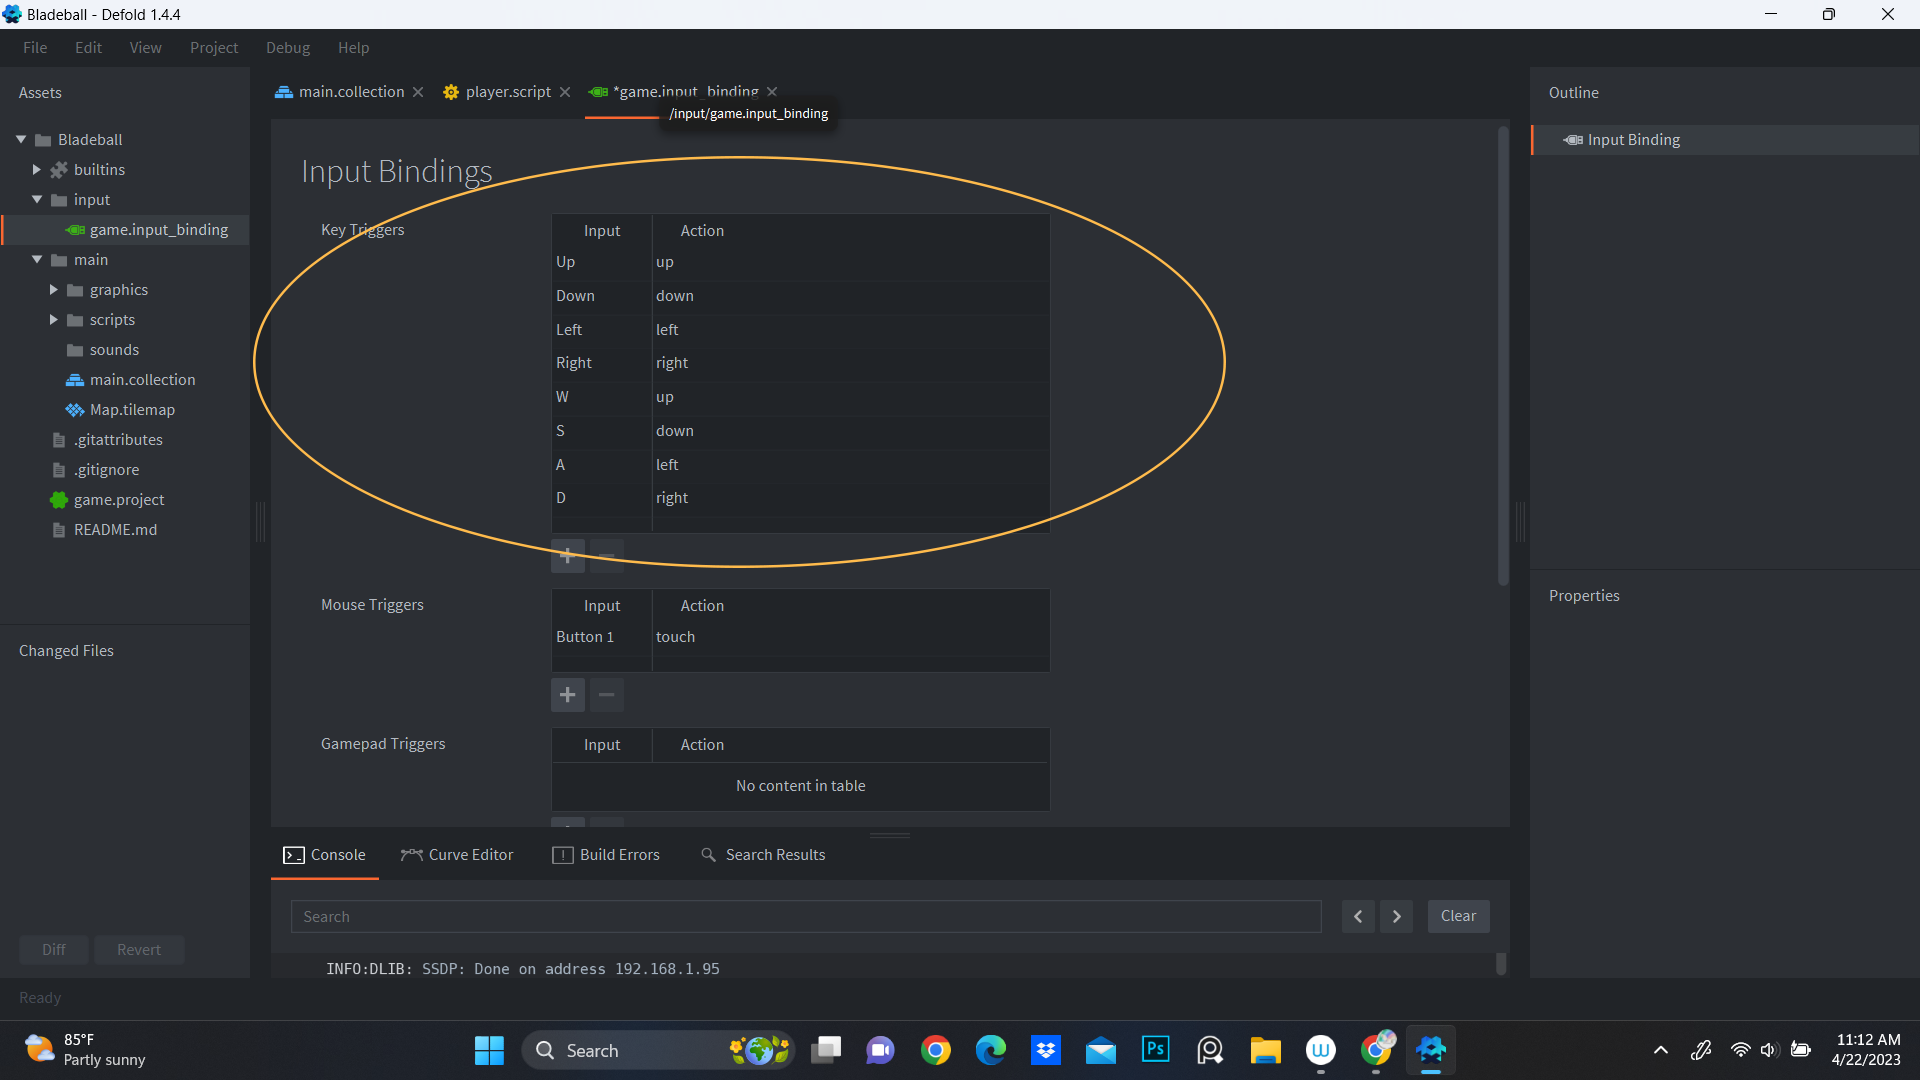
And we can set up our keys by double-clicking “game.input_binding.”
It seems that you can’t put two inputs into one action, so I will repeat the process. But you don’t have to do this if you don’t want to, just make sure you have all four directions.
Then you just need to put these codes in the player script, and it should work.
function init(self)
	msg.post(".", "acquire_input_focus") --<1>
	self.input = vmath.vector3() --<2>
	self.speed = 60 --<2>
end

function update(self, dt)
	if vmath.length_sqr(self.input) > 1 then
		self.input = vmath.normalize(self.input) --<3>
	end
	local pos = go.get_position() --<4>
	pos = pos + self.input * self.speed * dt
	go.set_position(pos)

	self.input = vmath.vector3() --<5>
end

function on_input(self, action_id, action)
	if action_id == hash("up") then
		self.input.y = 1
	elseif action_id == hash("down") then
		self.input.y = -1
	elseif action_id == hash("left") then
		self.input.x = -1
	elseif action_id == hash("right") then
		self.input.x = 1
	end
end
<1> Receive user input, “.” is short for current game object.
<2> Define a variable that is part of the current script component instance (self).
<3> Normalize the player’s movement.
<4> Move the player
<5> Stop the player
I pretty much just copied and pasted this from the Walking Astronaut Tutorial, so if you need a more detailed explanation, you might want to check it out.
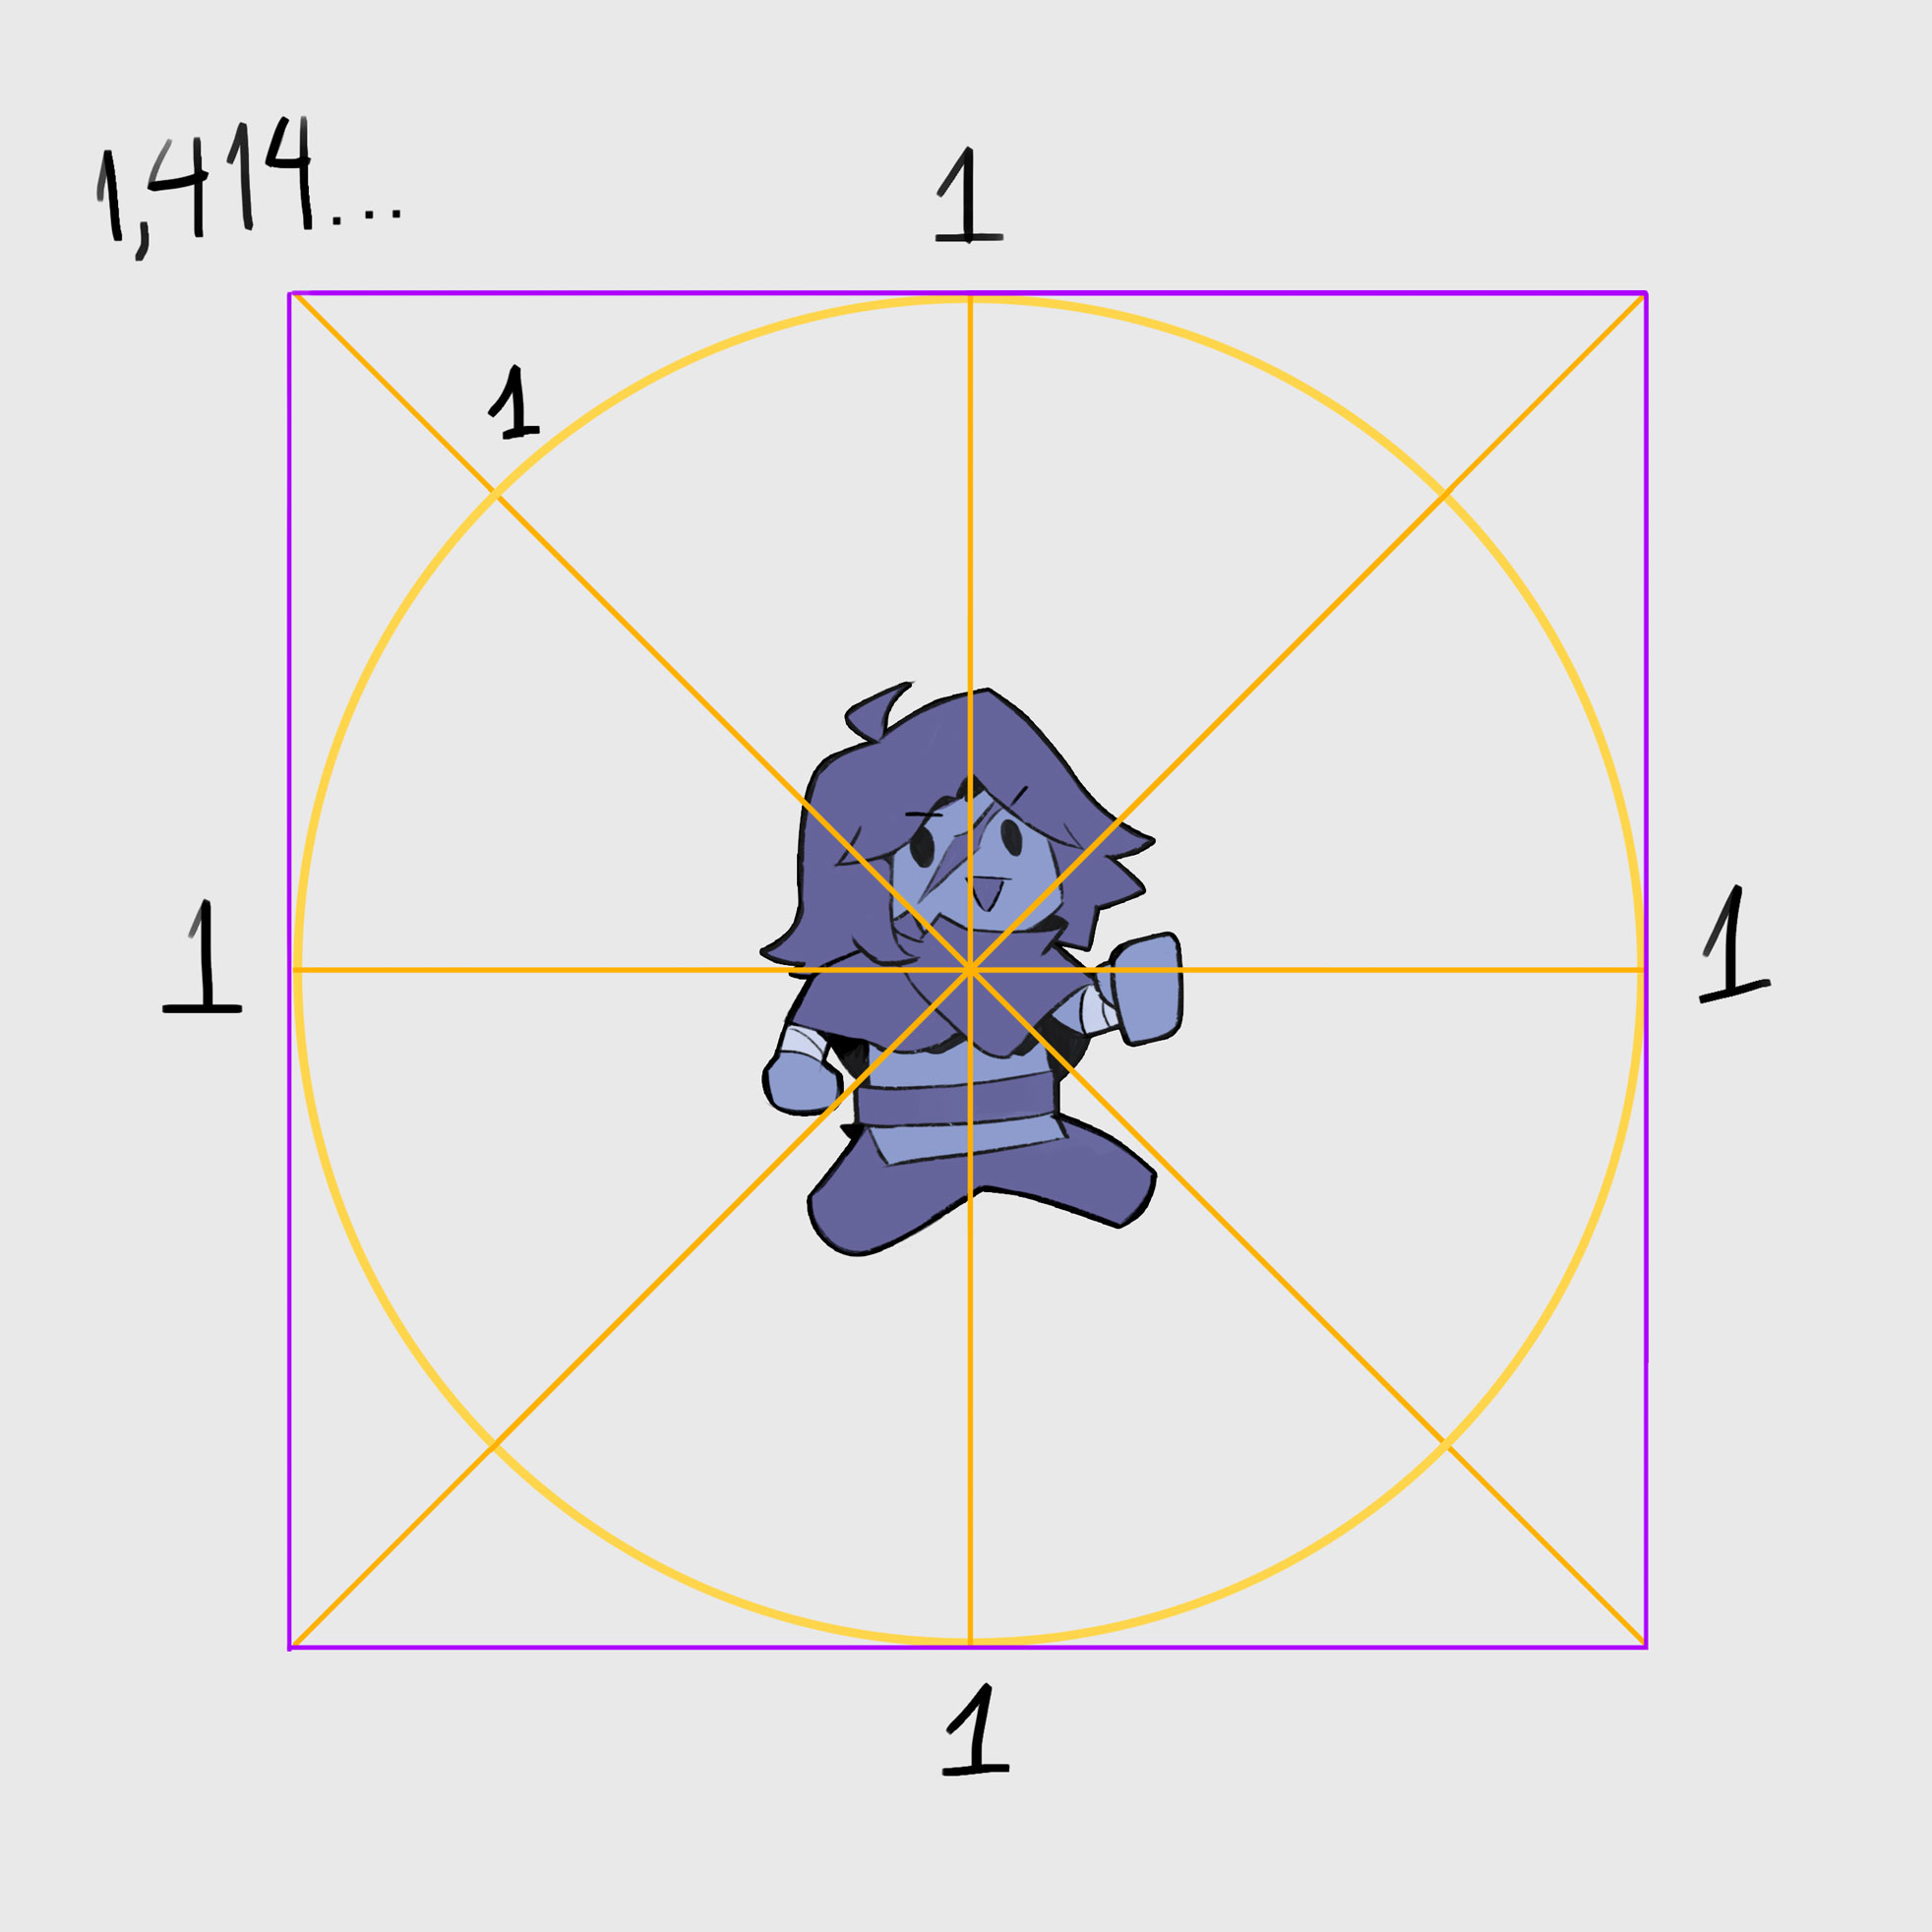
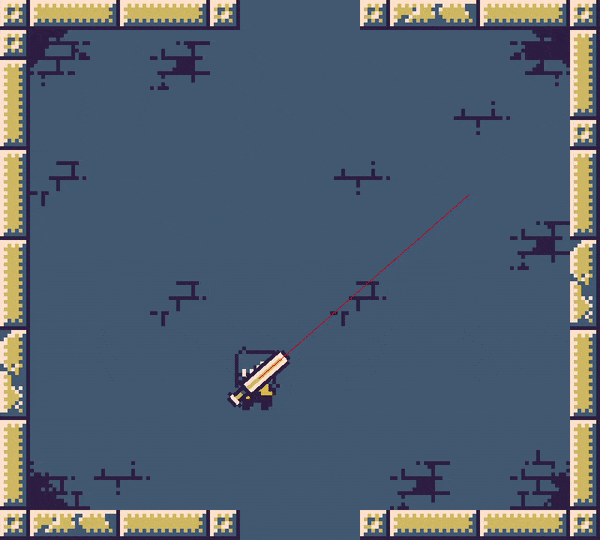
If you look at this picture, you can clearly tell that the diagonal line is longer than the straight line.
So our player is faster when moving diagonally. Vmath.normalize() <3> helps round things up, and our player will move at the same speed in every direction.
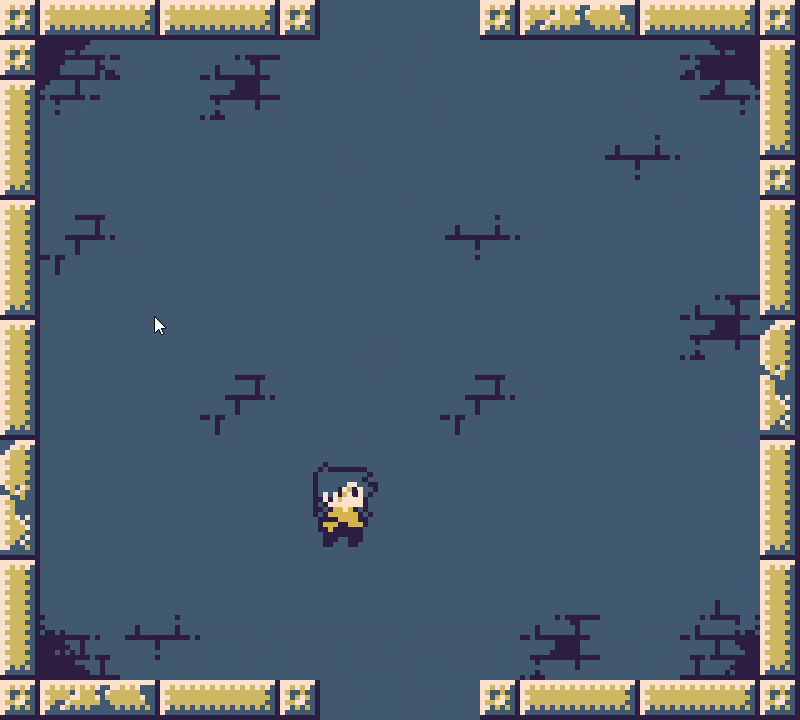
This is our result :3
3 Likes
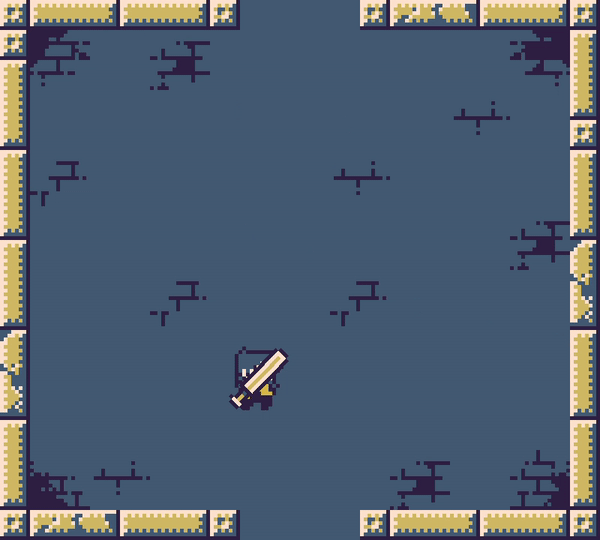
In the game, our character will have a blade that is fixed to their body.
You can move the blade around by moving the mouse. To hit the ball, simply click the left mouse button, and the blade will swing and hit the ball.
Attaching the blade to our player is quite simple.
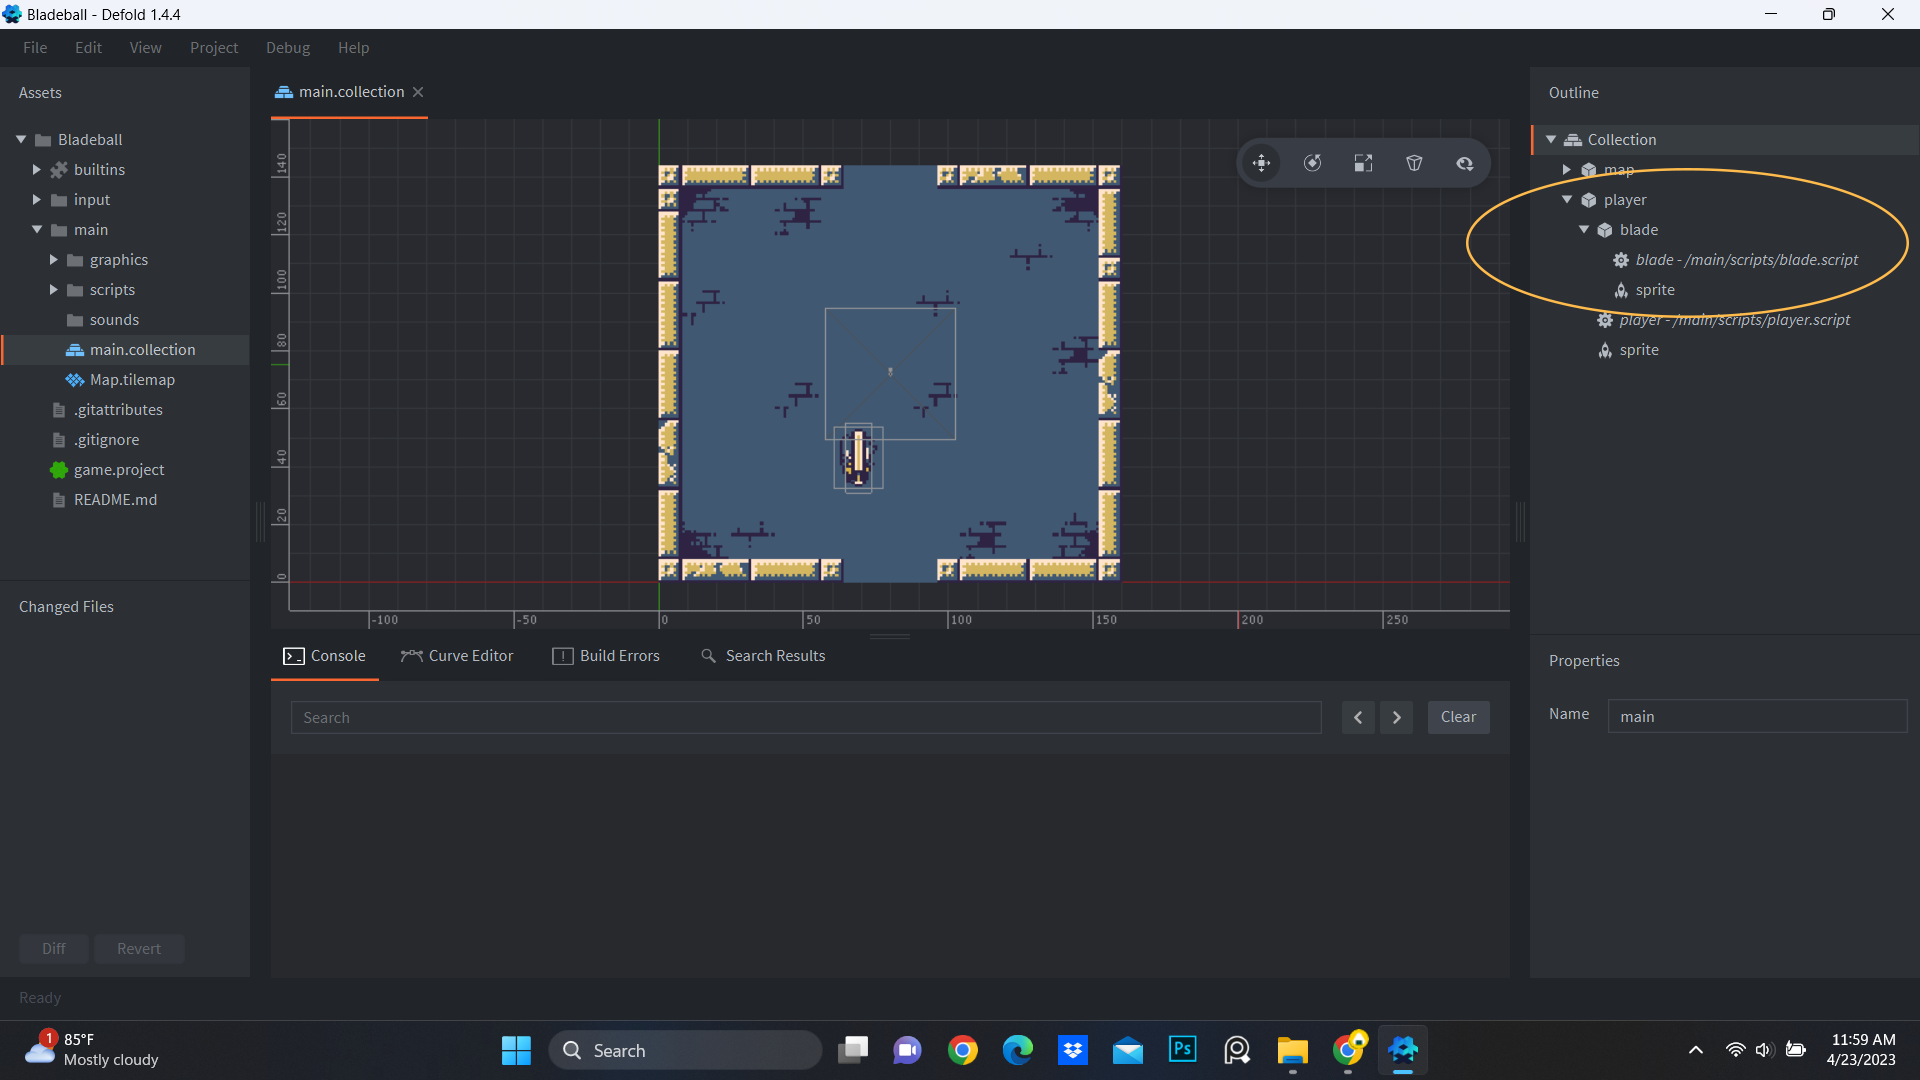
You just need to make another game object with a sprite in our player game object, set the sprite to the blade image, and you’re done.
It still needs some adjustment, but we will worry about that later.
Next, we need to find a way to rotate the blade with the mouse. Luckily, there is already an example of this.
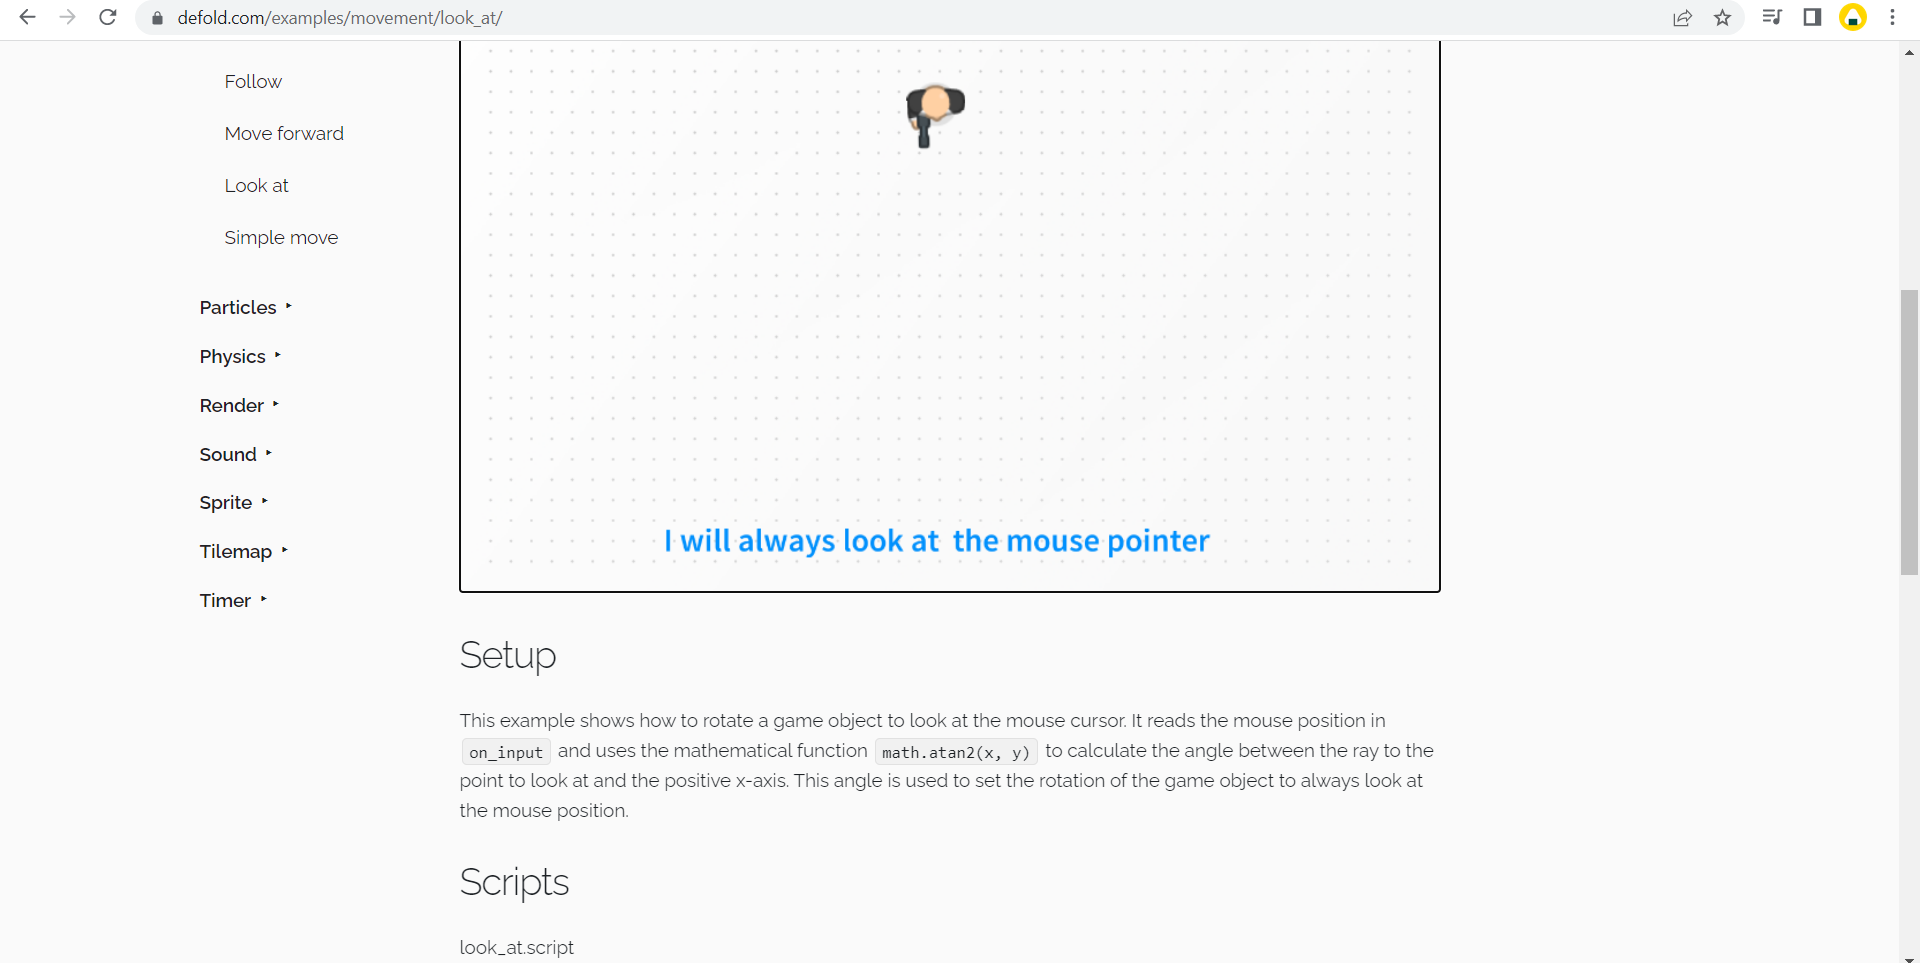
We only need to copy and paste the codes straight into the blade’s script, right?
No, that won’t work. As you can see, the blade only moved a little.
There are actually nothing wrong with the codes.
This happens because the mouse coordinates no longer match the world coordinates of our game objects.
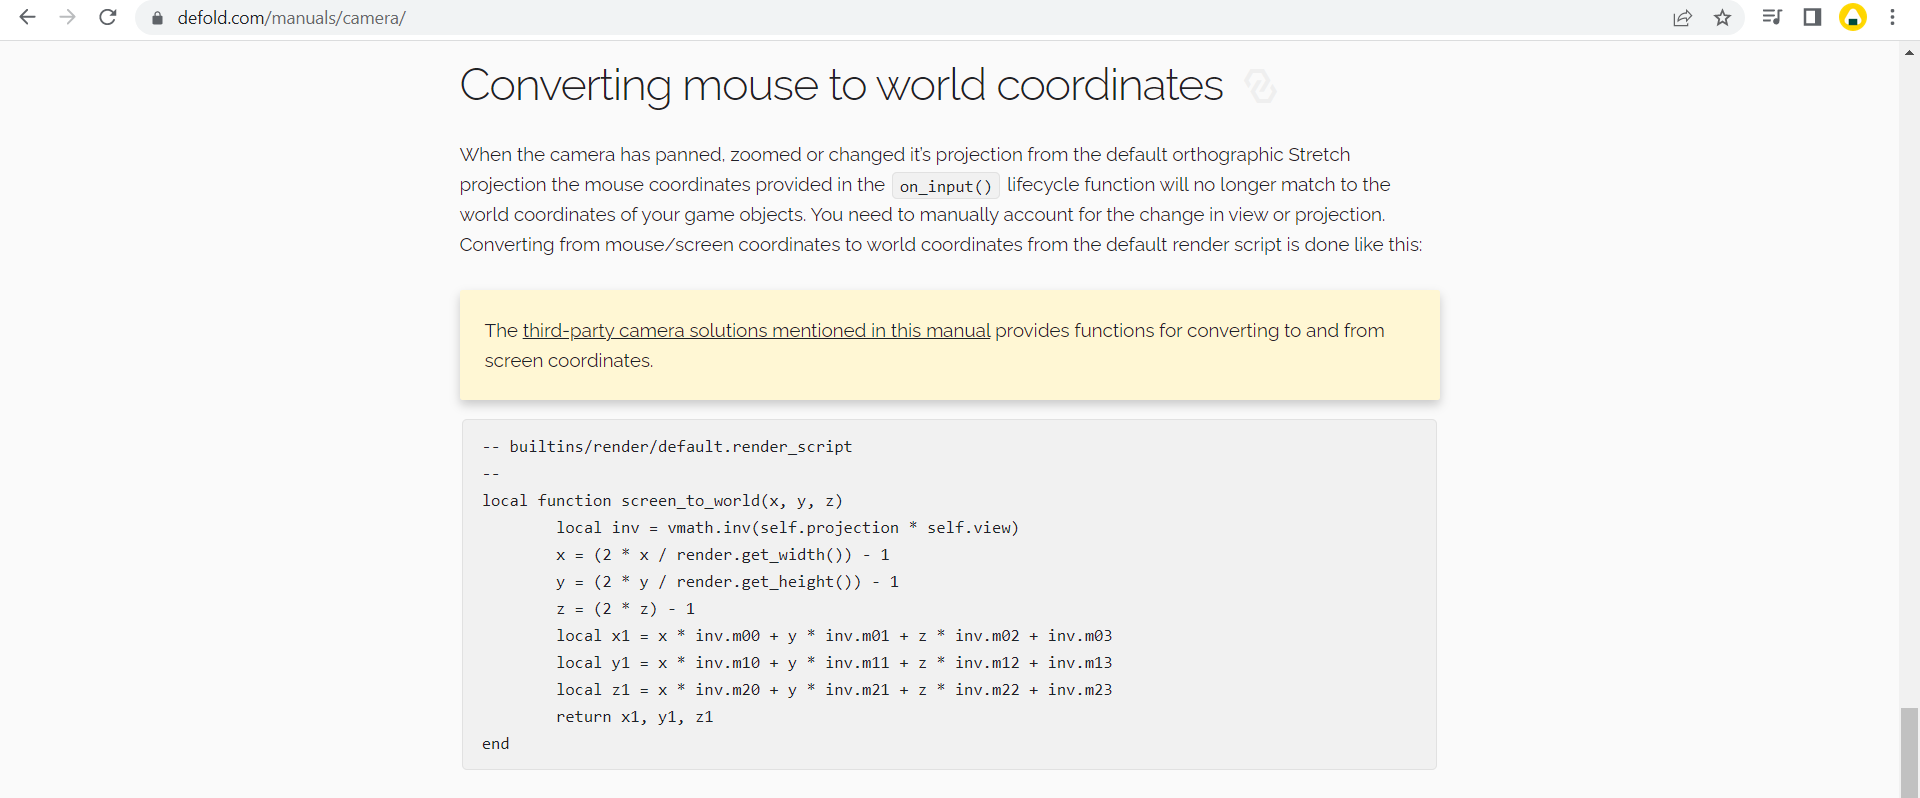
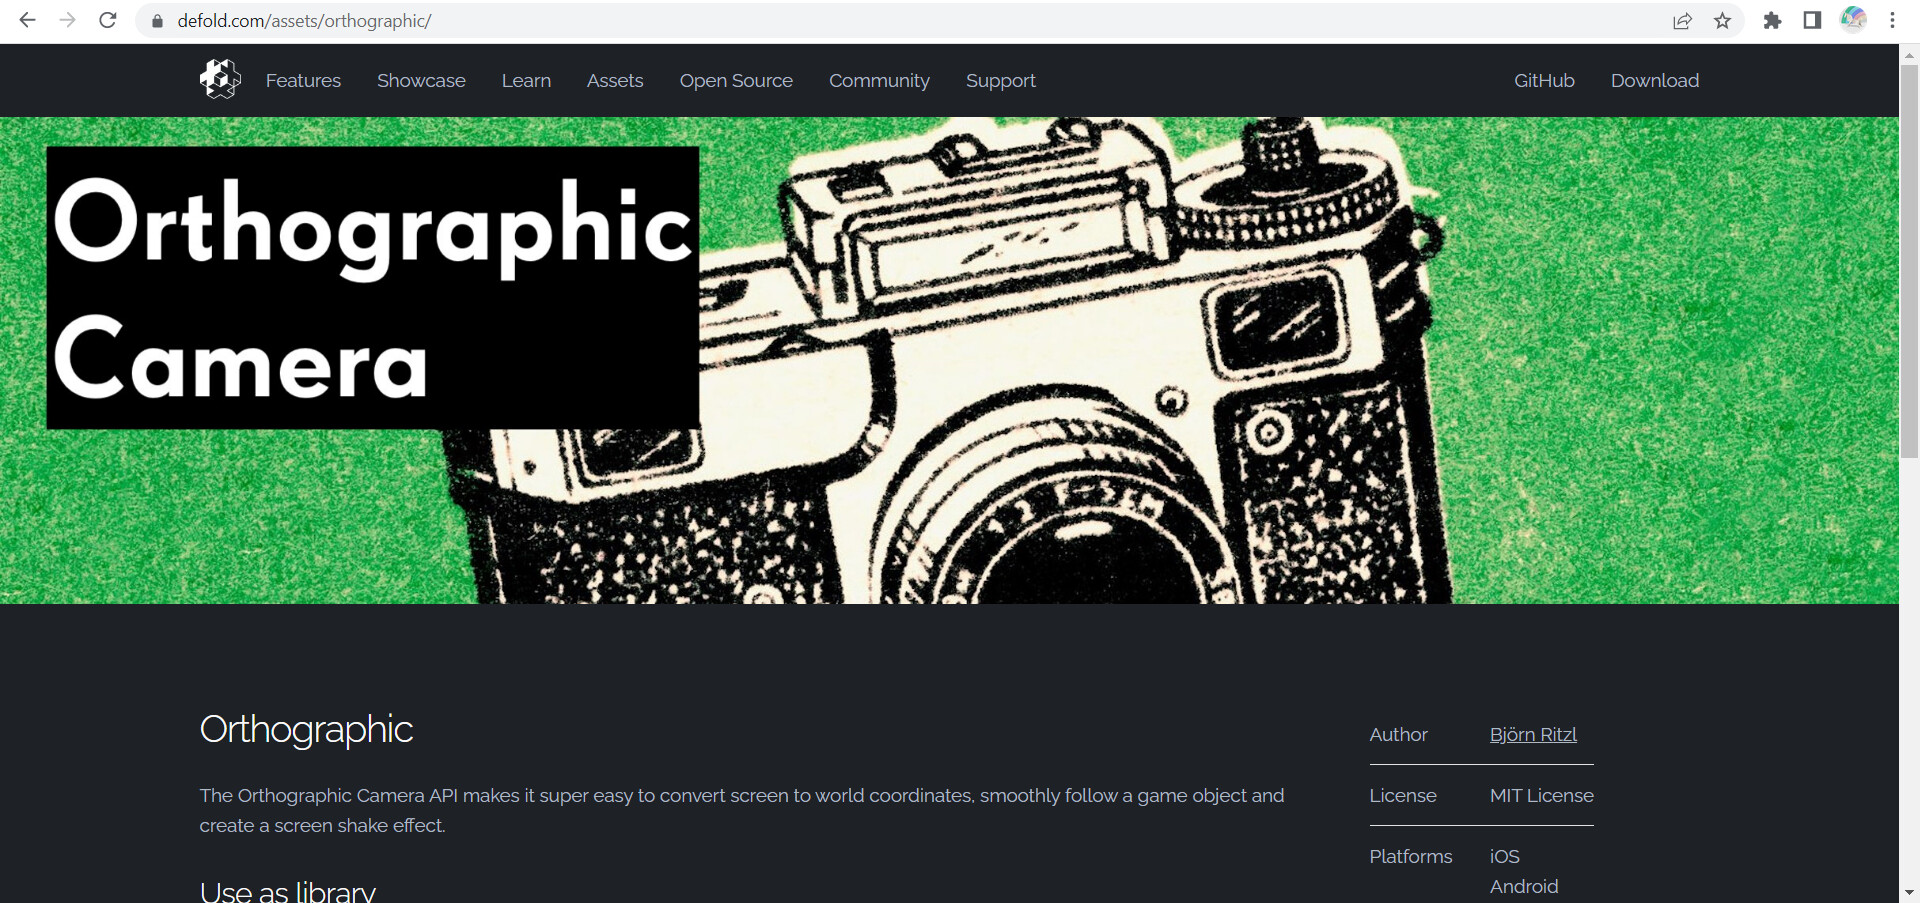
The easiest way to fix this is to use Orthographic Camera by britzl.
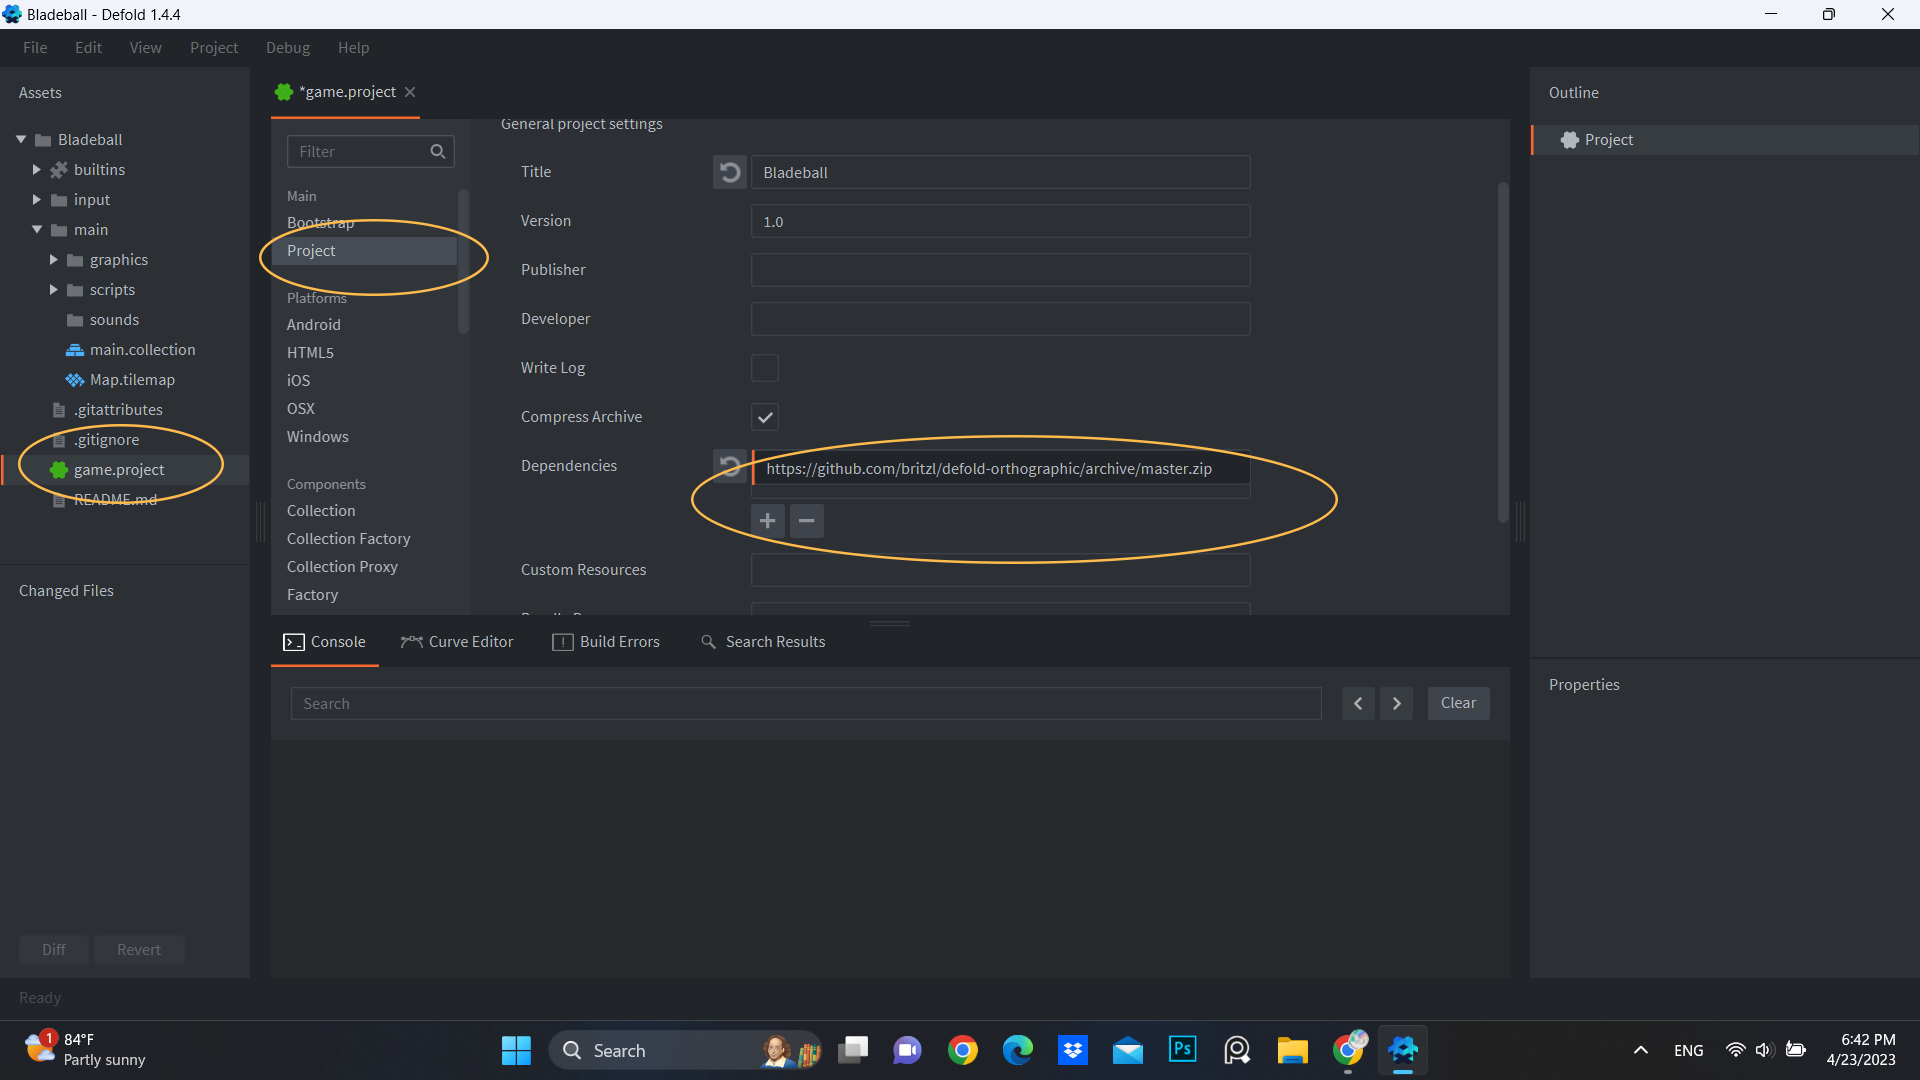
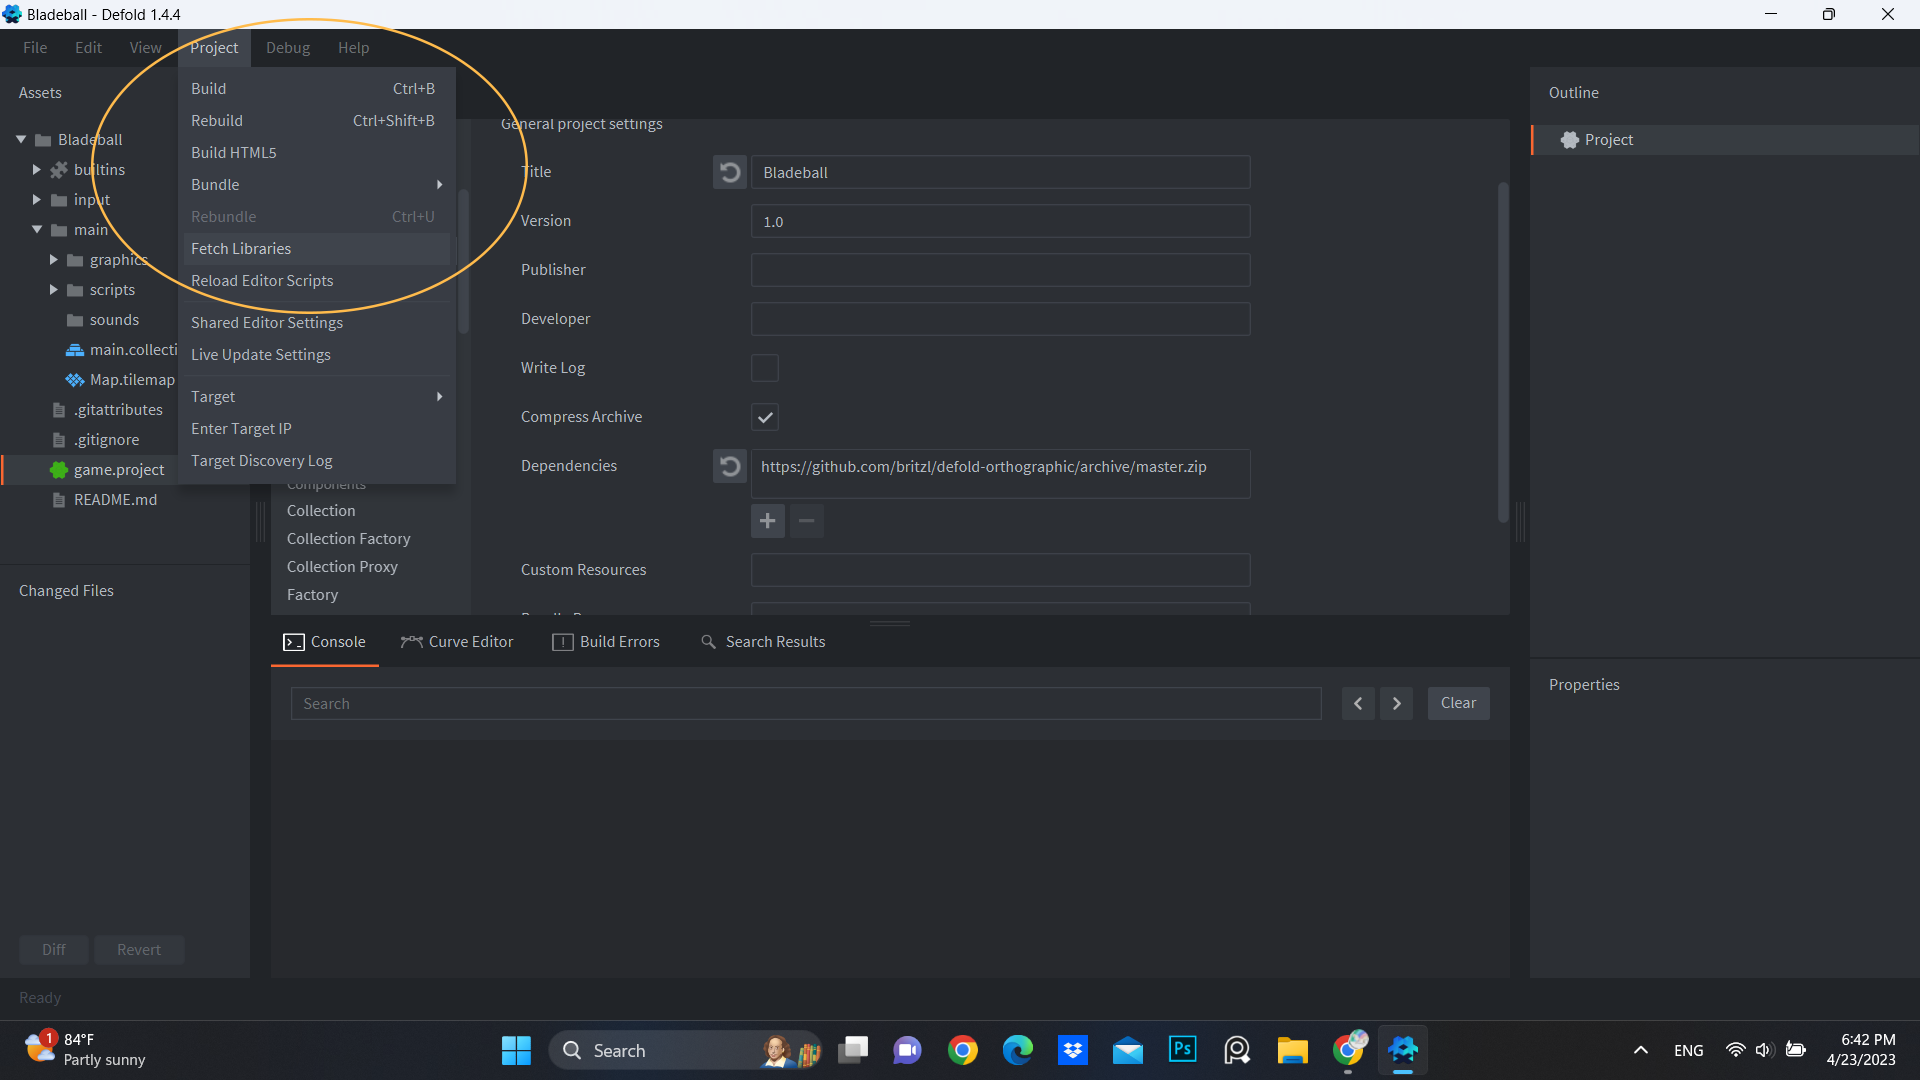
After you finish adding the orthographic camera to the project, we have to delete our old camera and make some adjustments.
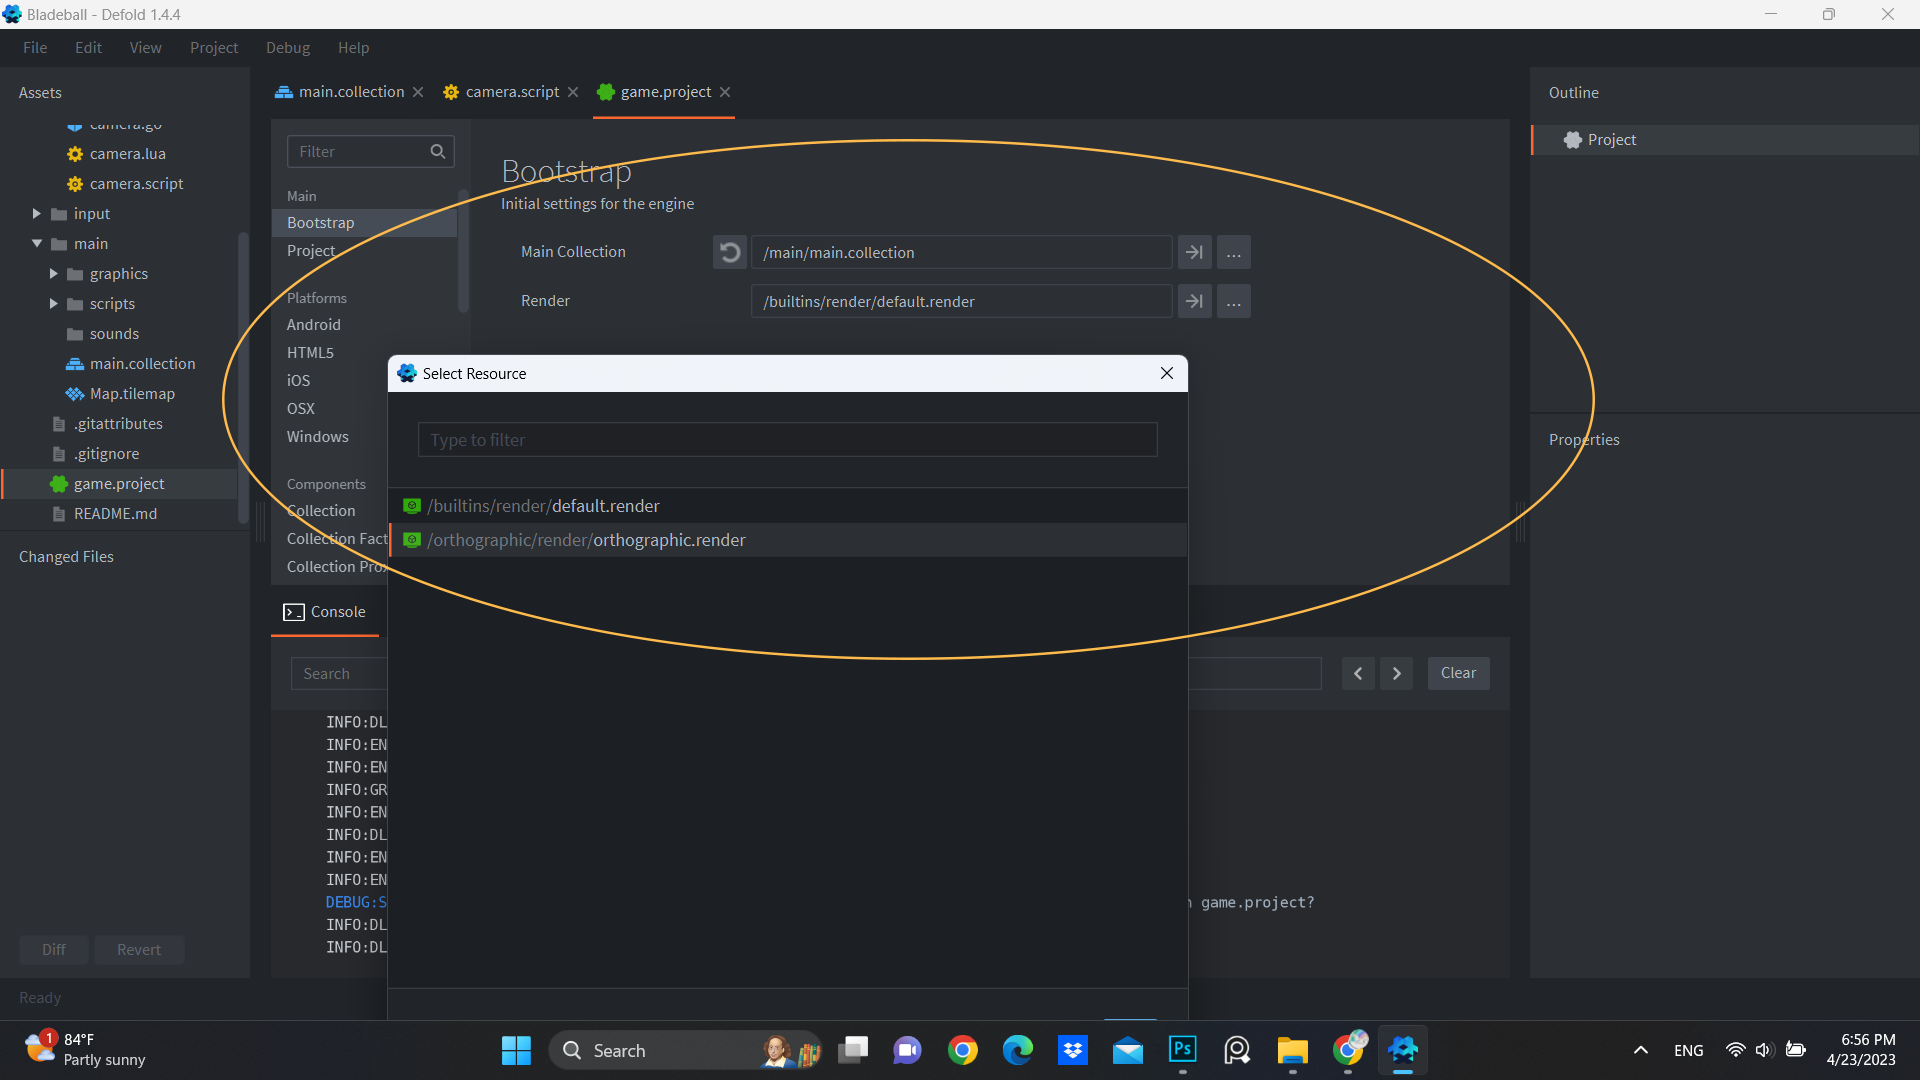
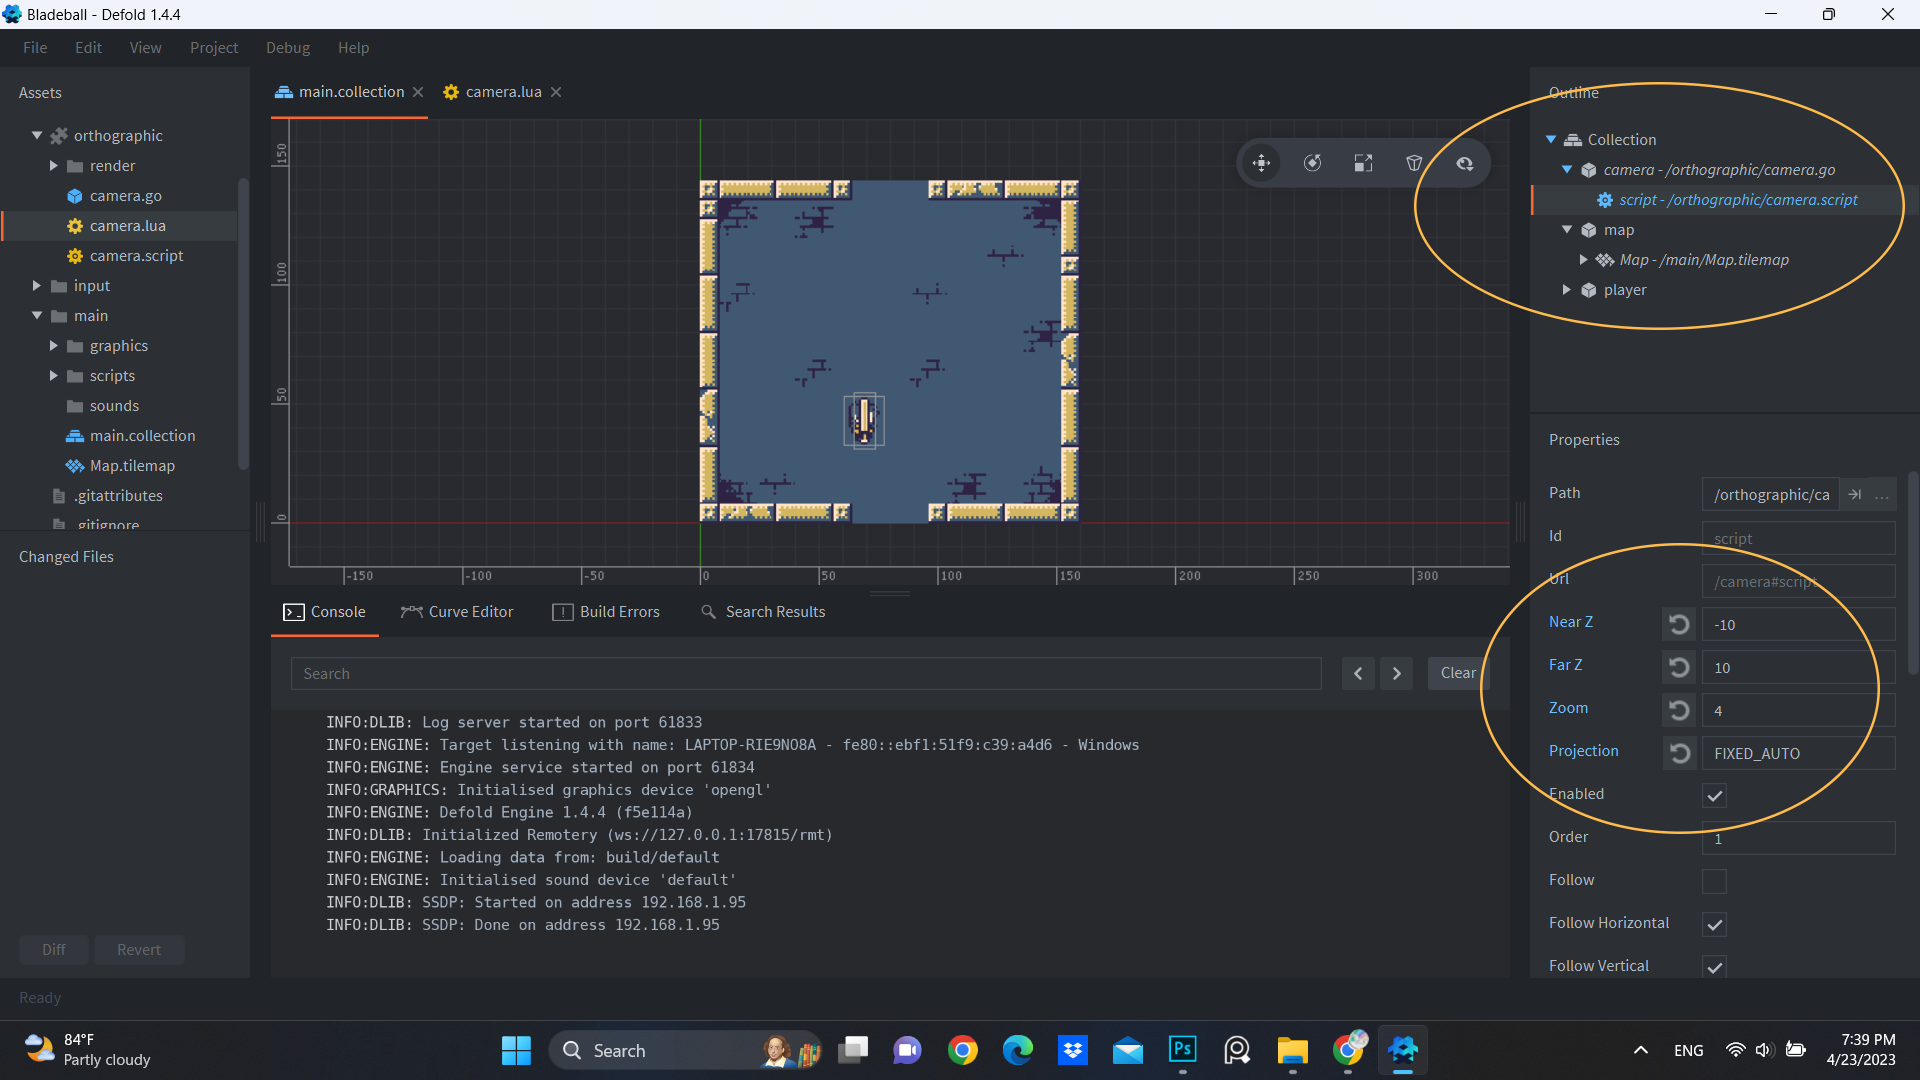
These steps are very simple, so I won’t go into details on them.
Then you just need to paste these codes in.
local camera = require "orthographic.camera" --<1>
local CAMERA_ID = hash("/camera")
function init(self)
	msg.post(".", "acquire_input_focus")
	self.cursor = vmath.vector3()
end

local function look_at(target_position)
	local my_position = go.get_position("player")
	local angle = math.atan2(my_position.x - target_position.x, target_position.y - my_position.y)
	go.set_rotation(vmath.quat_rotation_z(angle))
end

function on_input(self, action_id, action)
	if action.x and action.y then
		local target_position = camera.screen_to_world(CAMERA_ID, vmath.vector3(action.x , action.y , 0)) --<2>
		look_at(target_position)
	end
	self.cursor.x = action.x
	self.cursor.y = action.y
end
<1> require the orthographic camera.
<2> camera.screen_to_world() translate screen coordinates to world coordinates.
The explanations above might seem pointless, but there are not much to be explained.
They are still literally the same codes as in the example. And Britzl made orthographic camera extremely easy to use so…
And there you have it.
You won’t have the red line with the code I provided, I added that just to show everything works as intended.
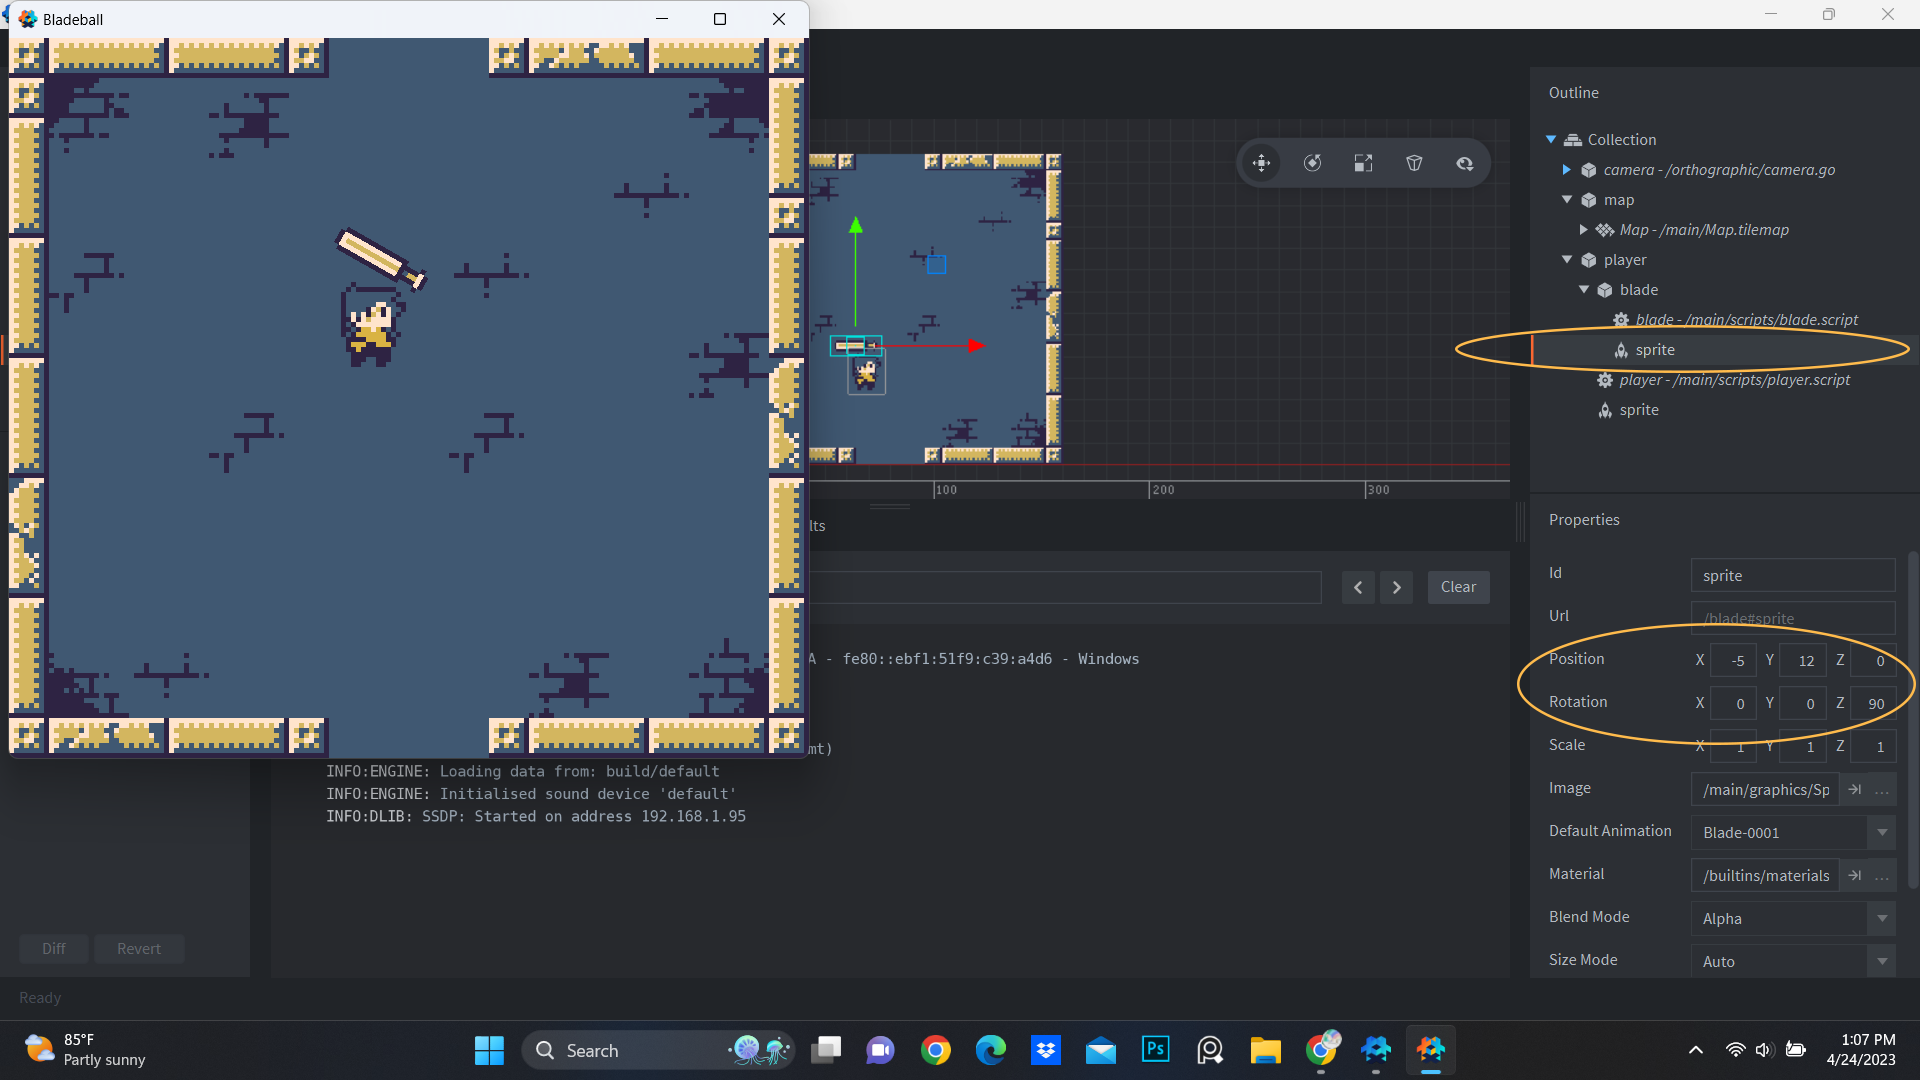
Change some numbers in the blade’s sprite and we are done : p
8 Likes
Uhh, I have a bad news.
I cannot figure out how to make the blade swing properly. But I came up with an idea.
I changed the blade into a shield!
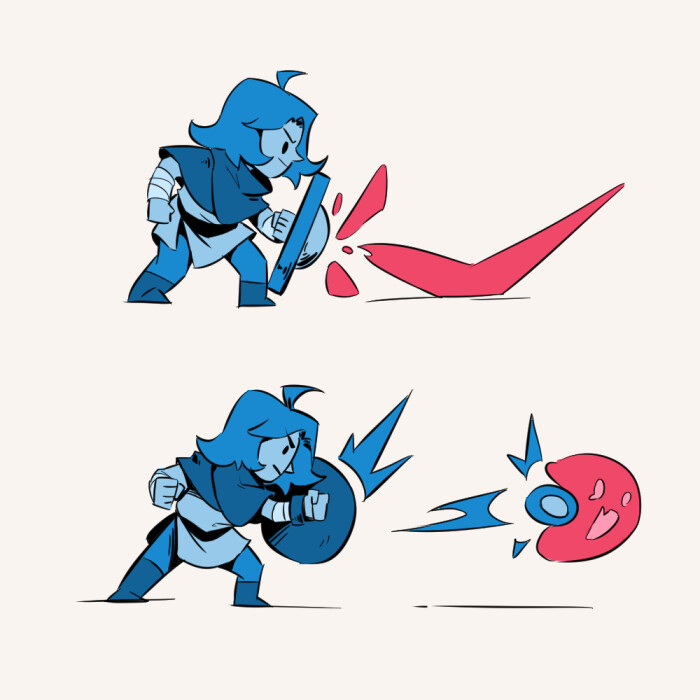
Now you will absorb and reflect enemy bullets instead. No swinging is needed any more. Also, the title of the game will need to change.
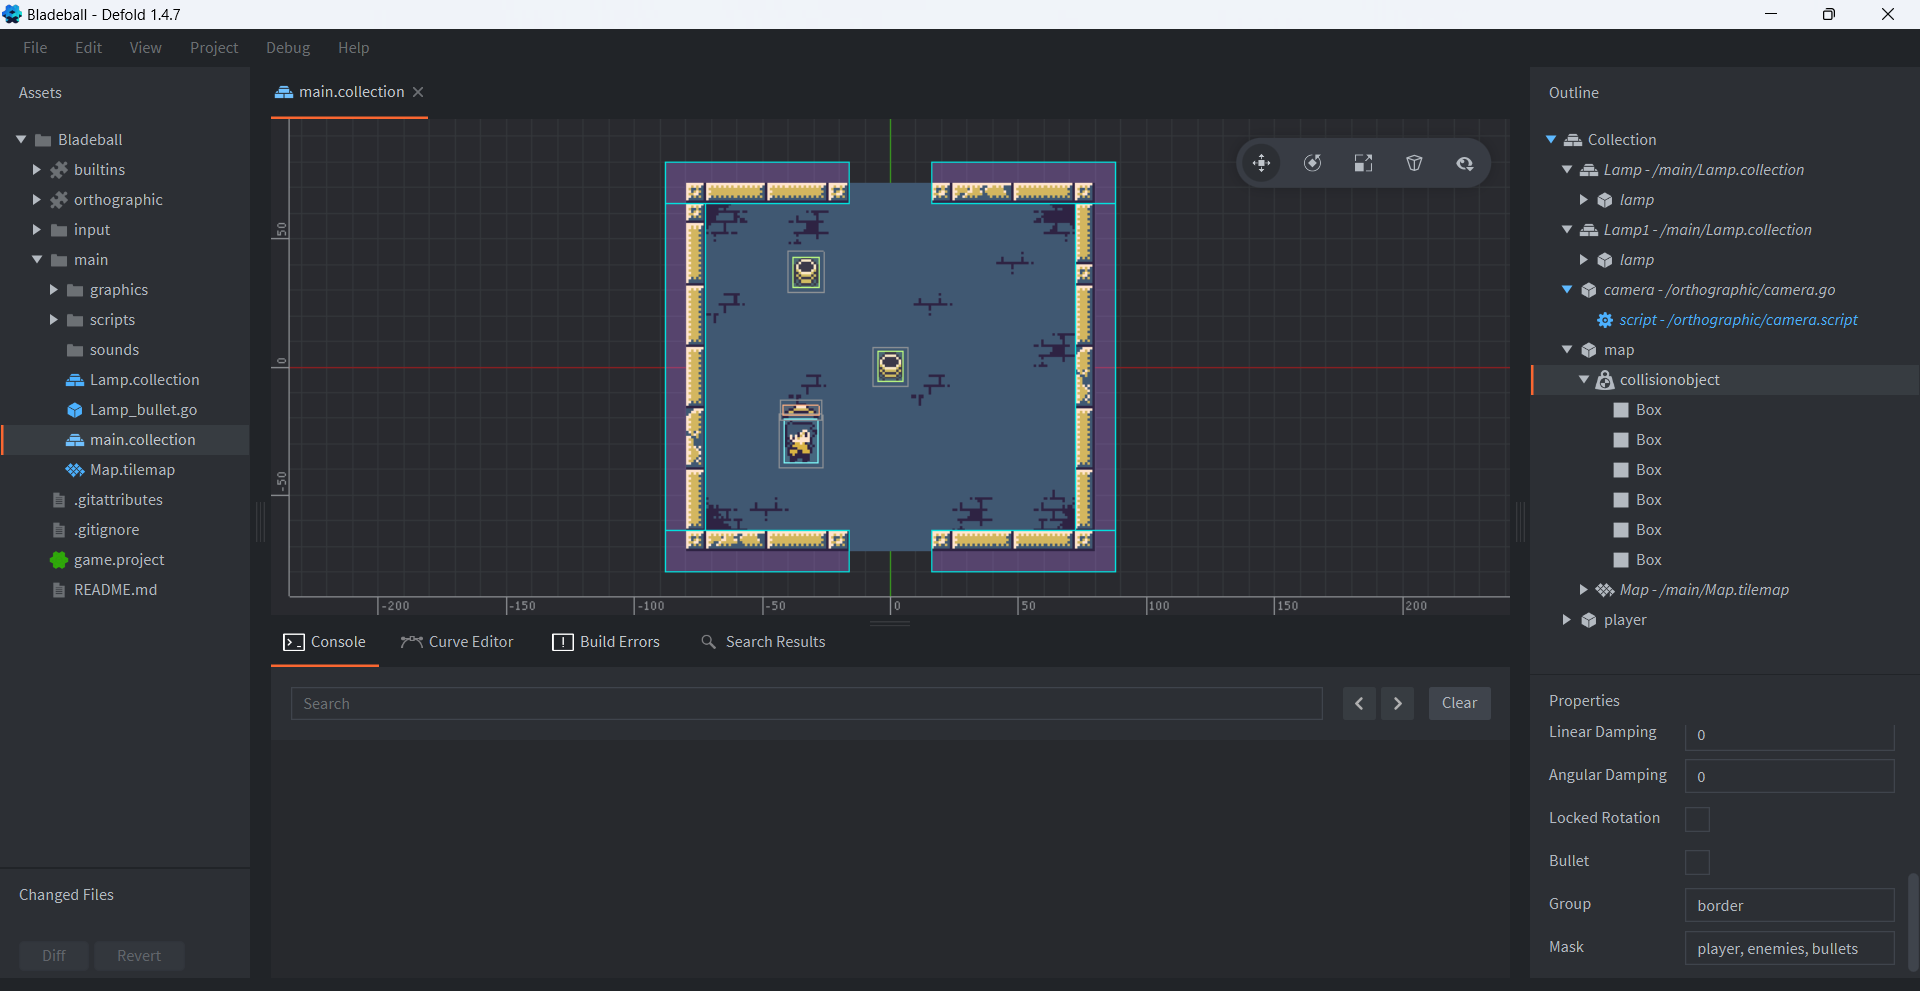
The next step is to add collisions to everything. I will not go into details about simple steps from now on because writing them down is pretty exhausting. But this is what I set up.
Also, when you set the collision type of the player to Kinematic, you will need these lines of code so the player can collide with the walls.
function on_message(self, message_id, message, sender)

    if message_id == hash("contact_point_response") then
        if message.distance > 0 then
            local proj = vmath.project(self.correction, message.normal * message.distance)
            if proj < 1 then
                local comp = (message.distance - message.distance * proj) * message.normal
                go.set_position(go.get_position() + comp)
                self.correction = self.correction + comp
            end
        end
    end
end
I made our very first enemy: LAMP!
This enemy will shoot randomly, with the bullet going diagonally and bouncing around the map.
So you need another game object for bullets. Create a factory component and set the bullet as the prototype for our lamp.
Then add this script for the lamp and bullet.
Lamp:
function init(self)
    local pos = go.get_position()
    pos.y = pos.y + 5
    timer.delay(1, true, function()
        local bullet_id = factory.create("#factory", pos)
    end)
end
Bullet:
function init(self)
    self.random_dir_y = math.random(1,2) * 2 - 3 -- choose 1 or -1 randomlly
    self.random_dir_x = math.random(1,2) * 2 - 3
    self.speed = 100 -- bullet speed
end

function update(self, dt)
    local bullet_pos = go.get_position()
    bullet_pos.y = bullet_pos.y + self.random_dir_y * self.speed * dt
    bullet_pos.x = bullet_pos.x + self.random_dir_x * self.speed * dt
    go.set_position(bullet_pos)
end
Also, this in the player scripts
function init(self)
    math.randomseed(os.time()) -- sets seed to the current time
    math.random();math.random();math.random(); -- discards first few RNG numbers
And this is what we got:
Now I just need to make the bullets bounce around so we don’t need to chase them. ![]()
8 Likes
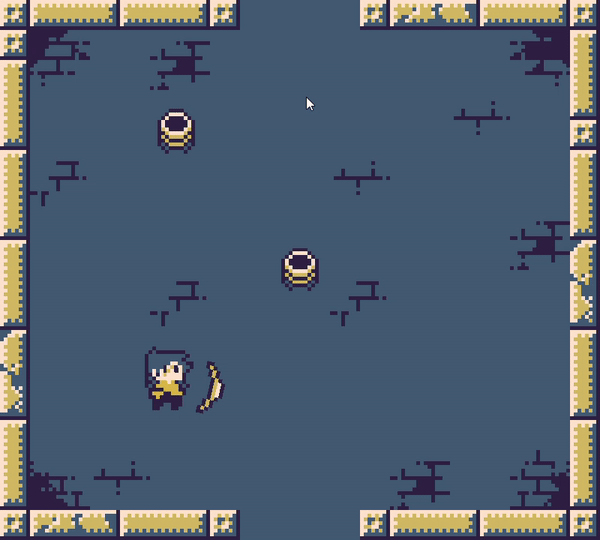
I finally found a way to make the balls bounce. ( And I also added 2 doors )
Here is the new codes for our bullets:
local speed = 100
local WALL_LR = hash("/wallleftright")
local WALL_TB = hash("/walltopbot")
local BOT_DOOR = hash("/botdoor")
local TOP_DOOR = hash("/topdoor")

function init(self)
	local directions = {-1, 1} -- choose 1 or -1
	local random_direction_x = directions[math.random(#directions)]
	local random_direction_y = directions[math.random(#directions)]
	self.dir = vmath.vector3(random_direction_x, random_direction_y, 0)
end

function update(self, dt)
	local bullet_speed = vmath.vector3(speed * self.dir.x, speed * self.dir.y, 0)
	local next_pos = go.get_position() + bullet_speed * dt
	go.set_position(next_pos)
end

function on_message(self, message_id, message, sender)
	if message_id == hash("trigger_response") and message.enter then -- bouncing bullet
		local other_id = message.other_id
		if other_id == WALL_LR then
			self.dir.x = self.dir.x * -1
		elseif other_id == WALL_TB or other_id == TOP_DOOR or other_id == BOT_DOOR then
			self.dir.y = self.dir.y * -1
		elseif other_id == hash("/shield") then
			go.delete()
		elseif other_id == hash("/player") then
			go.delete()
		end
	end
end
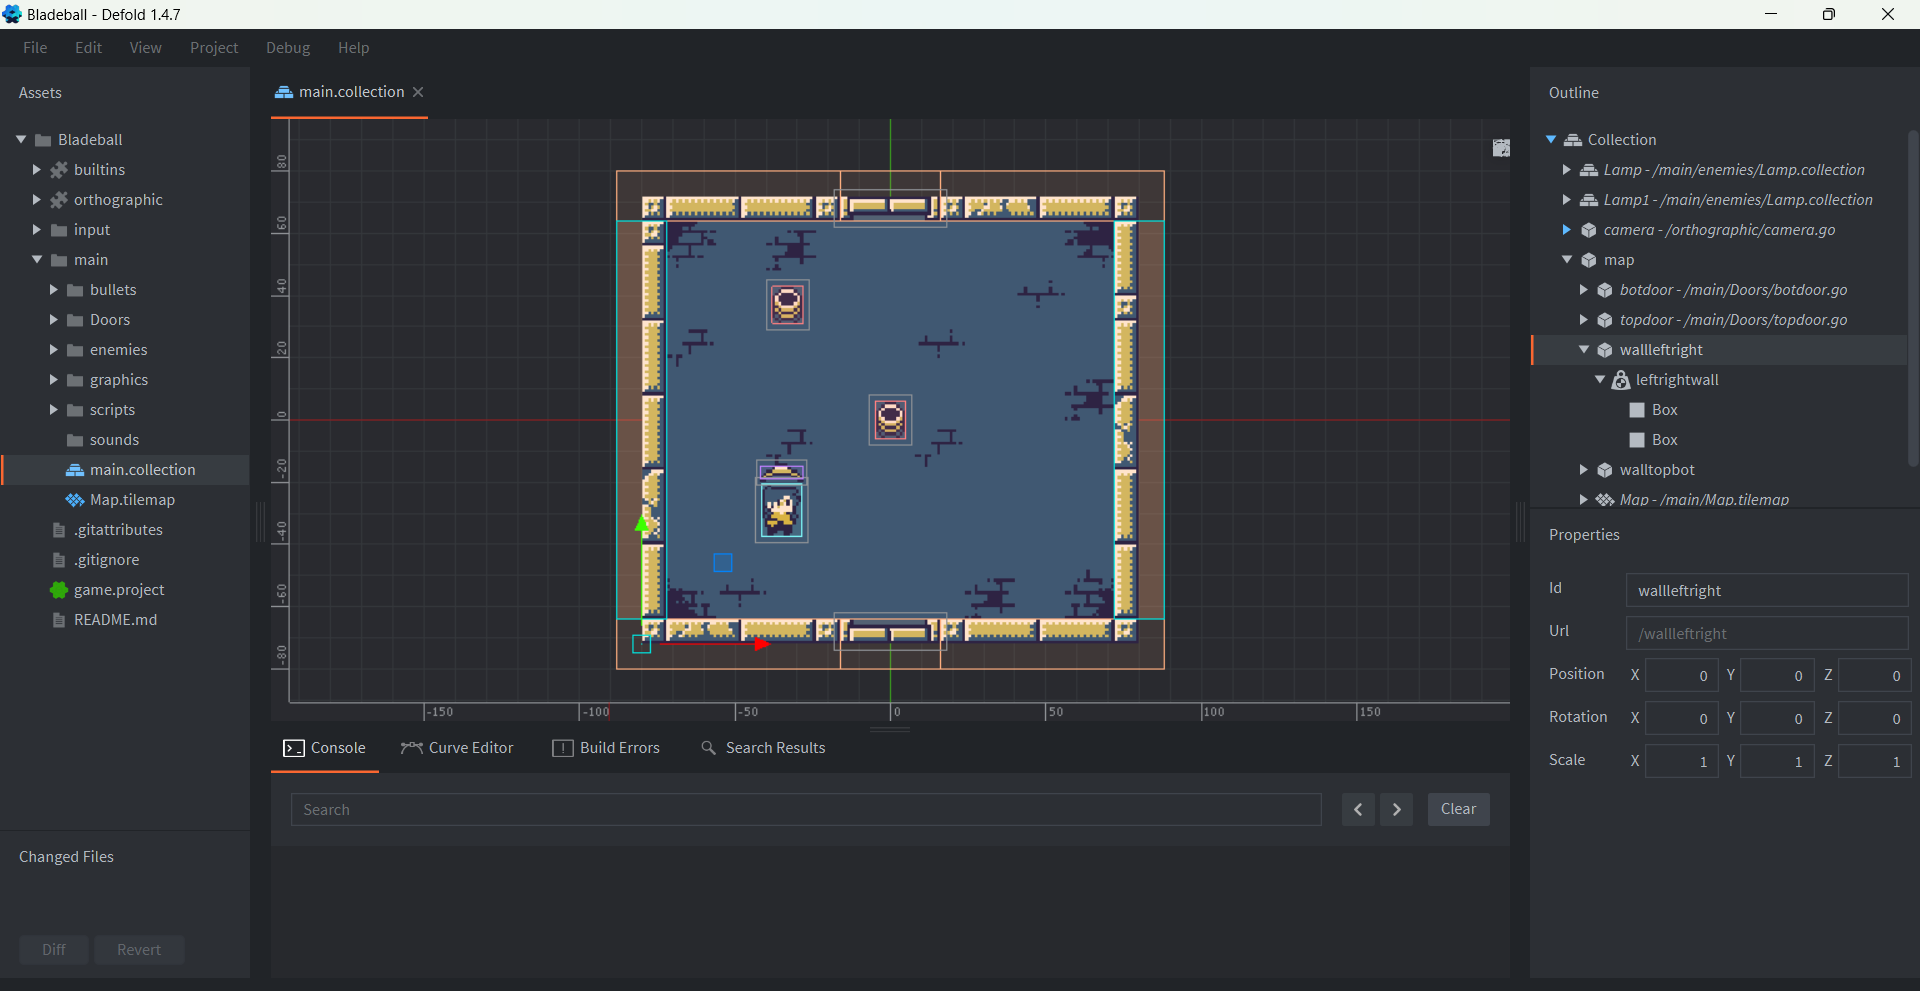
But to make them work, you need to divided the walls and door into 2 parts like this :
It now has the look of a game, and you could even turn it into a survival game by simply adding some health and a scoreboard. I’m not going to lie. At this point, I almost want to give up and just do that, then go on to a easier project. ![]()
But maybe I can add some levels and enemies before giving up.
10 Likes
Great progress! I love your devlogs, everything explained, well presented ![]()
elseif other_id == WALL_TB or other_id == TOP_DOOR or other_id == BOT_DOOR then
I think you don’t actually need to collide here with door, because you will then collide with wall anyway, right? Is the door trigger for something special? If this is not related to changing position, then don’t worry about bouncing from it - e.g. when ball goes down, the next trigger will be with walltopbot anyway ![]()
1 Like
I plan to open the doors and disable their collision detection so that players can walk through them to the next levels. So I separated them from the walls. ![]()
1 Like
It took forever, but I finally got the time to continue to work on the game.
I have managed to make the player move through levels. It’s actually very simple; I basically just copied and pasted the proxy example.
Here is what I got:
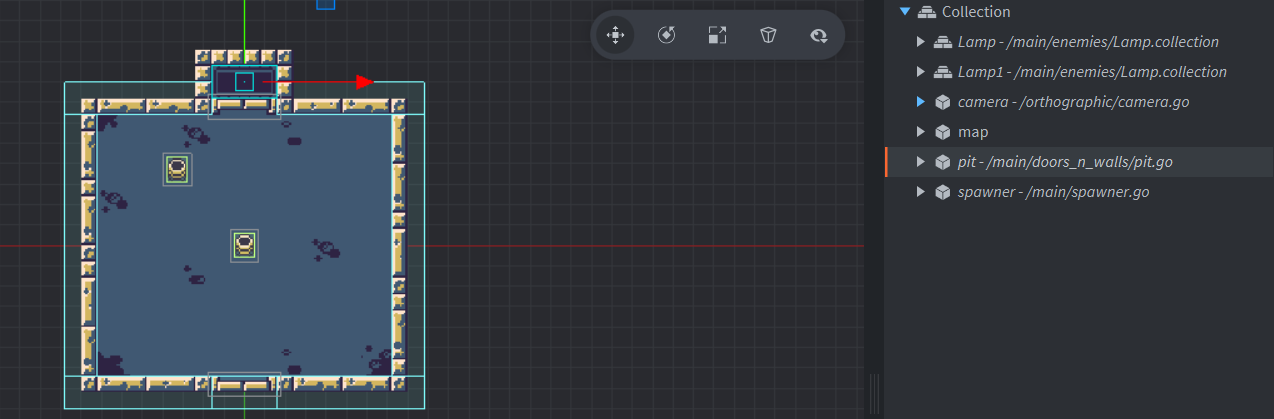
The way I do it is to create a game object called “pit”, and it will send a message to proxy collections to show the next level every time the player collides with it.
I also create a “spawner” to spawn the player.
And I got bad news: from now on, I will only share the progress on the game and the logic behind how I did it without the codes because I keep rewriting them as I work on the game. But don’t worry; after the game is finished, I will also upload the source file.
Still, do remember that I am just a beginner, so there are probably more effective ways than what I did.
7 Likes
Originally, I had this idea where players could use a shield to bounce bullets back and take out enemies. But this game has taken so long to make, and I’m seriously running low on motivation. So, in order to actually get this game out there, I decided to keep it simple.
Now, you’ve got two bars to keep an eye on. The one on the left is your health, and if you lose all 5 hearts, the game is over. On the right, there’s a bar showing how many hits you need to block to move to the next level. Unlike the one on the right, your hearts on the left don’t reset when you level up, so you’ve got to be careful.
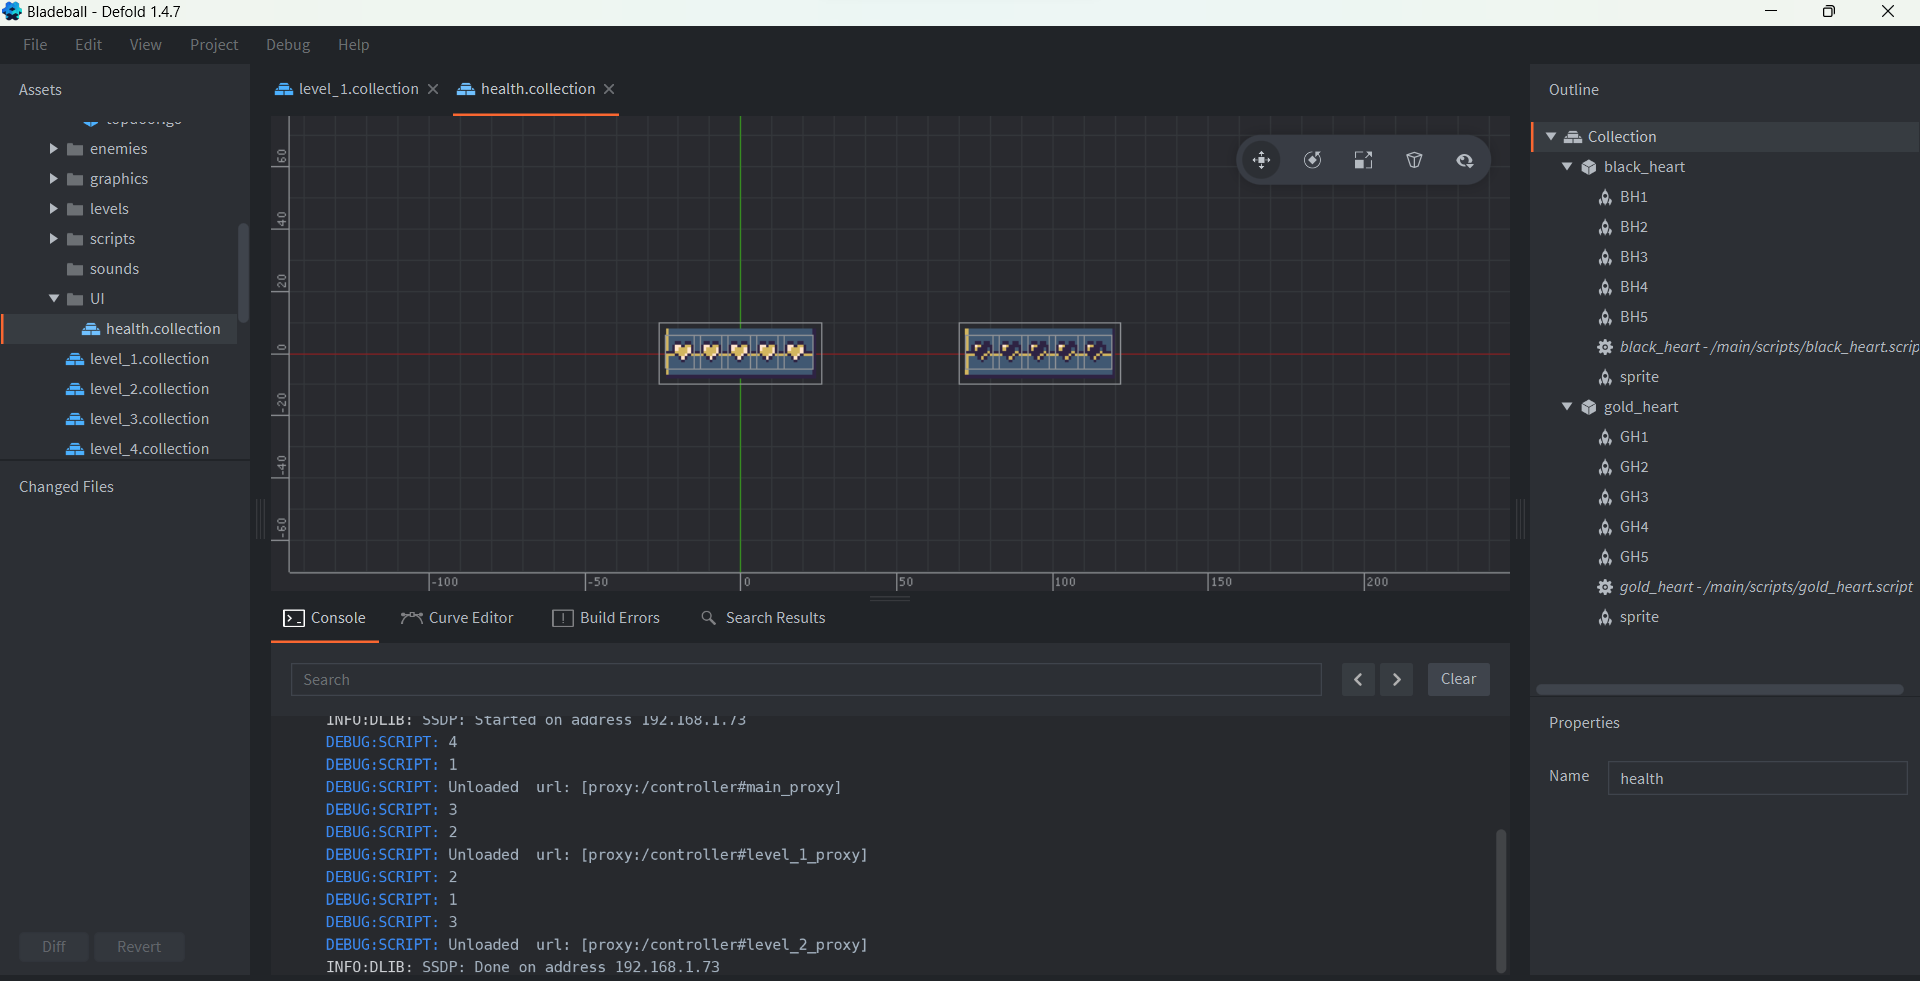
The health user interface is just an image with empty heart slots, each bar having 5 hearts. Whenever you sustain damage, the game will disable one of these hearts. The code I made for this will make you in pain, unless you like spaghetti.
6 Likes
I want to learn video game development
1 Like
You’ve come to the right place!
1 Like
I added more enemies, a starting scene, and a game over scene. The game is almost ready to play. Originally, I wanted to name it Doran’s Shield, but that name is already used in League of Legends. So, I changed the main character’s name to Durin, and now it’s called Durin’s Shield.
3 Likes
Hello, the game has finally been published on Itch. You can try it here:
The project started in February, and now it’s December, which means it took 11 months to create a pretty simple game. This was because I was busy with graduation projects and other things. Although it didn’t turn out exactly how I had imagined it, I’m glad it’s a complete game.
I have a reason for not posting any code in my recent posts. In order to finish the game faster, I am using what I already know. This means I’m using a bunch of if-else conditions like these:
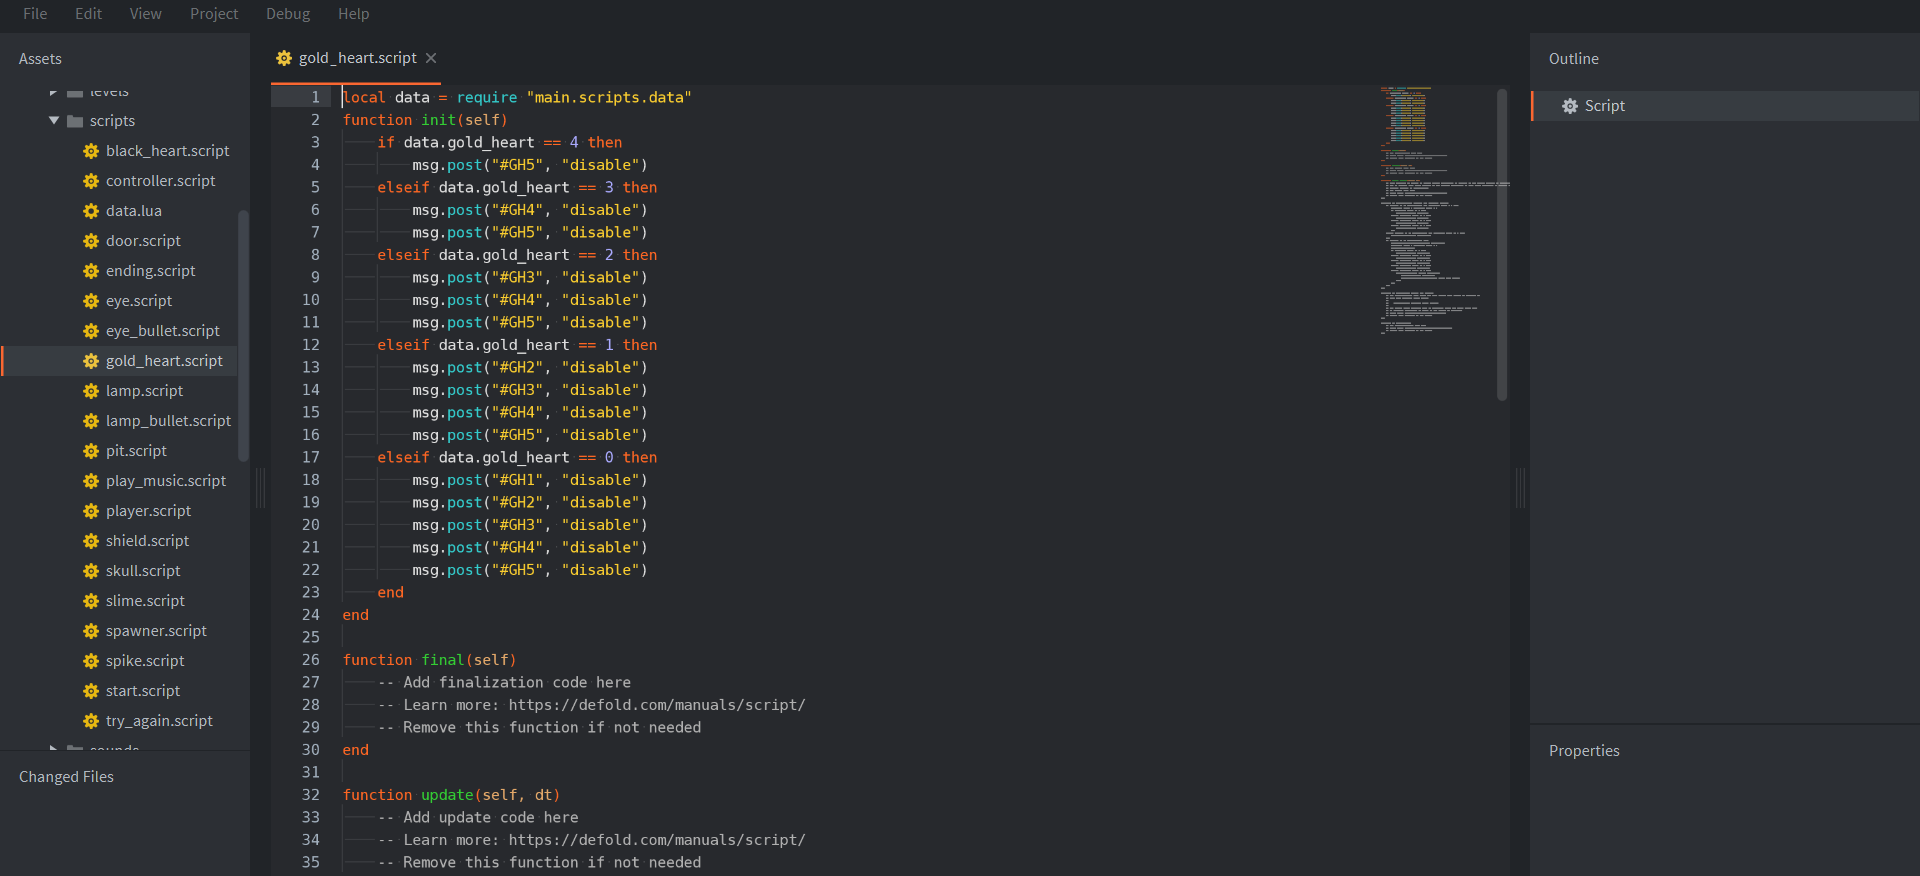
There are smarter ways to approach this, but I’ve chosen to settle for bad code instead of having a game that’s never finished. I hope you don’t adopt this approach in your own projects, but in my case, the game has been going on for too long.
Also, please feel free to use the sprites in the game for your own projects. In fact, I’ll be creating a free asset pack with these sprites and some additional content soon.
Thank you for taking the time to read this post. :33
5 Likes